• I Heart Food
  • Blog
  • Photos
  • Archive
  • Press/Published
  • Contact
  • About
Menu

I Heart Food

Sharing our experiences eating out and what we cook at home--everything related to food and drink
  • I Heart Food
  • Blog
  • Photos
  • Archive
  • Press/Published
  • Contact
  • About
Chicken Kofta, Grilled

Grilled Chicken Kofta

Chicken Kofta

August 3, 2022

Super easy and super delicious! A healthy Chicken Kofta meal that will knock your socks off ;)

Ingredients:

  • 2 lbs Chicken Breast, ground or finely chopped (using this to keep this lean, but most recipes use thighs or a mix)

  • 1 Large Onion (grated or fine chop in a food processor)

  • 3 Garlic cloves, minced

  • 1/2 Cup Parsley, chopped

  • 1/2 Cup Mint Leaves, chopped

  • 2 Tsp Aleppo pepper

  • 1 1/2 Tsp Coriander, ground

  • 1 Tsp Cumin

  • 1/2 Tsp Cardamom, ground

  • 1 Tsp Paprika

  • 2 Tsp Salt

  • 1/4 Tsp Pepper

  • 2 Tbsp EVOO

Directions:

  1. Heat up grill, medium temp.

  2. Prep your chicken, I like to chop mine so I’ll mince it until almost fine texture. If your using ground, you’re ready to go.

  3. Add all the ingredients to a large bowl and mix by hand until everything has been incorporated.

  4. Form football shaped patties, approx. 8, and drizzle with a little more olive oil.

  5. Grill about 5-6 minutes on both sides or until done (about 165 degrees in the center.)

  6. Serve with whatever sides or sauces, baba ghanoush, hummus, or tzatziki go well, and enjoy!

In cooking, dinner, grill Tags Chicken, Kofta, healthy
Comment
gising.png

Gising Gising (Vegan)

September 13, 2021

My version Auntie’s vegan Gising-gising. Please add more vinegar and/or lime juice to your preference. This is just a rough write-out for everyone. Serve with some nice Jasmine or Sticky Rice. I’ll update later if I forgot anything!

Ingredients:

8 oz. Plant-base Protien (Beyond Meat, Impossible Burger, off-brand, etc…)

1 Cup Green Beans, a rough julienne cut

Half Small Red Onion, diced

1 Can Coconut Cream

1 Leek stalk, thinly sliced

1 Garlic Chives, approx. 1/4 cup chopped

4-6 Thai Chilies, sliced (split between the protein and sauce)

2 Small Cloves of Garlic, minced (split between the protein and sauce)

2 Tbsp Mushroom Seasoning (or to taste, split between the protein and sauce)

1 Tbsp Sugar Cane Vinegar, to taste

1 Tbsp Lime

A couple tablespoons of cooking oil

Scallion and cilantro as garnish

Directions:

  1. Heat up half the cooking oil until you see a little bit of smoke in the wok or pan you’re using.

  2. Toss in the garlic, Thai chili, and onion, sauté for about 20 seconds, don’t let it burn.

  3. Add the protein, green beans, half the garlic chives, and half the mushroom seasoning. Cook till browned.

  4. Remove from wok and set aside.

  5. Heat up the rest of the oil as earlier, then add the rest of the garlic, Thai chili, and leeks. Cook till the leeks start to become transparent.

  6. Add the coconut cream and the remainder of the mushroom seasoning.

  7. Simmer down the sauce until it starts to thicken (as much as you like.) At this point add the protein mix set aside earlier and the lime juice and sugar cane vinegar to taste.

  8. Garnish with scallion and cilantro. Done!

In cooking Tags Gising-gising, Vegan

Thai Curry Shrimp

March 22, 2020

Shelby recently asked about an old recipe I used to cook when we I was trying to cook healthier (I’m still working on that…kinda.) It was a Thai curry dish that was super easy and delicious. It’s been a while so I kinda mixed it up a bit and maout with something even better!

I’ll quit talking so you can get to the recipe. Give it a shot, feedback is always welcome.

Before you start:

I like slicing my green onion in long, diagonal pieces just because they look pretty and when people see it they think you know what you’re doing.

As for the shrimp when I say prepared I mean however you like them. De-veined is always a good idea because even though shrimp are small, poop is poop. I ain’t going to kill you but the vein can mess with texture because it can be gritty. I’ve eaten plenty of shrimp with the vein in and it wasn’t a deal breaker.

I like coconut milk with the cream in it. That stuff is good and adds to the dish. Use it if you have it.

Buy a wok if you don’t have one, every household should have a wok.

Ingredients:

  • 1 1/2-2 lbs Shrimp, prepared

  • 3-4 Cloves of garlic, minced

  • 1 Tsp Ginger, finely minced

  • 1 Tbsp Thai Red Curry Paste

  • 2 Tbsp Thai Green Curry Paste

  • 4 Green Onion, chop/slice the whole stalk, separating the white and green parts

  • 9 oz Coconut milk/cream (I’ll use the whole can sometimes - crazy life!)

  • 2 Tsp Fish Sauce

  • 1/4-1/2 Cup fresh cilantro, chopped

  • 1 Tsp Oil

Instructions:

  1. Mash the ginger and garlic into a rough paste, doesn't have to be worked all the way through, just blended well.

  2. In a bowl or bag, toss in the Red Curry, the Garlic & Ginger paste, and the Shrimp, mix well and set in the fridge for about 30 minutes.

  3. Prepare your Green Onion and Cilantro while waiting for the marinate to work. Go ahead and prep your the remaining ingredients too.

  4. Heat the wok/pan on high with the oil. We want the to toss the Shrimp with all the marinate into the pan when it's really hot. You want to get a nice brown sear on the on outside of the shrimp WITHOUT cooking them all the way through. When the oil starts to smoke you're ready to go.

  5. Add the Shrimp and white part of the onion. Remember, just get some color on the outside of the shrimp.

  6. Add the Fish Sauce and Coconut Milk, let it bubble and thicken up a little bit (your preference and the shrimp will finish cooking at this time.)

  7. Remove from heat, garnish with Cilantro and Green Onion and Done!

Serve with a nice fragrant Jasmine rice and you’re in business.

In cooking, recipe Tags Thai, green curry, red curry, shrimp, cooking, recipe
Comment

Pok Pok Wings at Home (Again!)

June 30, 2019

These were my second attempt at making the addictive Pok Pok Vietnamese style wings from the Pok Pok cookbook Marleigh gave me. You probably remember the first time I had the help of Geordie and my buddy John.

I’m addicted to these things! I’m getting the hang of frying out of my new wok (not exactly new, but I just started utilizing it!) I think the next time I have a go at it I’ll have the oil temperature perfect. I did tone down the heat a little too, even though the flavor was great last time the Thai chili paste I made with the peppers my Mom grew were killing!

Oh, here’s a shot the plate before shishitos and one of Shelby holding them after because she’s super cute!

In cooking Tags Pok Pok, wings, chicken, Vietnamese, wok, cooking
Comment

Chicken Larb

April 8, 2019

It’s been a while since I’ve made this!

In cooking Tags chicken, larb, laap, cooking
Comment

Avocado and Citrus Salad with Grilled Salmon

August 15, 2018

Shelby wanted a nice, bright salad for dinner. I grilled some salmon and avocado, supremed an orange, and made some avocado dressing. She seemed pretty happy with it!

In cooking Tags avocado, supreme orange, salmon, grilling, salad, cooking
Comment

Roasted Tomatoes

July 26, 2018

Roasted some tomatoes we got from our garden. Tossed in some basil we grow, chopped garlic, olive oil, and salt & pepper.

In cooking Tags tomatoes, roasted, garden, basil, olive oil, cooking
Comment

Thanksgiving 2017

November 27, 2017

Thanksgiving is my holiday. I get up early, turn on the parade in NYC that's guaranteed to have terrible music, start getting dinner put together, and nip at the extra bottle of cheap red wine I supposedly bought for cooking.

This year was different though.

We had to travel to New York City to be with our daughter Marleigh. Luckily her ailment was caught in time and after a week in at Mount Sinai Beth Israel she was released, looking good!

Marmite and Shelby

Pretense aside, this is actually a happy story - watch, you'll see. The hospital staff was really good with Marleigh and when she was moved down from the MICU into another room she had to share it with another patient. She'll stay anonymous but I will say it was an experience to say the least. Ask me in person and I'll tell you. IT was straight up movie material. Back to the story.

The view from Marleigh's room

Before we drove up to the city Marleigh (and us!) were lucky that she has a ton of friends up there to look after her. One of her friends from Richmond, Rachel, was great about bringing her food and spending time with her. Thanks by the way to everyone who helped Marleigh out while she was there, even those cute, young doctors (you know our daughter is single atm right?)

We stayed at Marleigh's place while were in New York and I contemplated whether or not we would do a Thanksgiving dinner. Everything I bought for it - turkey, sides, pans, etc..., was all in Virginia. The night before Thanksgiving after we visited Marleigh we decided we'd walk to Union Square a few blocks from the hospital to check out Whole Foods. It was close and open by the time we left the hospital. You could guess it was packed! Everyone was trying to get their dinner stuff in order and here we are just mulling over the idea of maybe making one (I'm chuckling right now as I right this.)

You might assume we did roast a turkey because of the header photo for the post and you would be correct! But you know how much we paid for the turkey?

15¢

That's right, $0.15, that much. "How!?" might you ask, Whole Foods stuff costs hundreds of dollars! Well, that's actually not true because our go-to Tuesday night drinking wine, Don Simon Tempranillo, is only $4 and it's does the job.

Back to the turkey.

We shoulder our way through the throngs of people picking through what was left on the shelves and spy a display freezer with some organic turkeys in them. They were priced on average about $35 which isn't bad for being labelled free-ranged and organic. As we dug around we pulled one up from underneath the solid, frozen birds that had us both raise our eyebrows.

It was about a 15 lb turkey priced at 15¢. We did a double take and then expressed awe. The weight was listed wrong and whoever was printing out tags didn't notice? I mentioned that maybe I could ask a manager about buying it at the marked price but Shelby said just go to the register and buy it. Duh, I over-think things sometimes. So I tucked our prize under my arms as if to protect it from anyone who might have caught a whiff of what was going on and went to the front of the store. This was a sign we were supposed to make dinner while we were up there and by god I was going to do it.

Sooo many lines! But I'll have to say the store handle it likes pros and had people out of the store quickly. We would have been out quick too if I hadn't stood in a shopping lane that I thought was a check out line.

Womp, womp.

Union Square BSOD, I had to take a pic lol

We get in the right line and finally to a register. The woman behind the counter grabs the the turkey and passes it over the scanner. What?! That's the look on her face if you can imagine. She swipes the tag again and comes up with the same price. A penny a pound. She looks up at us, gives a little shrug and says what we wanted to hear, "I'm going to go ahead and give it to you for that price." She then smiles and says something about the holidays and it was her birthday soon anyway. I said, "Mine too! November 28th!" We bonded and Shelby and I walked out of the store with the most inexpensive turkey we have ever bought from a store.

We picked up the rest of what we needed elsewhere and took the train home. Try to imagine the two of us carrying bags of groceries from Union Square to the train station to get back to Brooklyn - and it was freezing that night too! I mean it really wasn't that bad I think because of the score we landed. When we got back to the apartment I did some prep work and planned on getting up early the next day like I always do on Thanksgiving. It was queit otherwise and the whole place smelled that way it should when I'm cooking. It felt like home.

The next morning I got up, used Shelby's laptop to watch the parade, and got to work. I was able to manage using what Marleigh and her roommates had in the kitchen to put together a decent meal. Roasted potatoes, stuffing, spaghetti squash, stock for gravy, and of course, the turkey. They have a gas stove and it was nice cooking on gas again, it's been years.

We picked up containers for take-away and got everything packed up when it was done. After we got ourselves ready we took the train downtown. We walked Marleigh down the family day room and setup dinner. Marleigh seemed to like having a homemade dinner and it was nice to be able to spend time with her relaxing during a stressful time.

After dinner we went back to the room and relaxed a bit and watched some TV. Marleigh wasn't released until the next day which she was ecstatic about. She was going a little stir-crazy being stuck in the hospital, she wasn't allowed to leave the building the whole time she was there because she had an IV hookup. Apparently people used to be able to step outside but some patients were caught injecting stuff into their lines outside so they nixed that priviledge to prevent that from happening.

Leaving finally!

Once we got back to Marleigh's apartment she got cleaned up and we went out for a little dinner then returned to her place. I took the leftover turkey and carved up the meat and portioned it out for her with some gravy in baggies to freeze. All she had to do afterwards is take out whatever portion she wanted to eat and heat it up! I took the rest of the carcass and made turkey soup. Her roommates (who had returned to NY at that point) said it smelled good, that was nice. I told them to help themselves.

We meant to leave Saturday but we ended up going to IKEA Brooklyn and you know how that goes - hours of time browsing. It was fun though and Shelby picked up some shelving for Marleigh to help her organized her stuff. Shelby is huge into organizing and building stuff. I like to cook :) 

The next day we got our stuff to leave and Marleigh was going to head to brunch with one of her best friends, Balin. When I went to get the car I notice that a car that looked similar to ours had it's driver's side window shattered. I thought, "Wow that sucks!" Then turned around and walked back towards our group. I turned around again and headed back to our car to pack our stuff. I went to the same car, because it was ours, and realized that our car had been broken into.

@#$%! Com'on man!

So our fairly new car had been broken into and the thief (thieves?) got away with about $4 in change and my old, ratty cheap sunglasses. It only cost us a $500 deductable to fix it. Nice. So we cleaned up what we could and packed the car then found a hardware store to tape up the window. I'll tell you driving 6 hours in a car with plastic taped to your driver's window is no fun. No fun at all.

After my initial pootiness and large coffees we made our way south. Shelby drove about halfway to let me rest a bit which I greatly appreciated. We made good time and I actually went out real quick that night.

This was definitely a trip to remember and we're glad Marleigh is bouncing back and hopefully will have this thing knocked out ASAP. 

Driving over the Chesapeake Bay Bridge Tunnel towards Virginia Beach

In family, Life, cooking, holiday Tags Thanksgiving, NYC, New York City, Marleigh Culver, Mount Sinai Beth Israel, Manhattan, Whole Foods Union Square, cheap turkey, cooking
Comment

Tuna Kebabs

August 3, 2017

I had to share these Tuna Kebabs I made for dinner last night. My friend James caught a bunch of tuna off the coast here and gave me belly. I had to freeze so I figured since it was frozen I would cube it and put it skewers. The marinate was simple: teriyaki, garlic, onion, salt, and pepper. I tossed on some cherry tomatoes my mother gave me and some red onion.

Simple and delicious...it looked pretty too!

In cooking Tags tuna, kebab, teriyaki, grilling, dinner
Comment

Spicy Tomato Sauce

September 21, 2016

The whole house smelled wonderful...

...I've had my spicy tomato sauce on the stove overnight.

Shelby said we need to go through the freezer and get rid of anything that's been hanging out in there too long. When it was around dinner time last night I thought I'd take a look and see what we had in there:

Bag of venison cut into stew meat.

Three clusters of snow crab legs.

Clam stock.

Two slices of pork loin (these will be marinating in some mojo this week.)

Bags of cheese rinds.

Frozen egg rolls that really need to be friend up soon.

Some prepared tomatoes from several months ago...

There is a bunch of other stuff in there but it would take up a couple of pages to list. There is even a bag of mystery meat labelled "Chayce". No worries, I can assure you our son Chayce is alive and well in Hawaii. He's even married now! Here's proof from a Facetime we did last month, he wanted instructions on how to cook steak and potatoes.

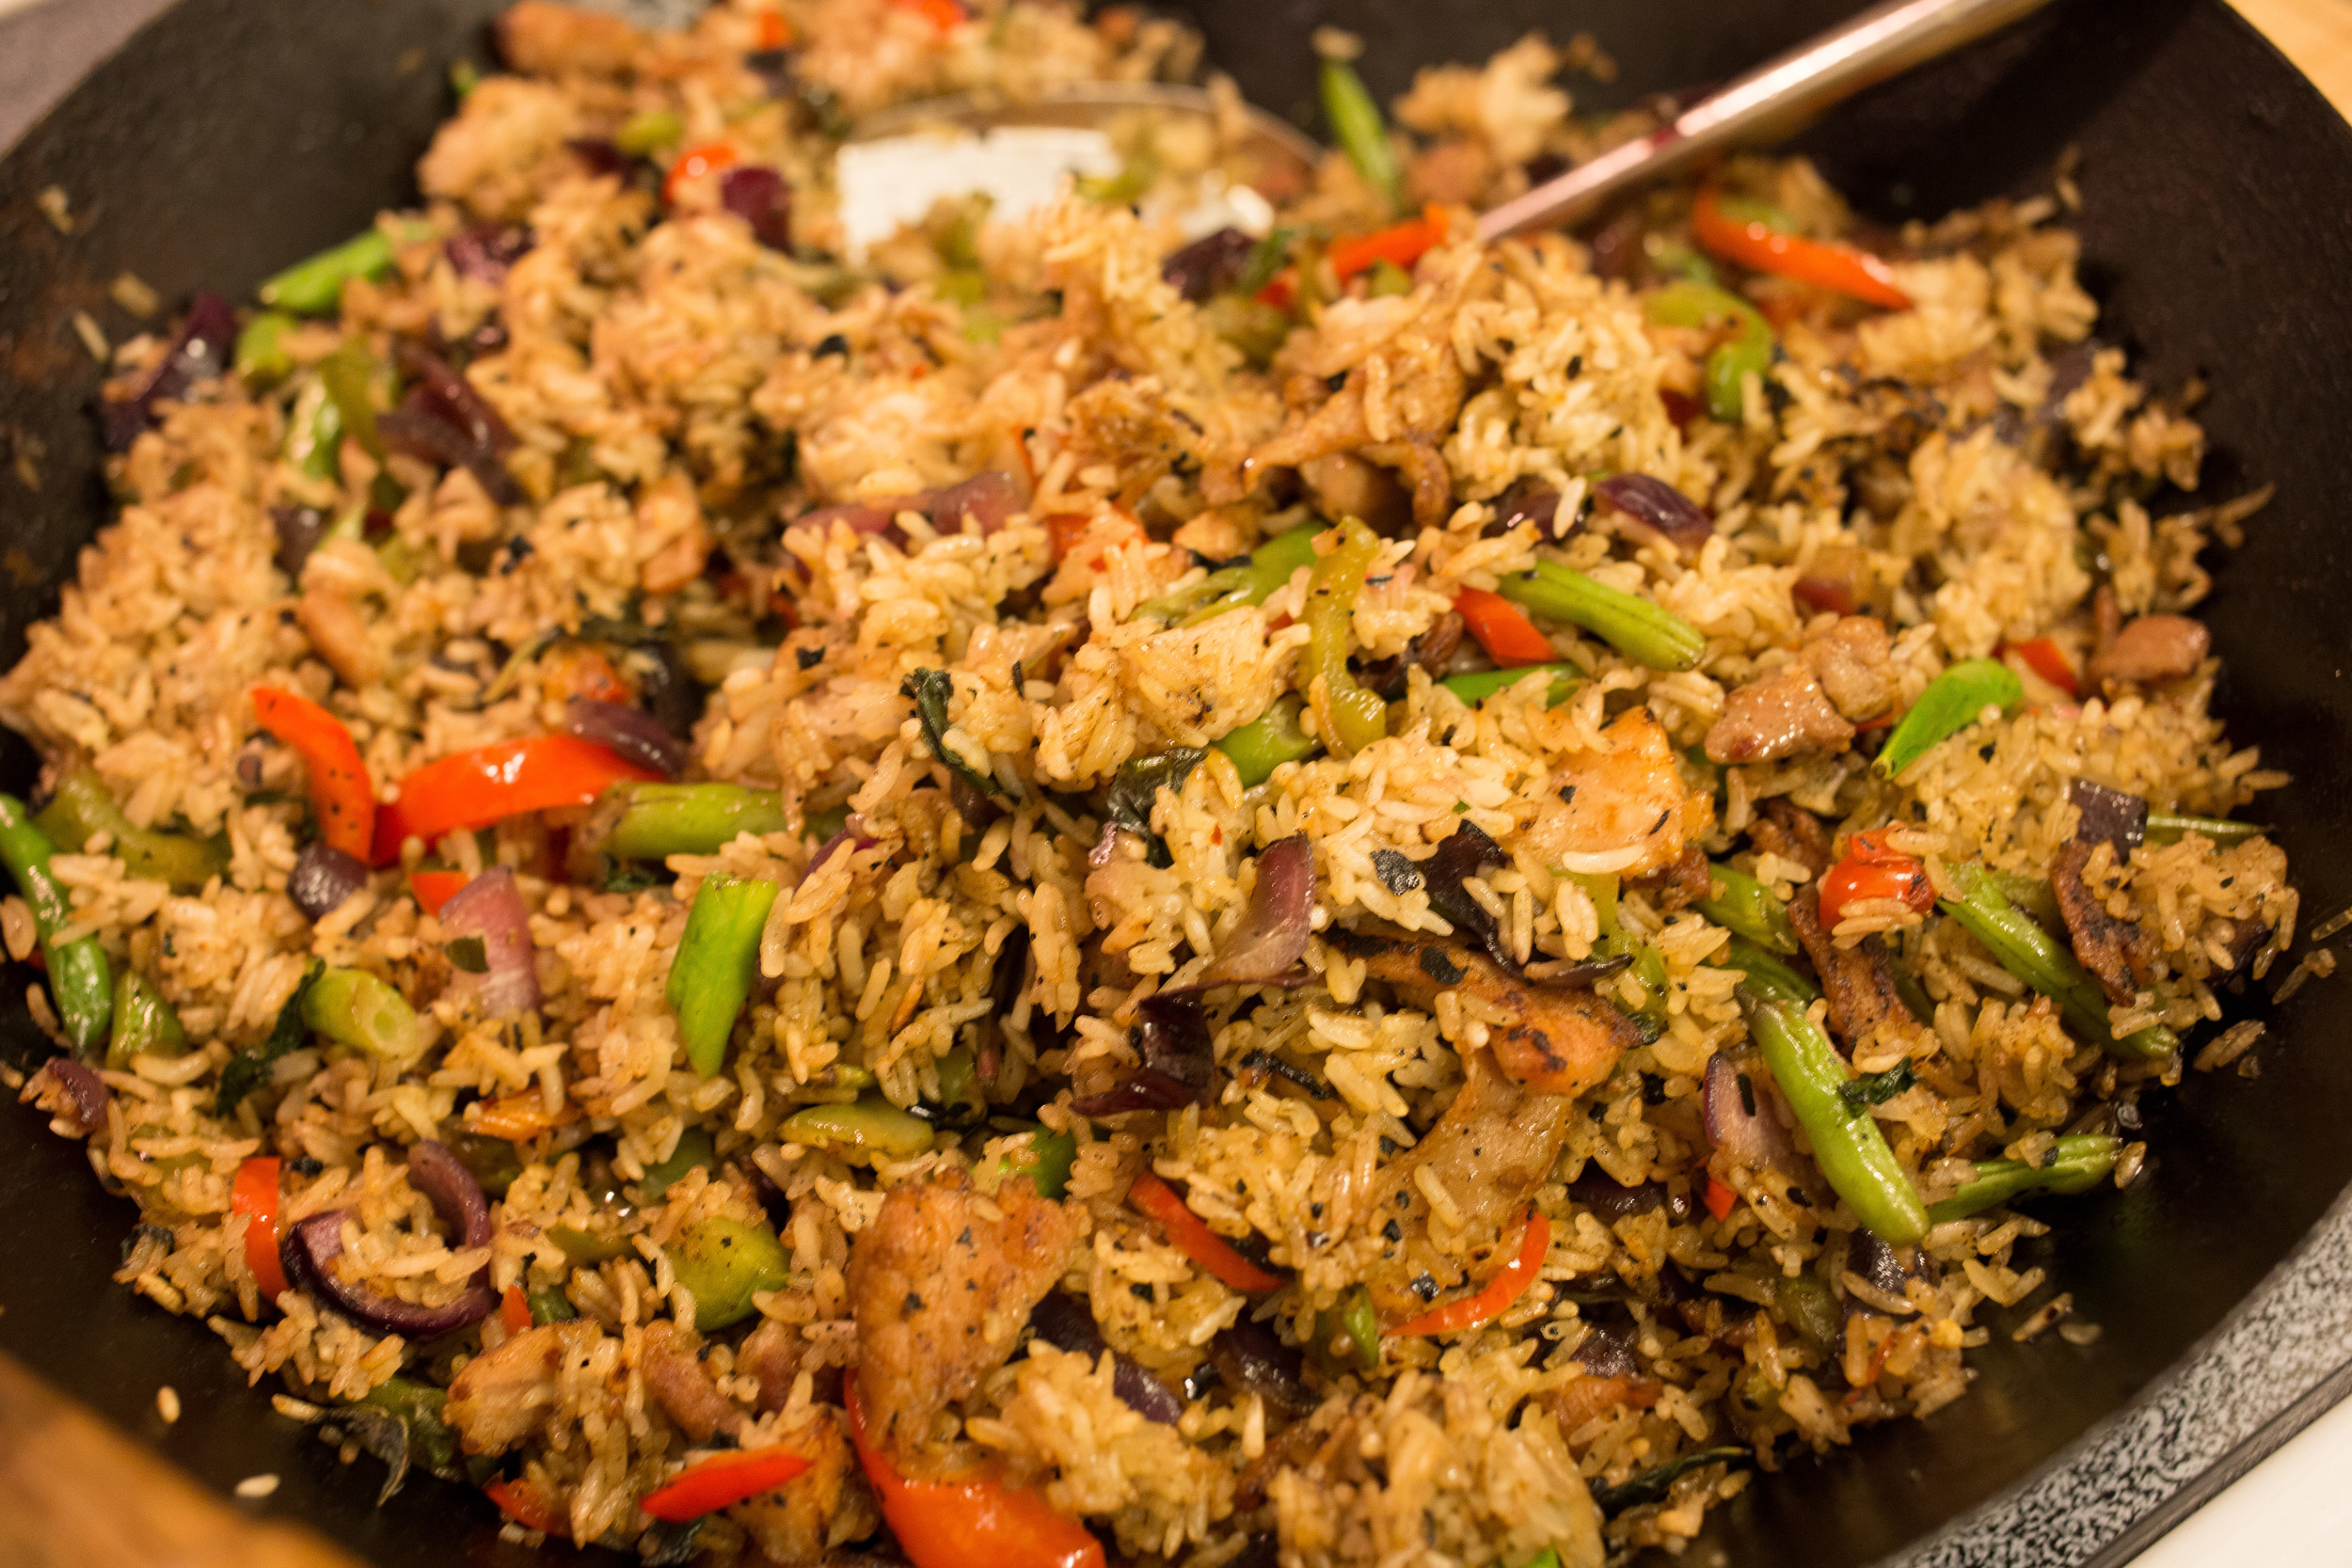
Ok, for dinner I didn't have time to thaw out much so the crabs legs are pretty much cooked already and will be easy to prep. I had a head of broccoli I wanted to try a recipe on so there's the green. Easy!

I figured while I was making dinner I might as well take out the frozen tomatoes get those simmering. Tomato sauce is easy to make and this bag of tomatoes, about 3 lbs. worth, have been neglected for so long.

Since I wasn't using the sauce last night I planned on letting it stew overnight. While I was awake I had it set on a low simmer, stirring occasionally and scraping the sides. Shelby was out and when she walked in she said, "Mmm...what's that?" Told her what the deal was and unfortunately there would be no tomato sauce eating on this night. At bedtime I add some extra water and set it on low, barely a bubble here and there, covered the pot (to halt reduction), and then went to sleep.

Woke up and like the title of the post says, the whole house smelled wonderful. Checked on the sauce, stirred it, uncovered it, and turned it back up to a very low simmer. I'll check on it later at lunchtime when I'm on break. Reason I'm cooking it for so long is to let the tomato flesh breakdown on its own. I'm stirring it to keep it from sticking to the pot and to help break up the tomatoes that way too. If I'm here to tend to the sauce I'll keep it uncovered to concentrate and thicken. I'll probably store it in the fridge and have it Thursday night, we're going to my mother's house for dinner tonight.

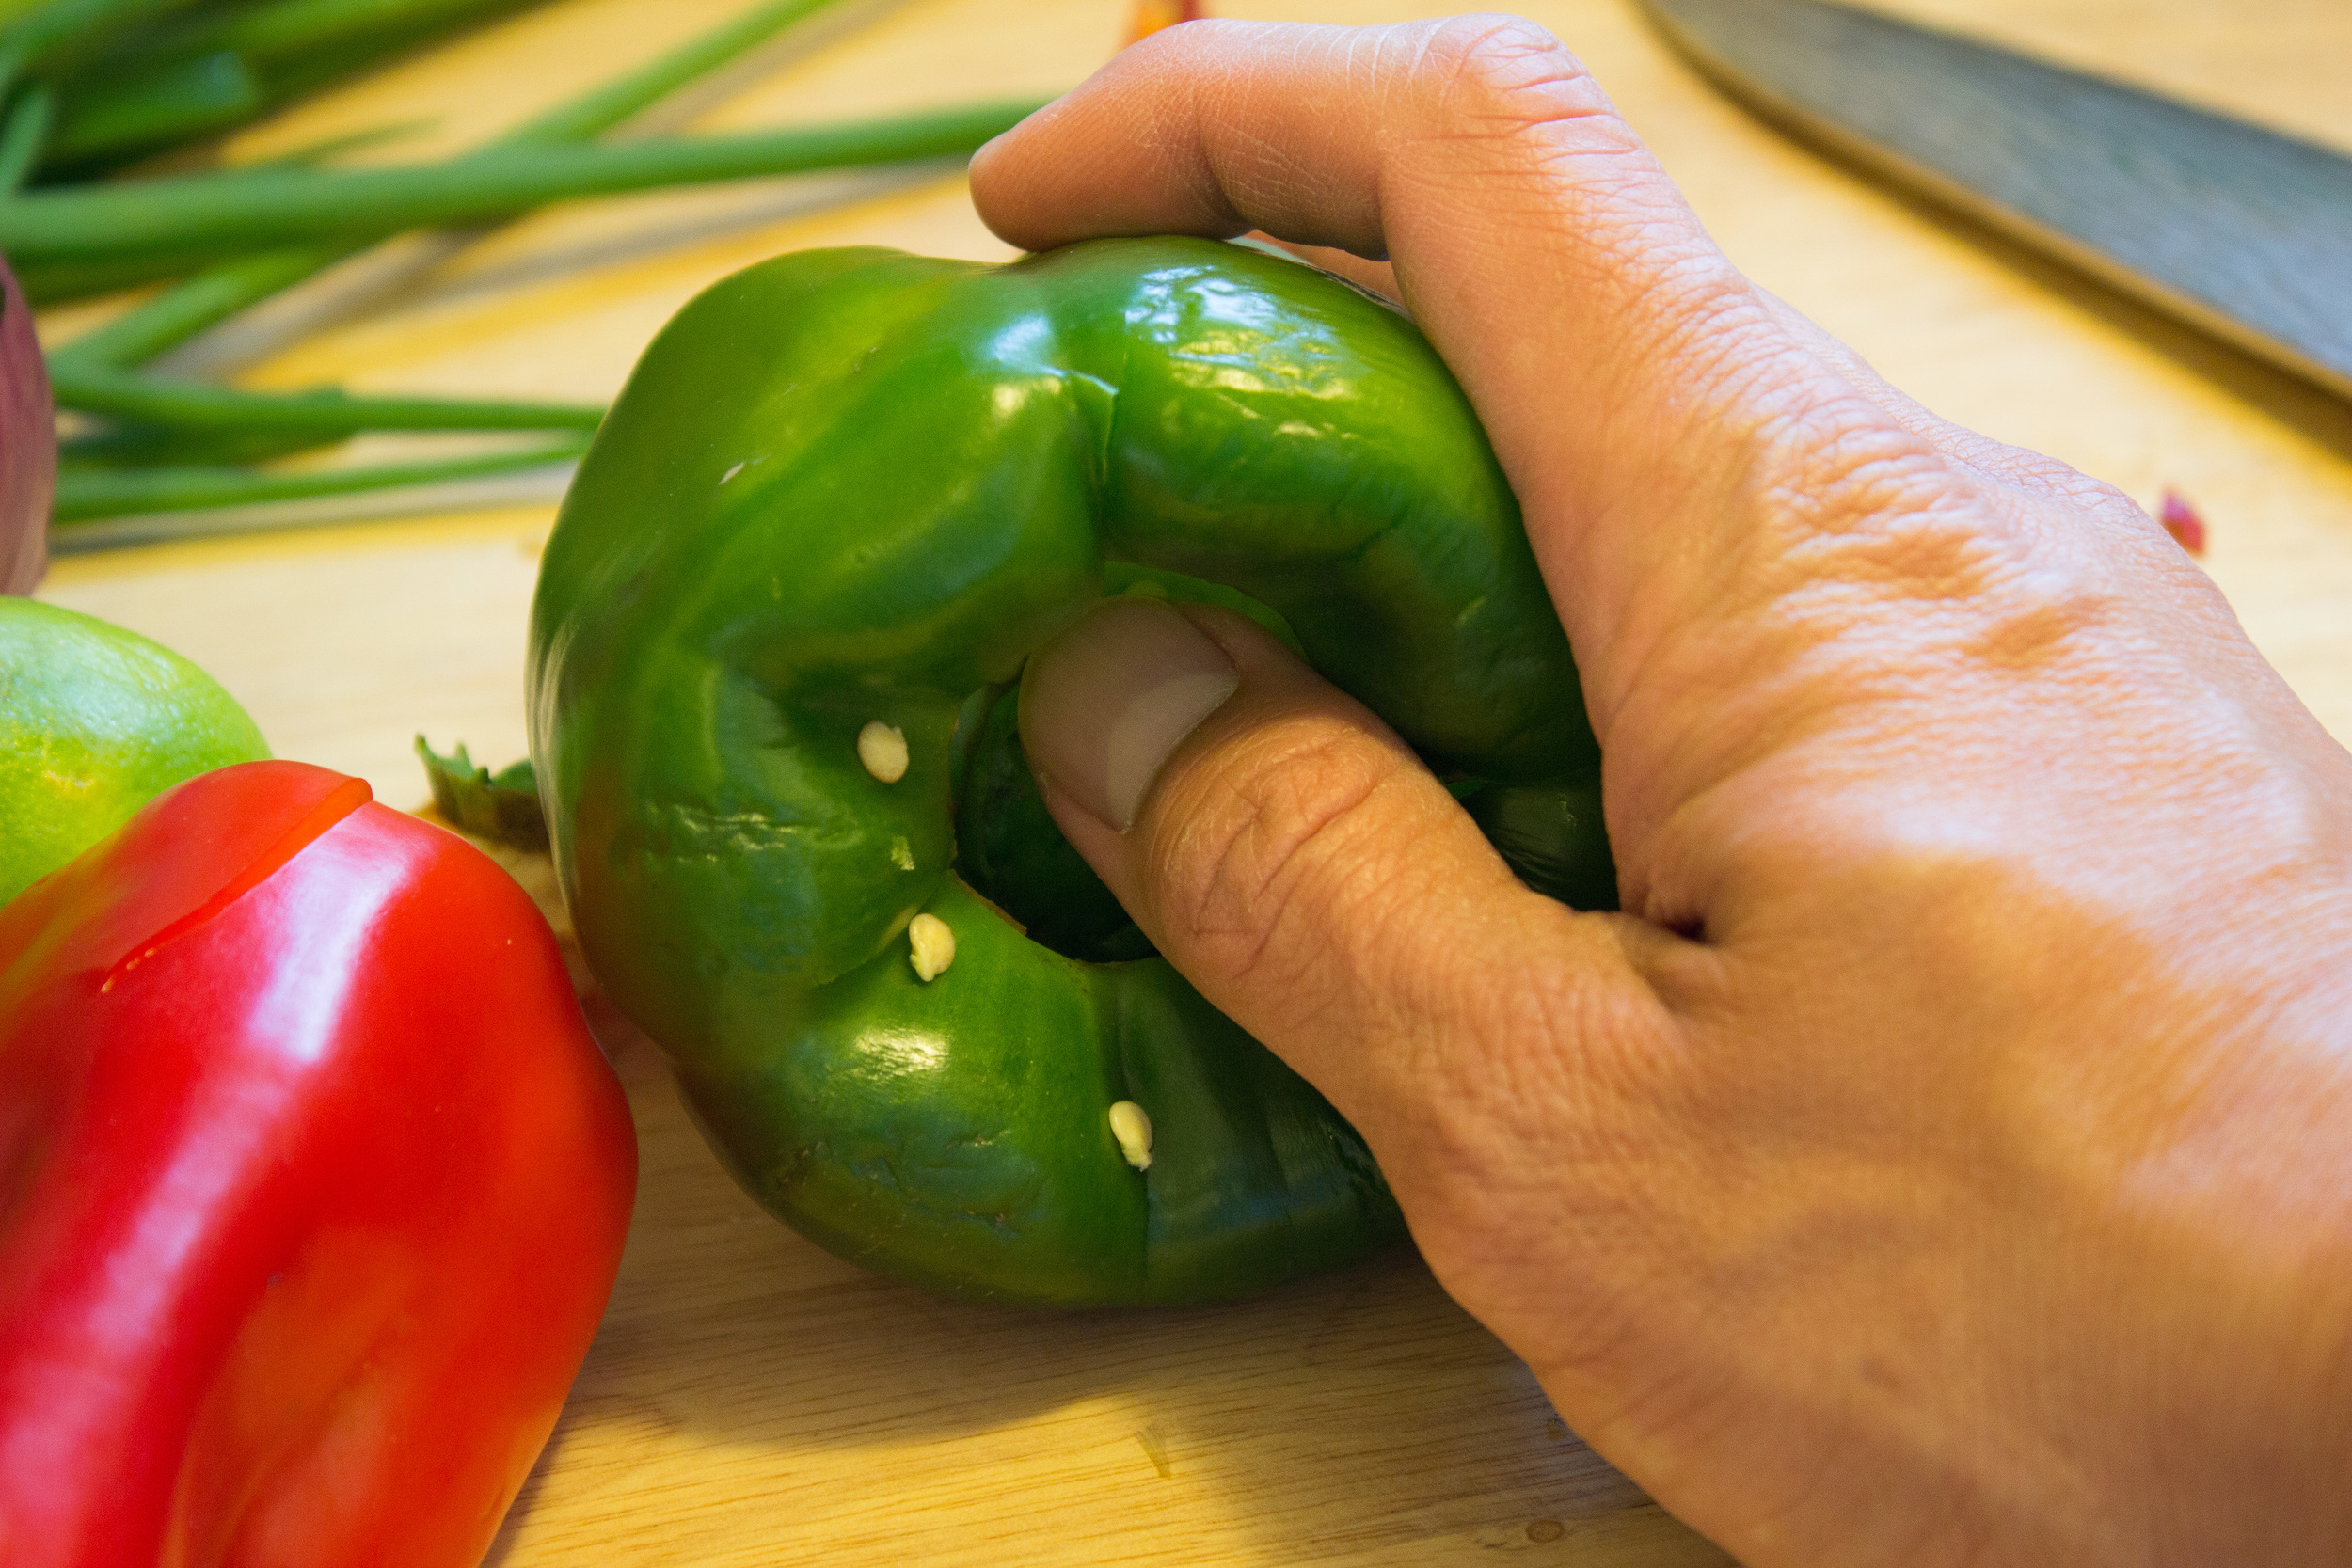
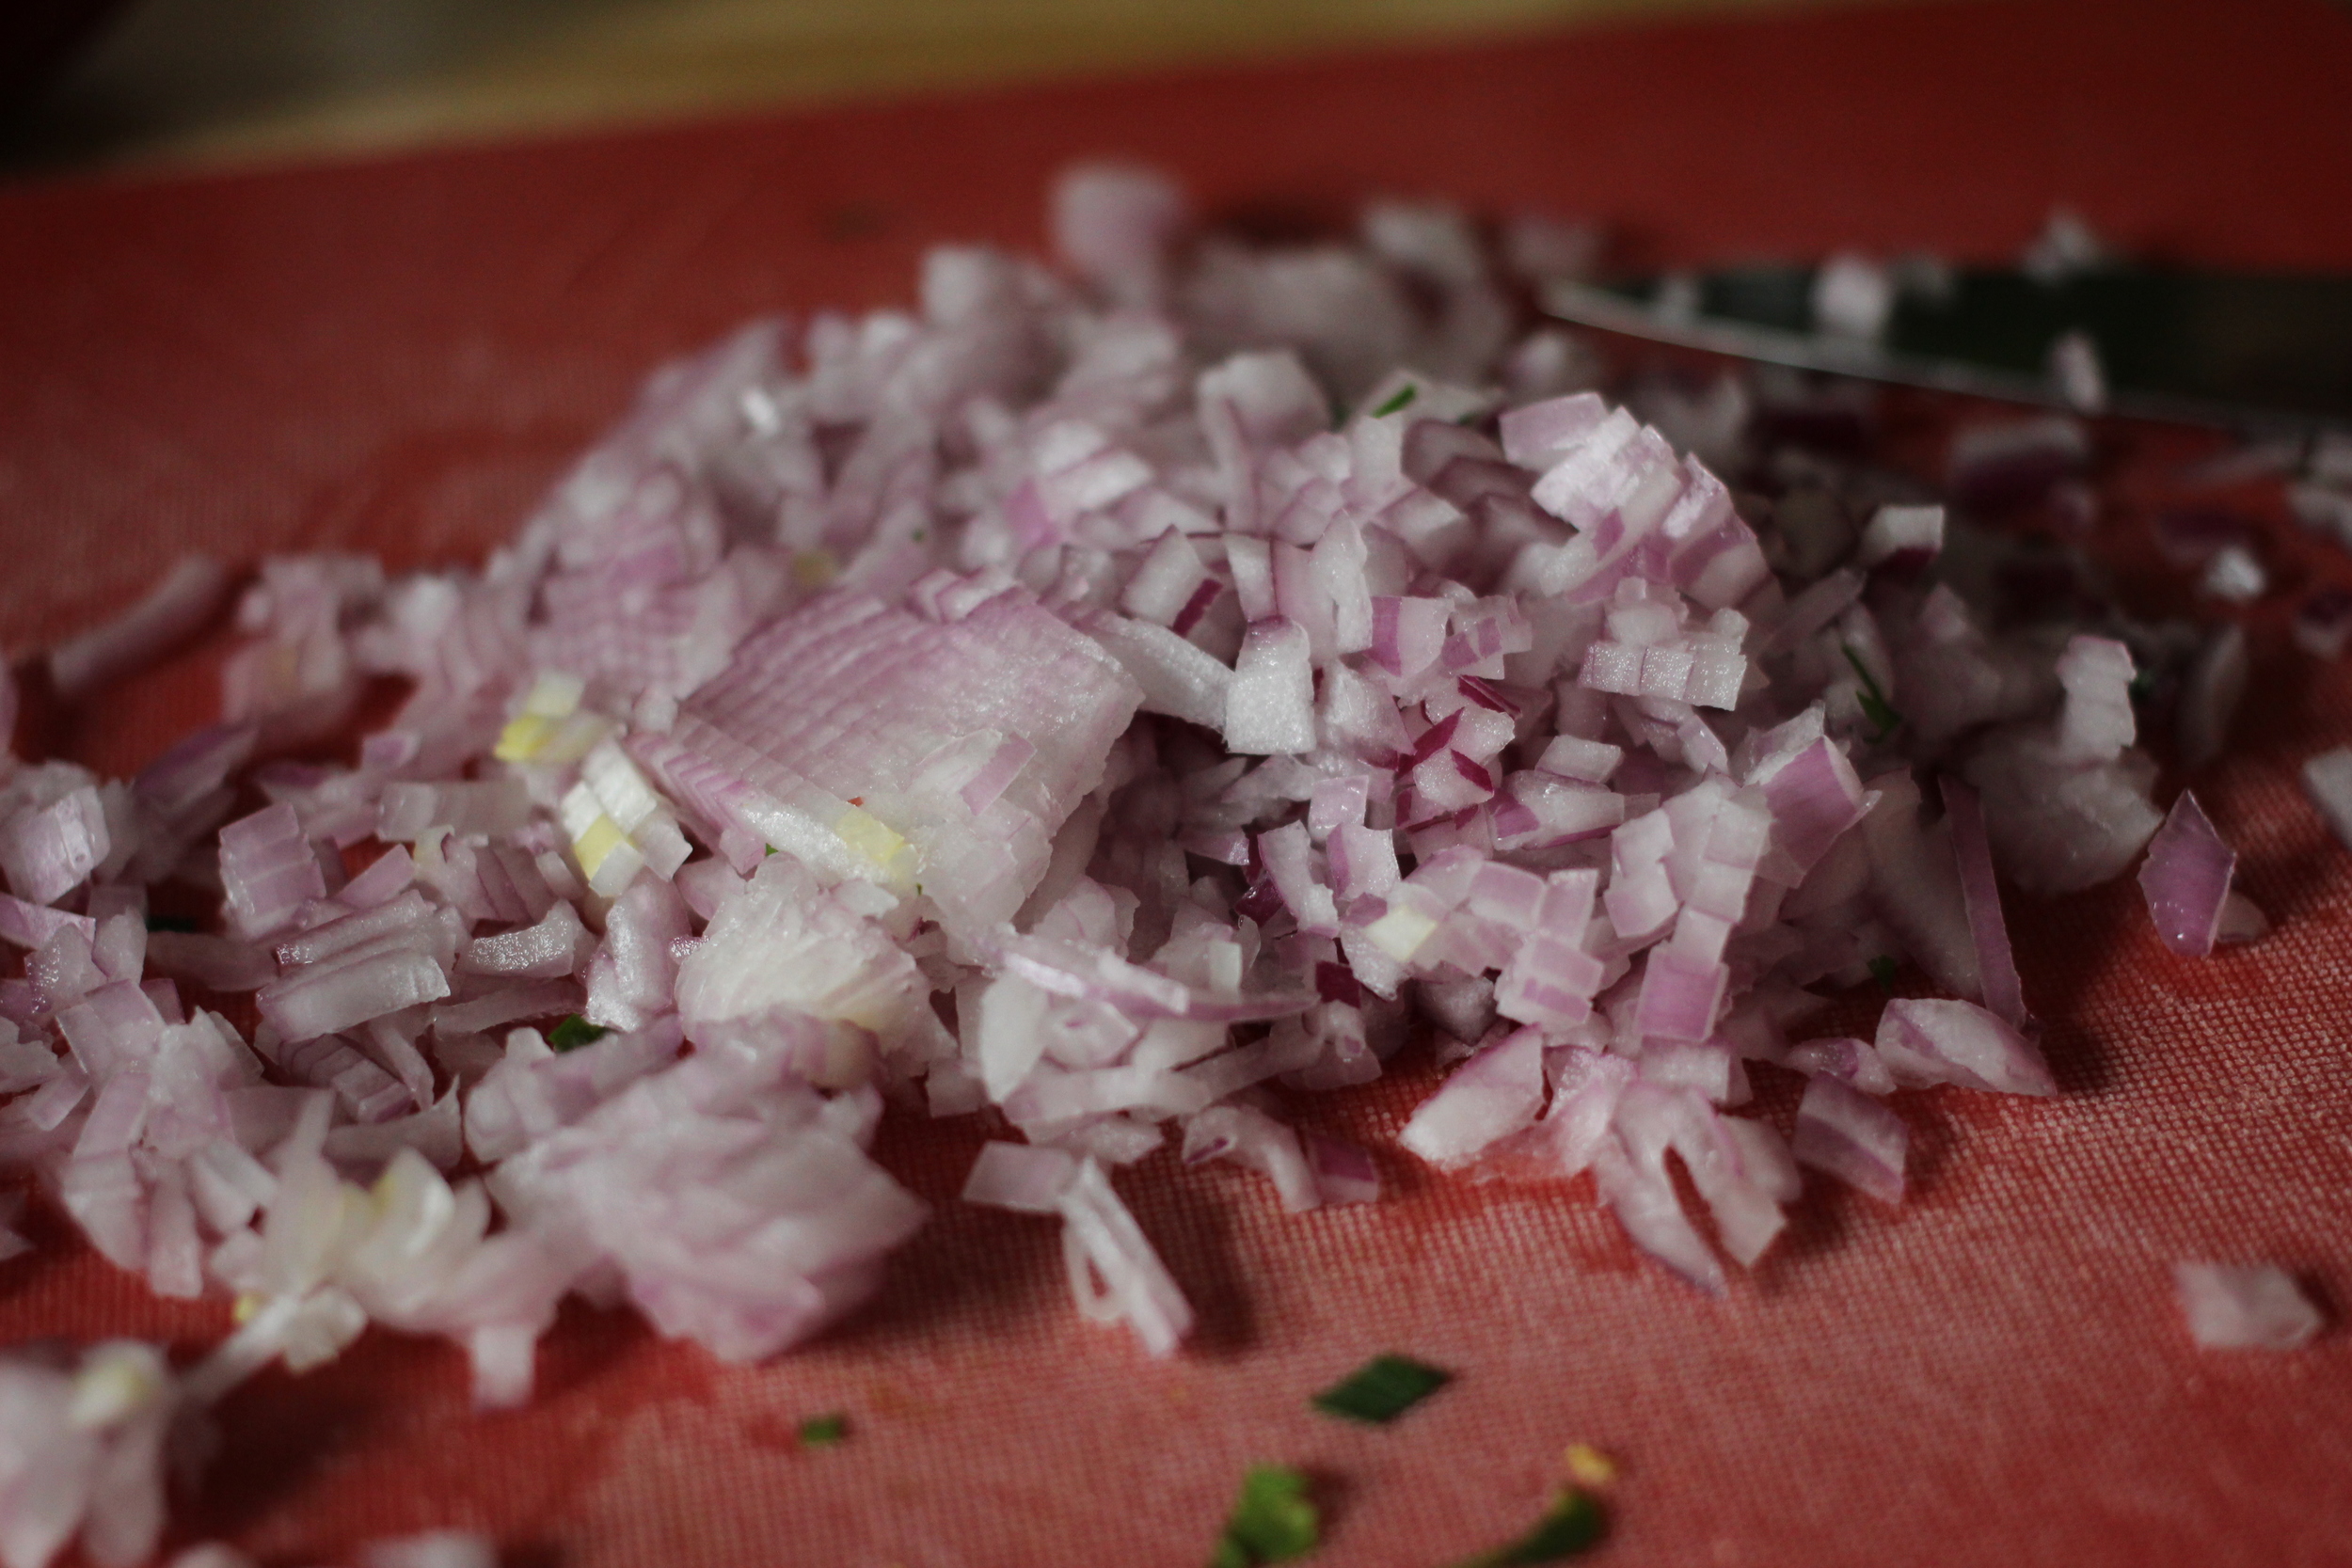
Here's my recipe so you can make this spicy sauce at home. You'll notice I put onion down as optional, but I always add onion to everything! Love them. I had to adjust the recipe a tad bit since I didn't use the 4 lbs. of tomatoes I usually use.

Spicy Tomato Sauce

Ingredients:

  • 4 pounds tomatoes, prepared
  • ¼ cup olive oil
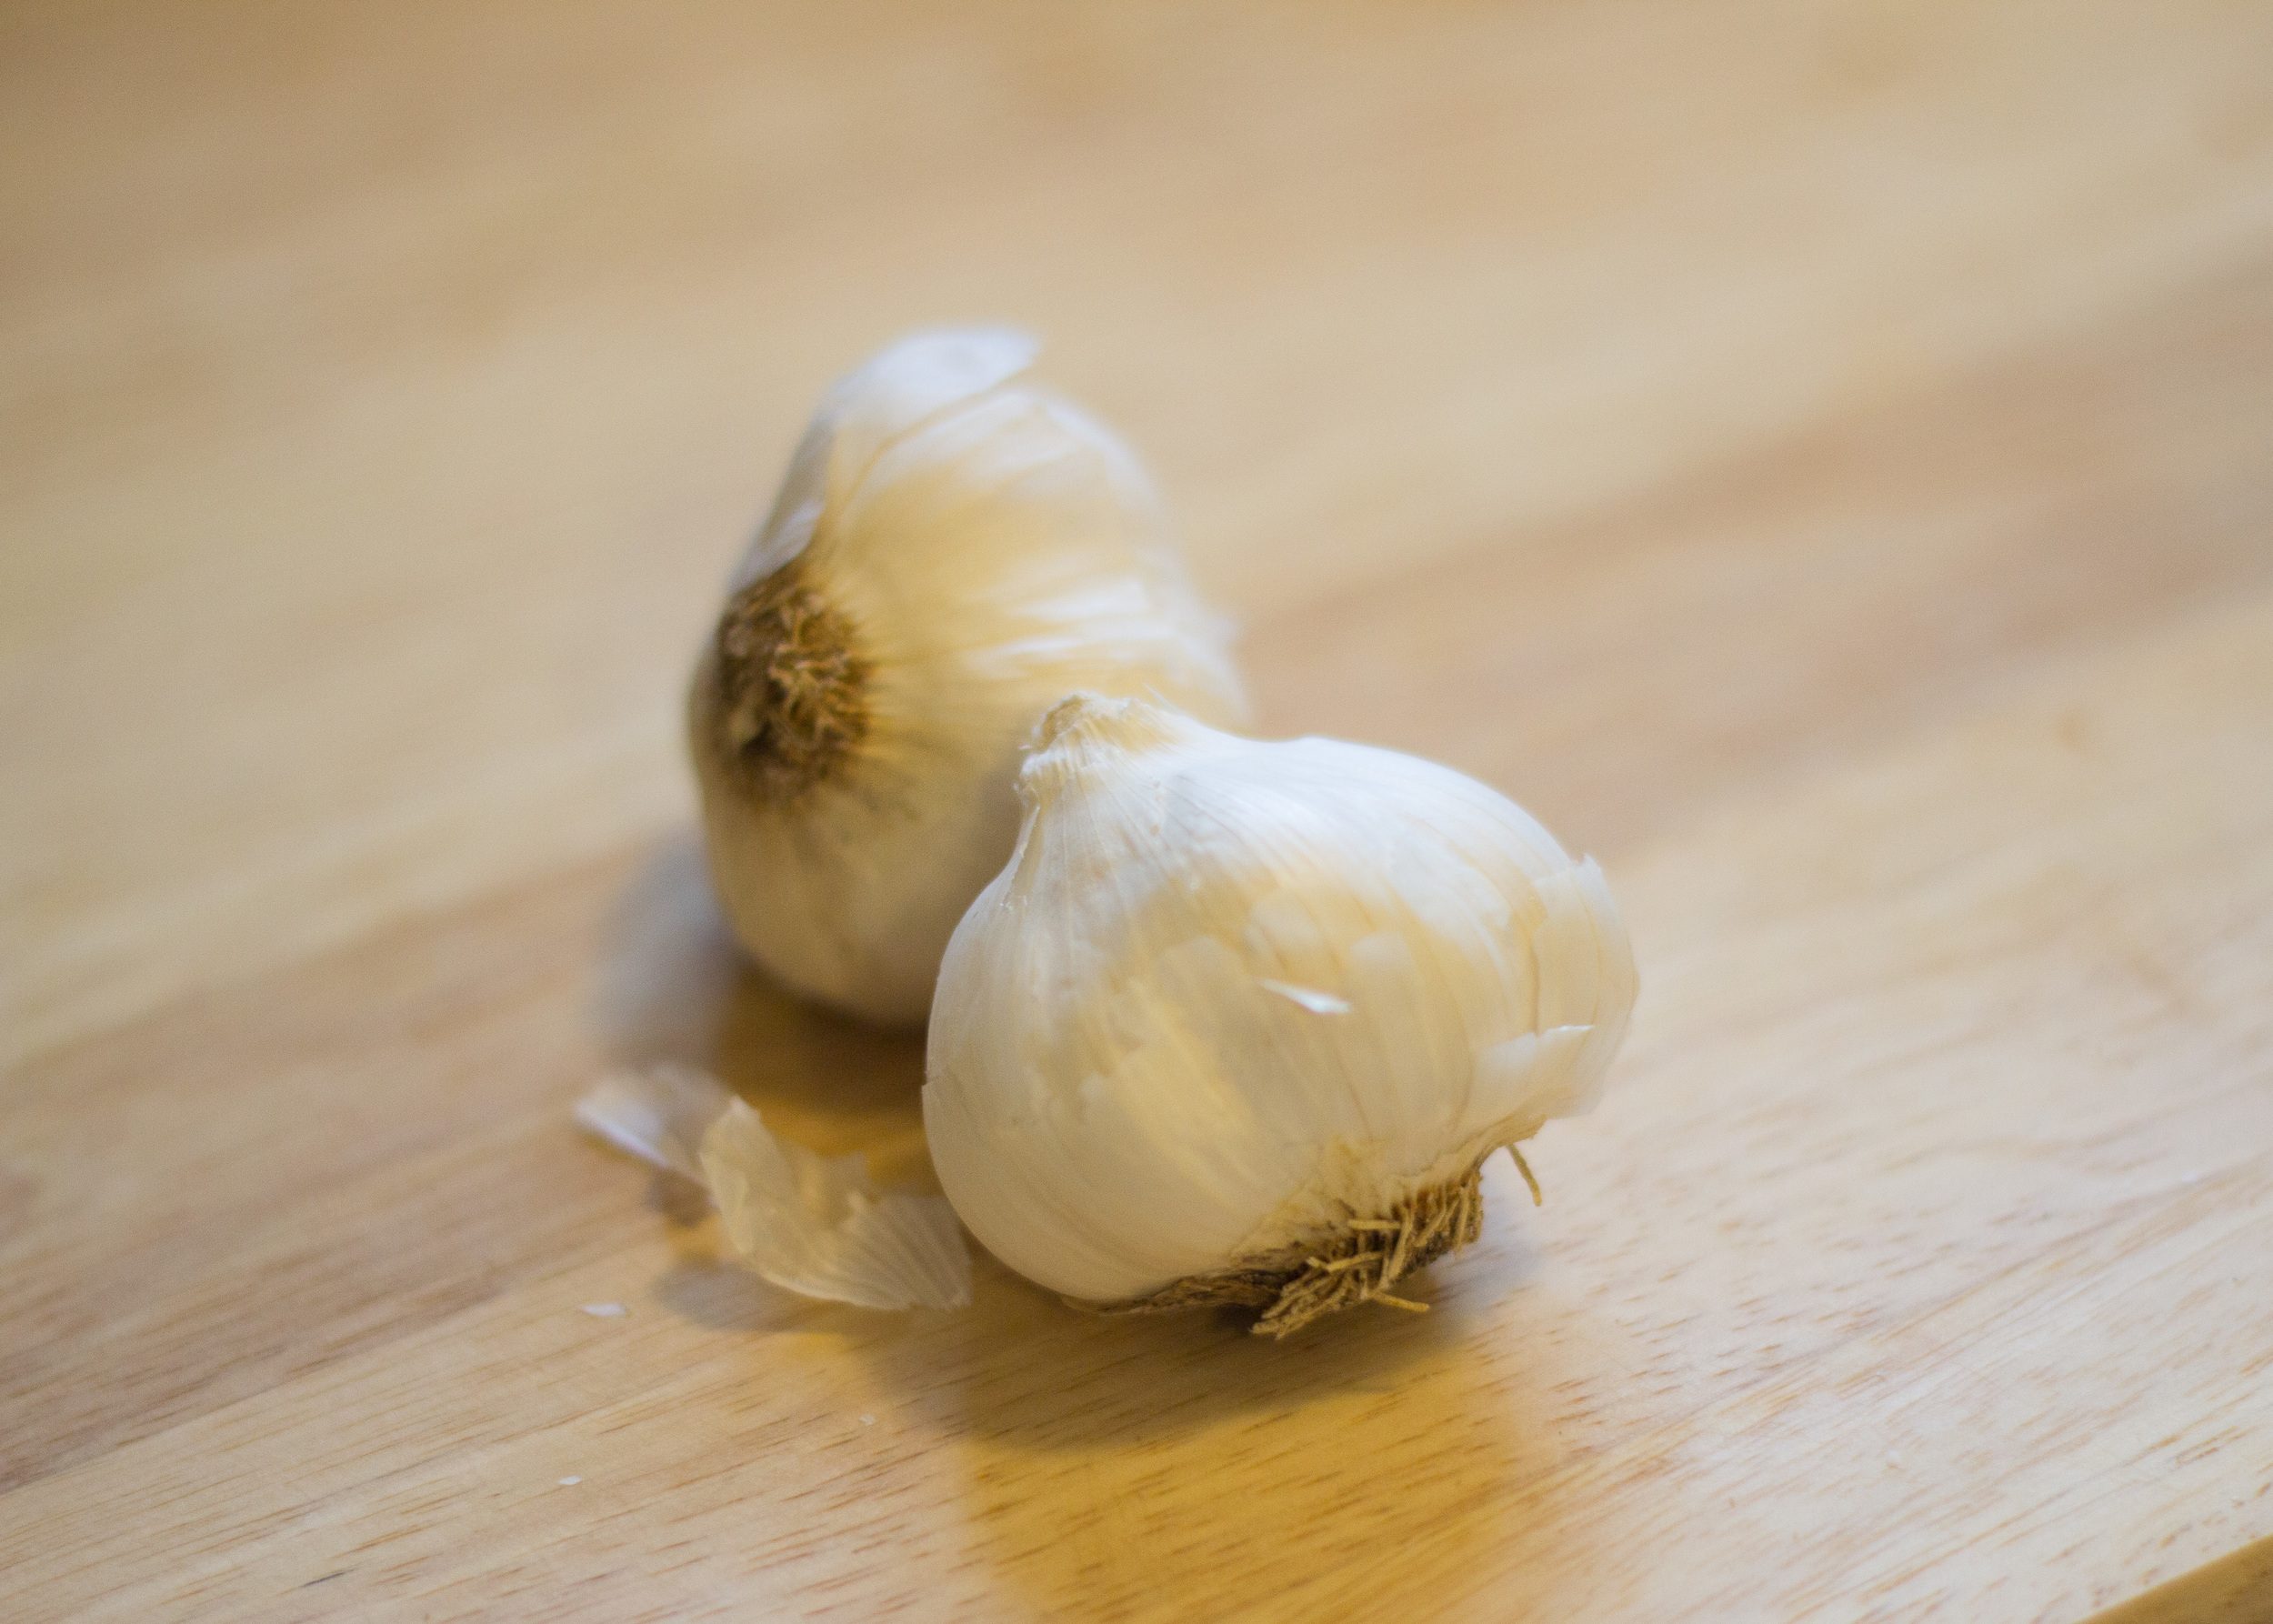
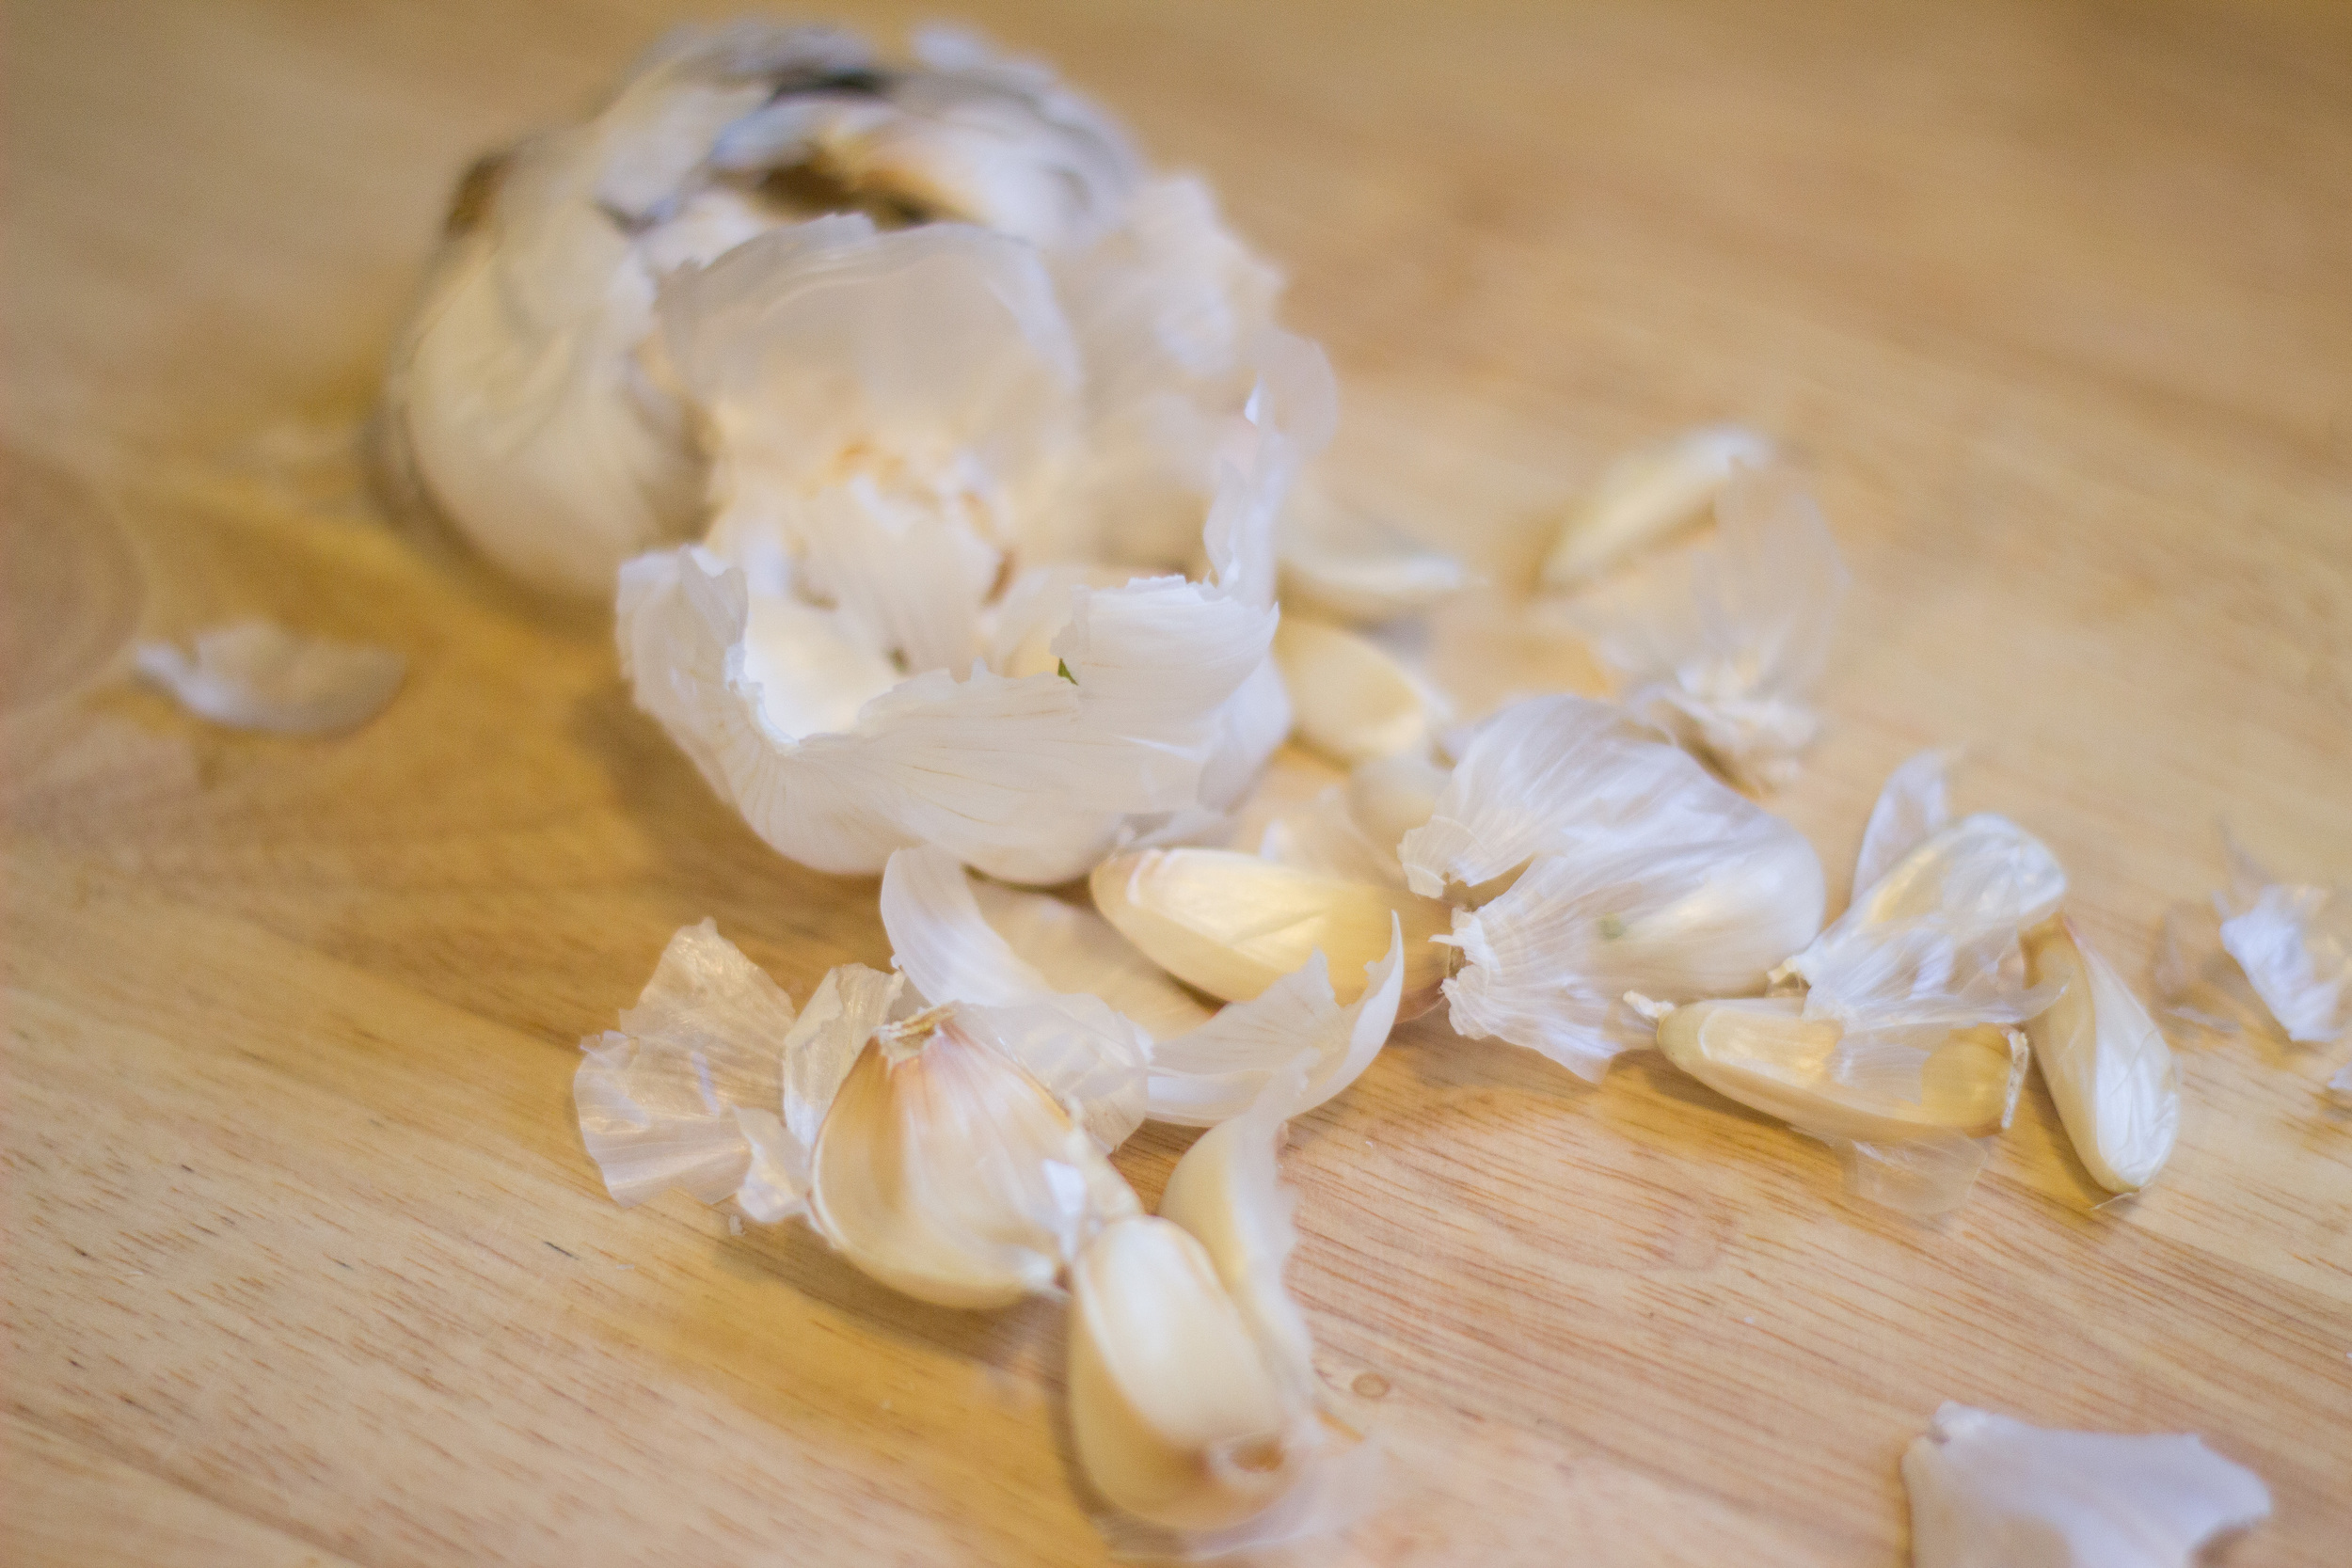
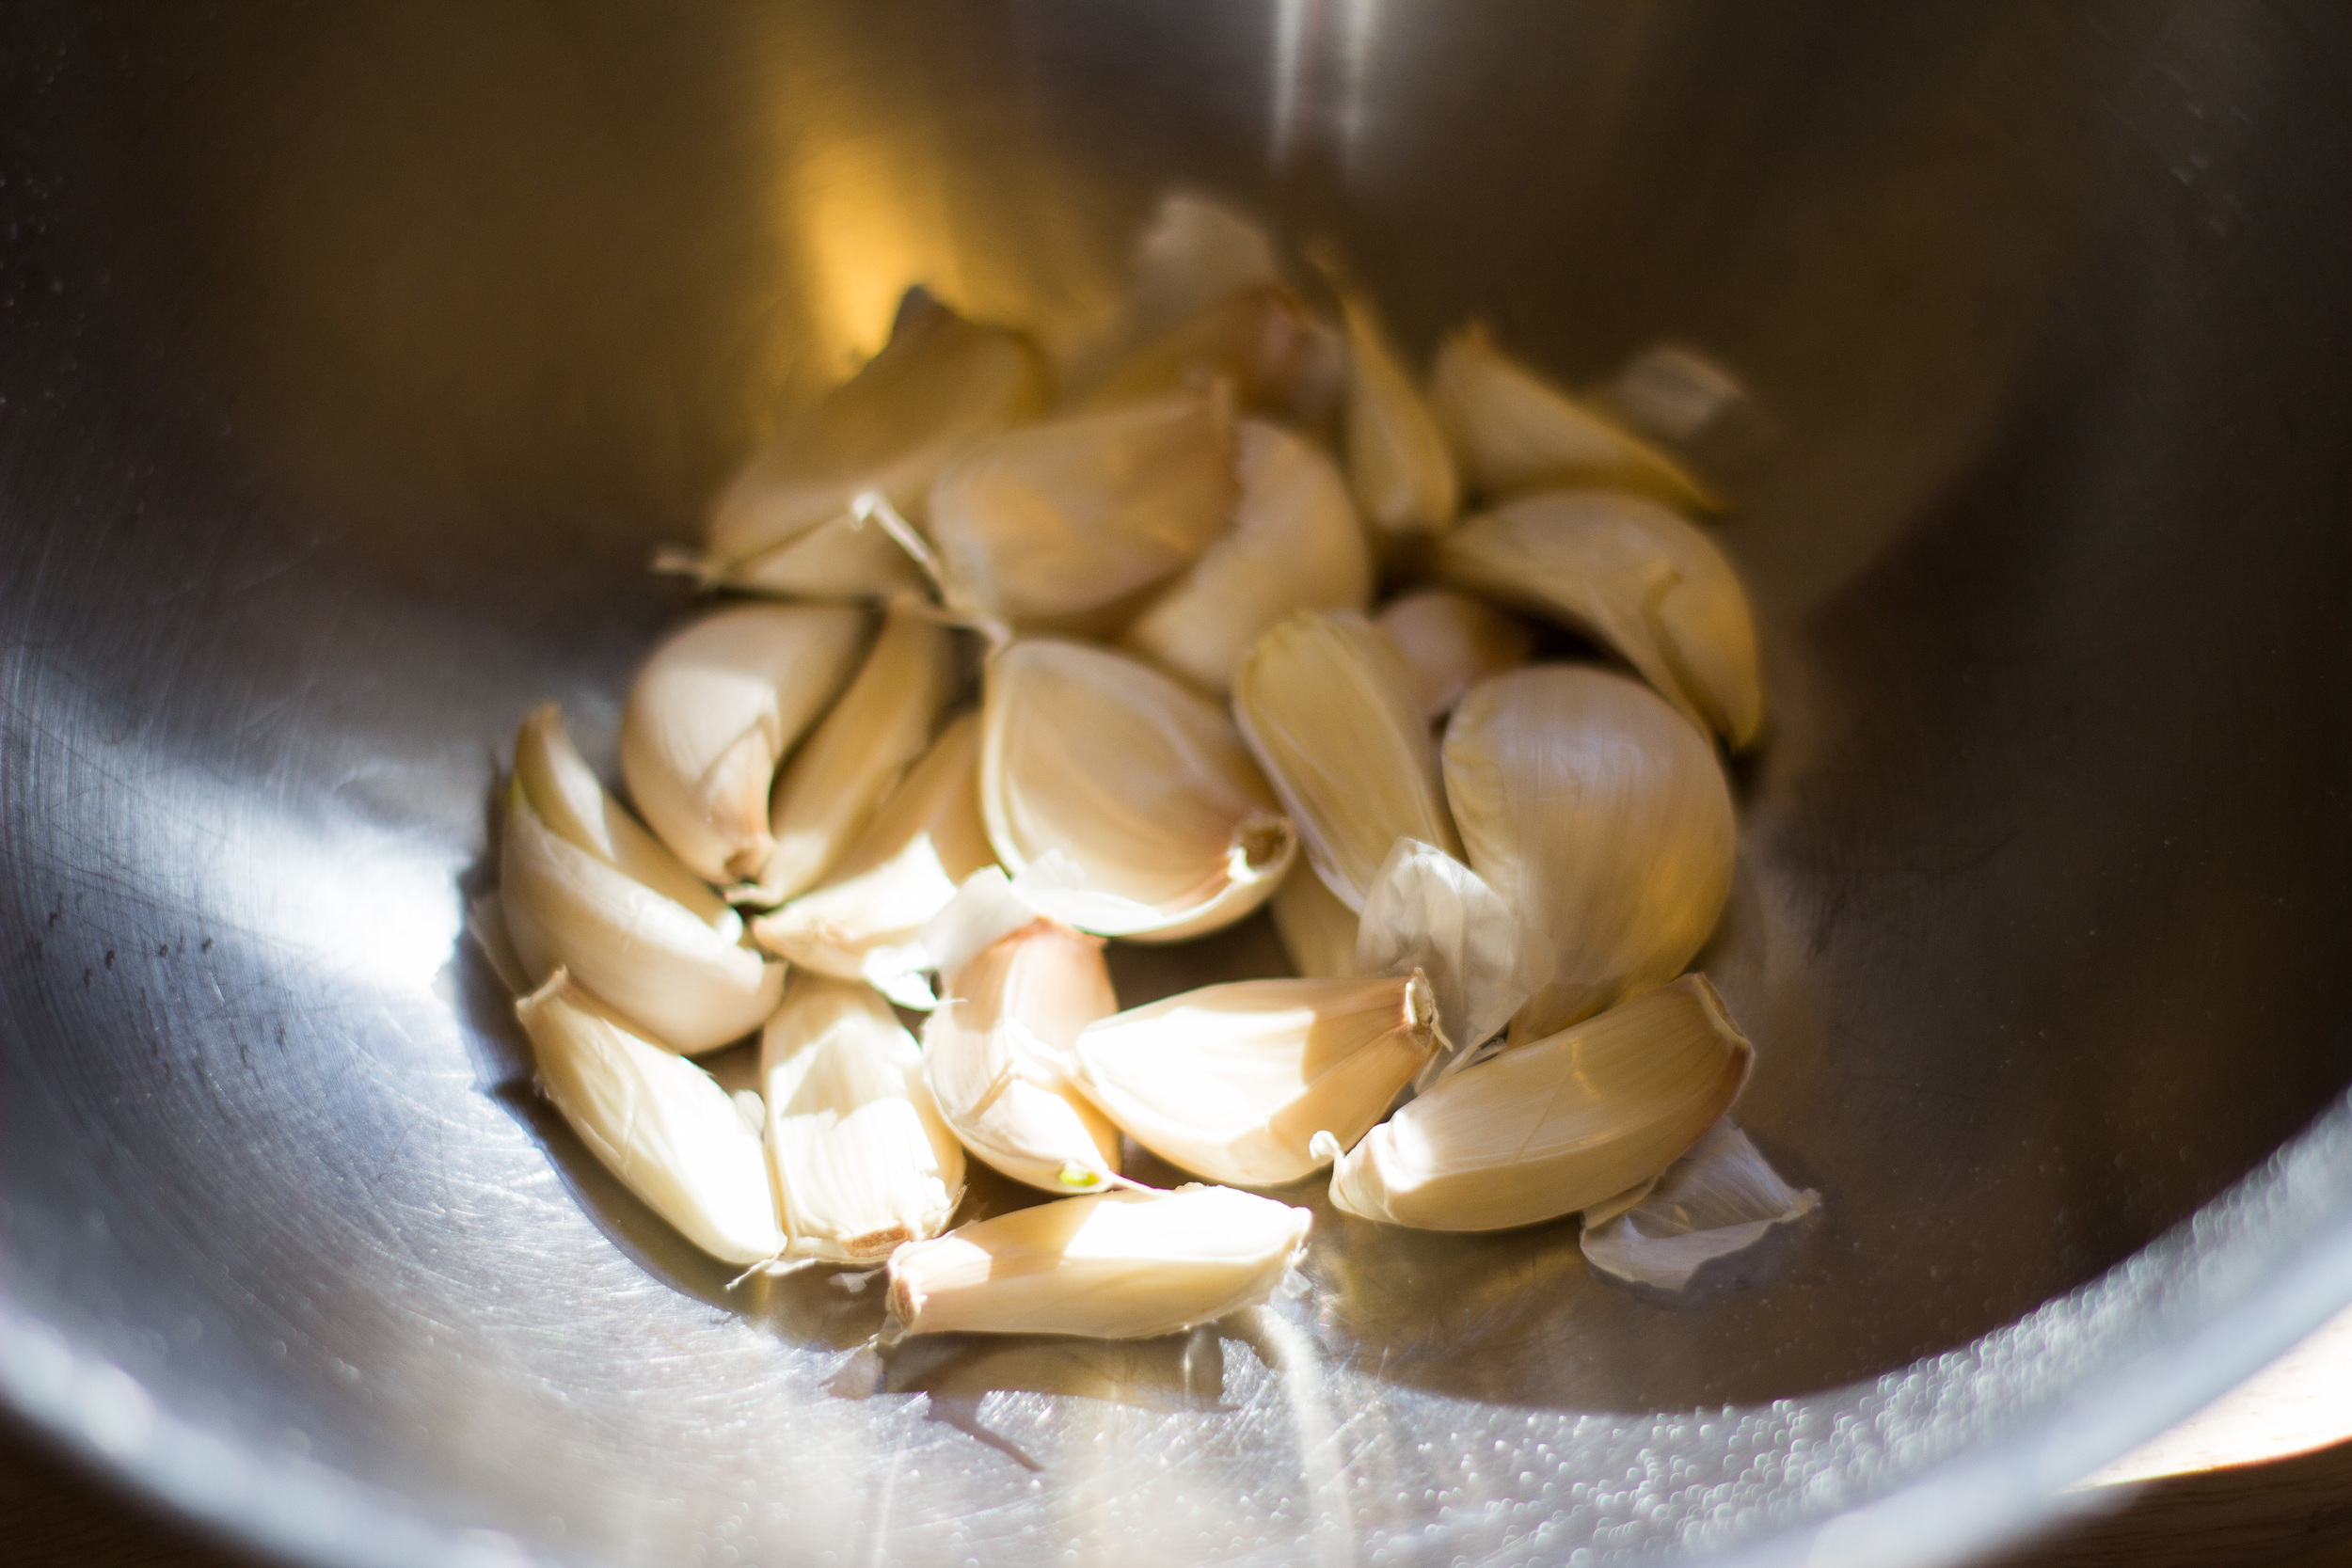
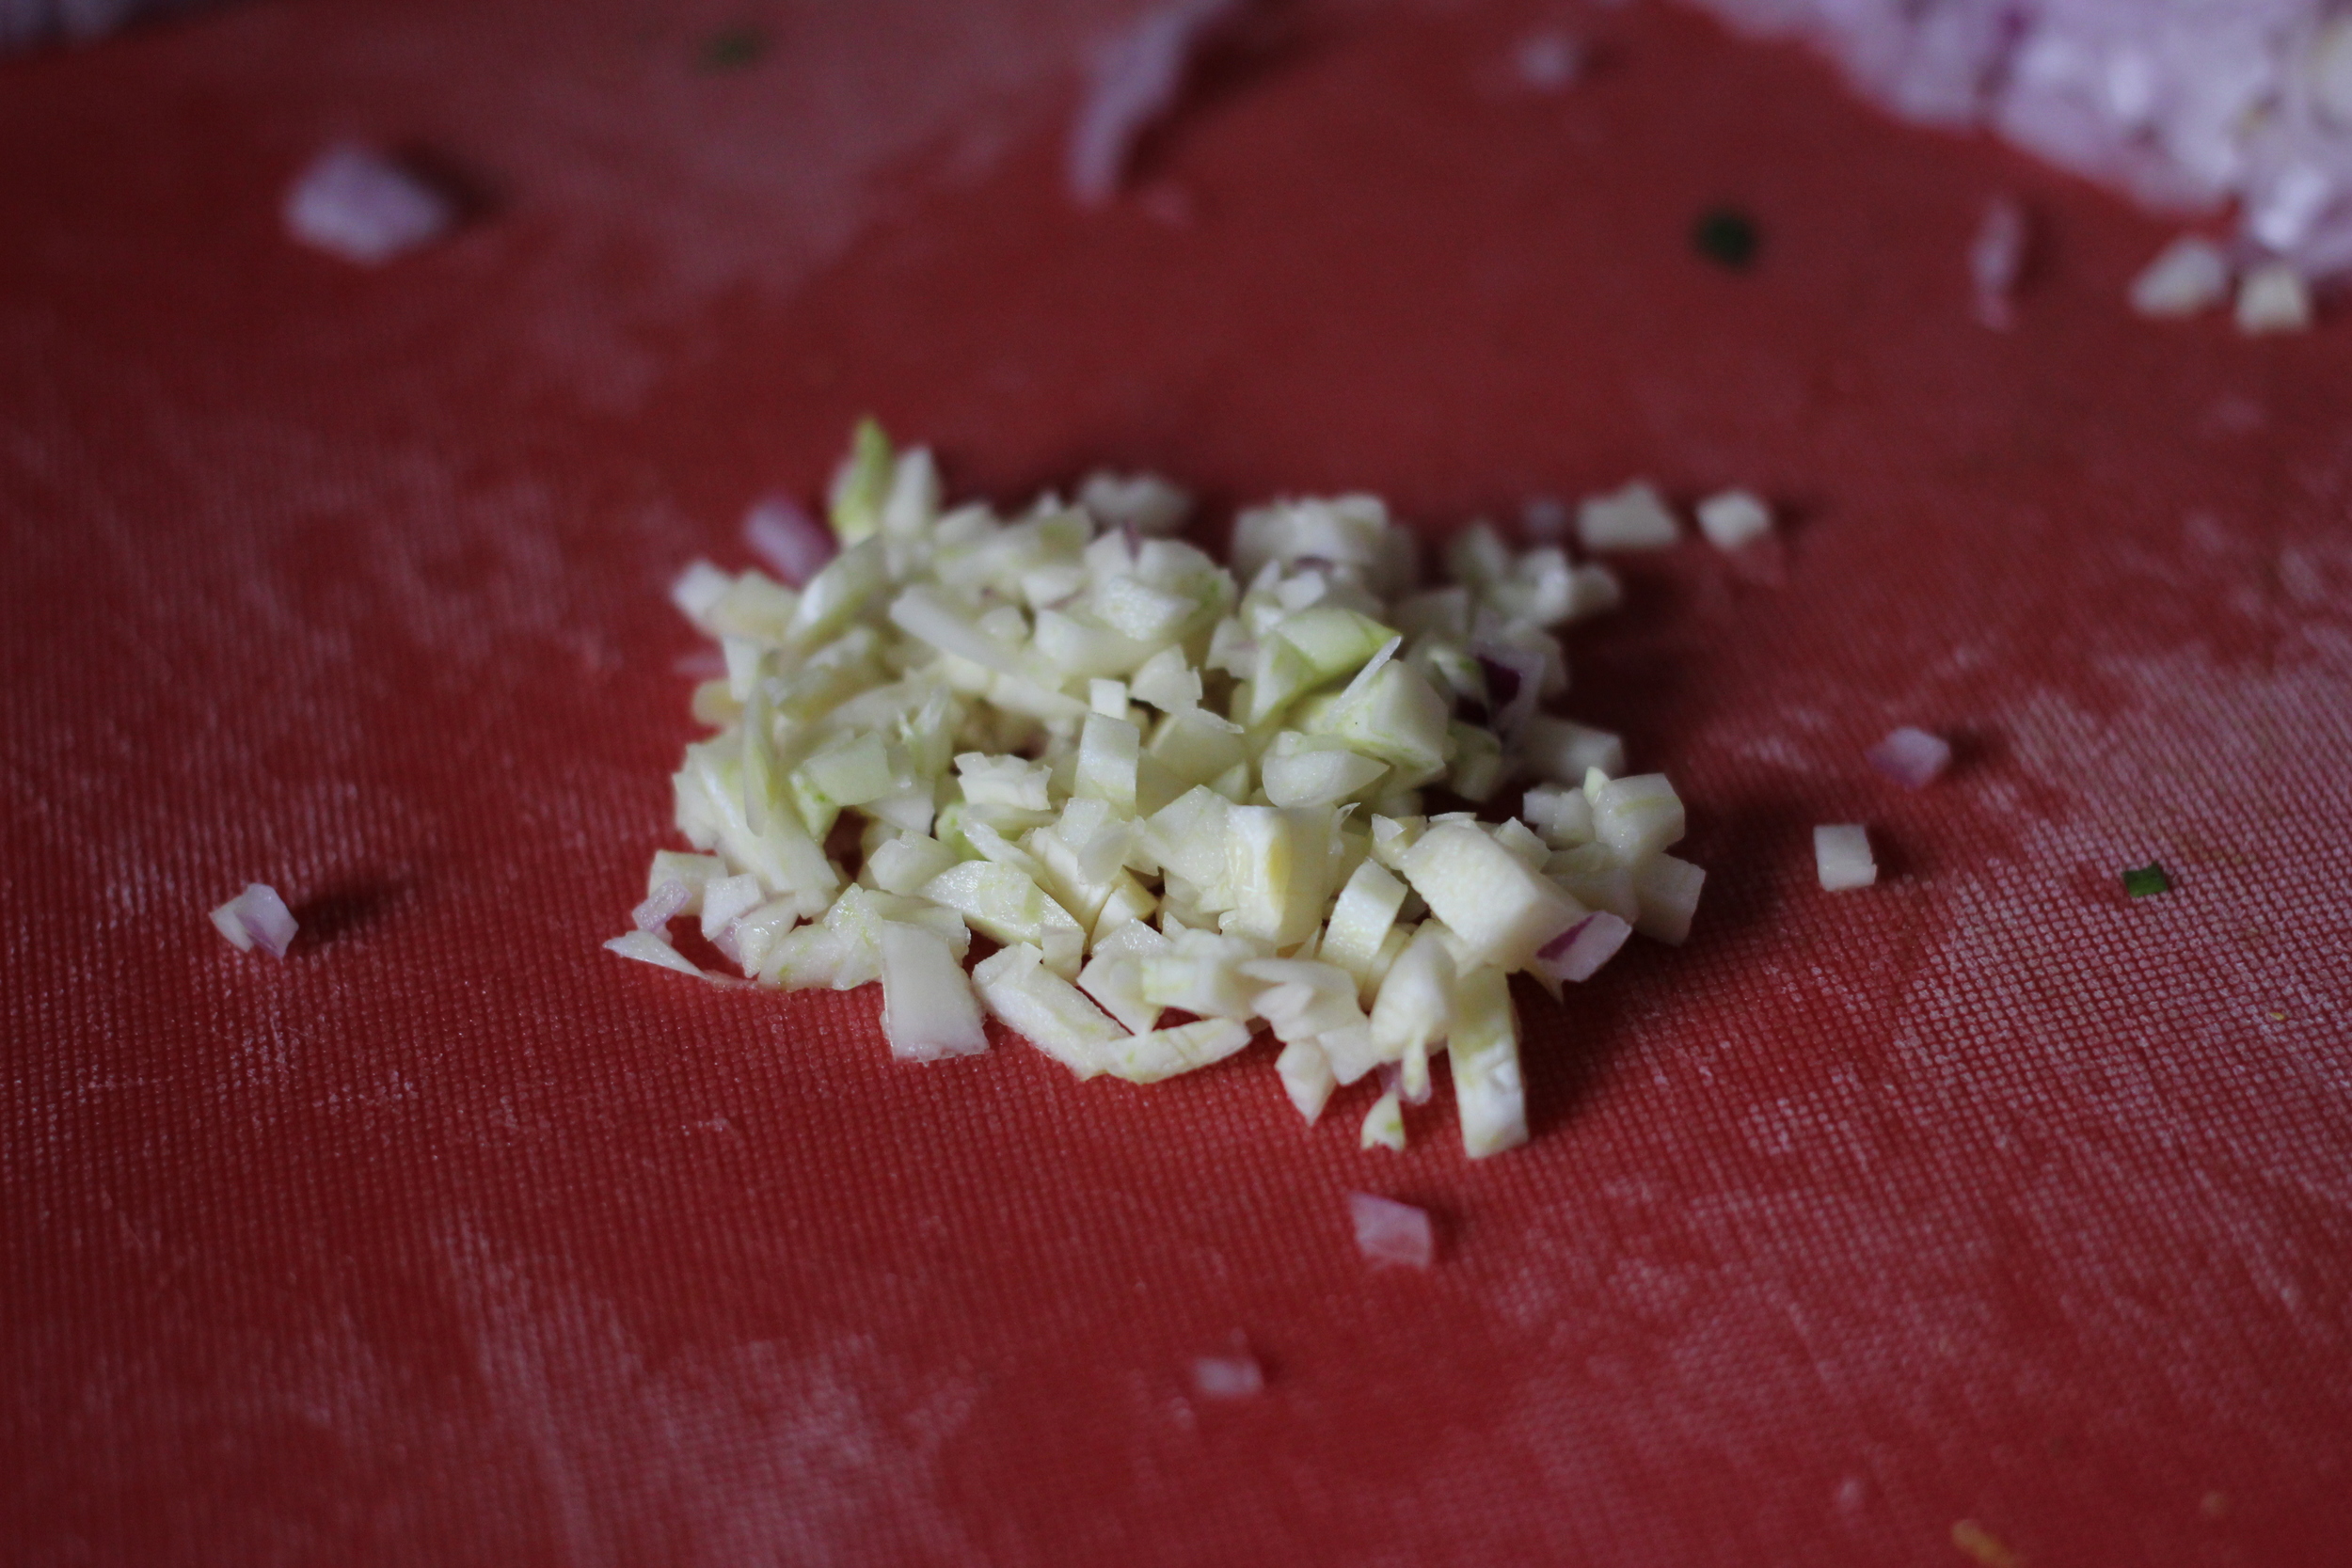
  • 6 cloves Garlic, smashed
  • 1 small Onion, diced (optional)
  • 2 teaspoons Salt
  • 1 teaspoon Pepper
  • ½ cup of White Wine, Dry
  • 1 tablespoon of Fennel Seed
  • 2 tablespoons Dried Basil
  • 1 tablespoon Dried Thyme
  • 1 tablespoon Dried Dill
  • 1 teaspoon Cayenne Pepper
  • 1 tablespoon Paprika
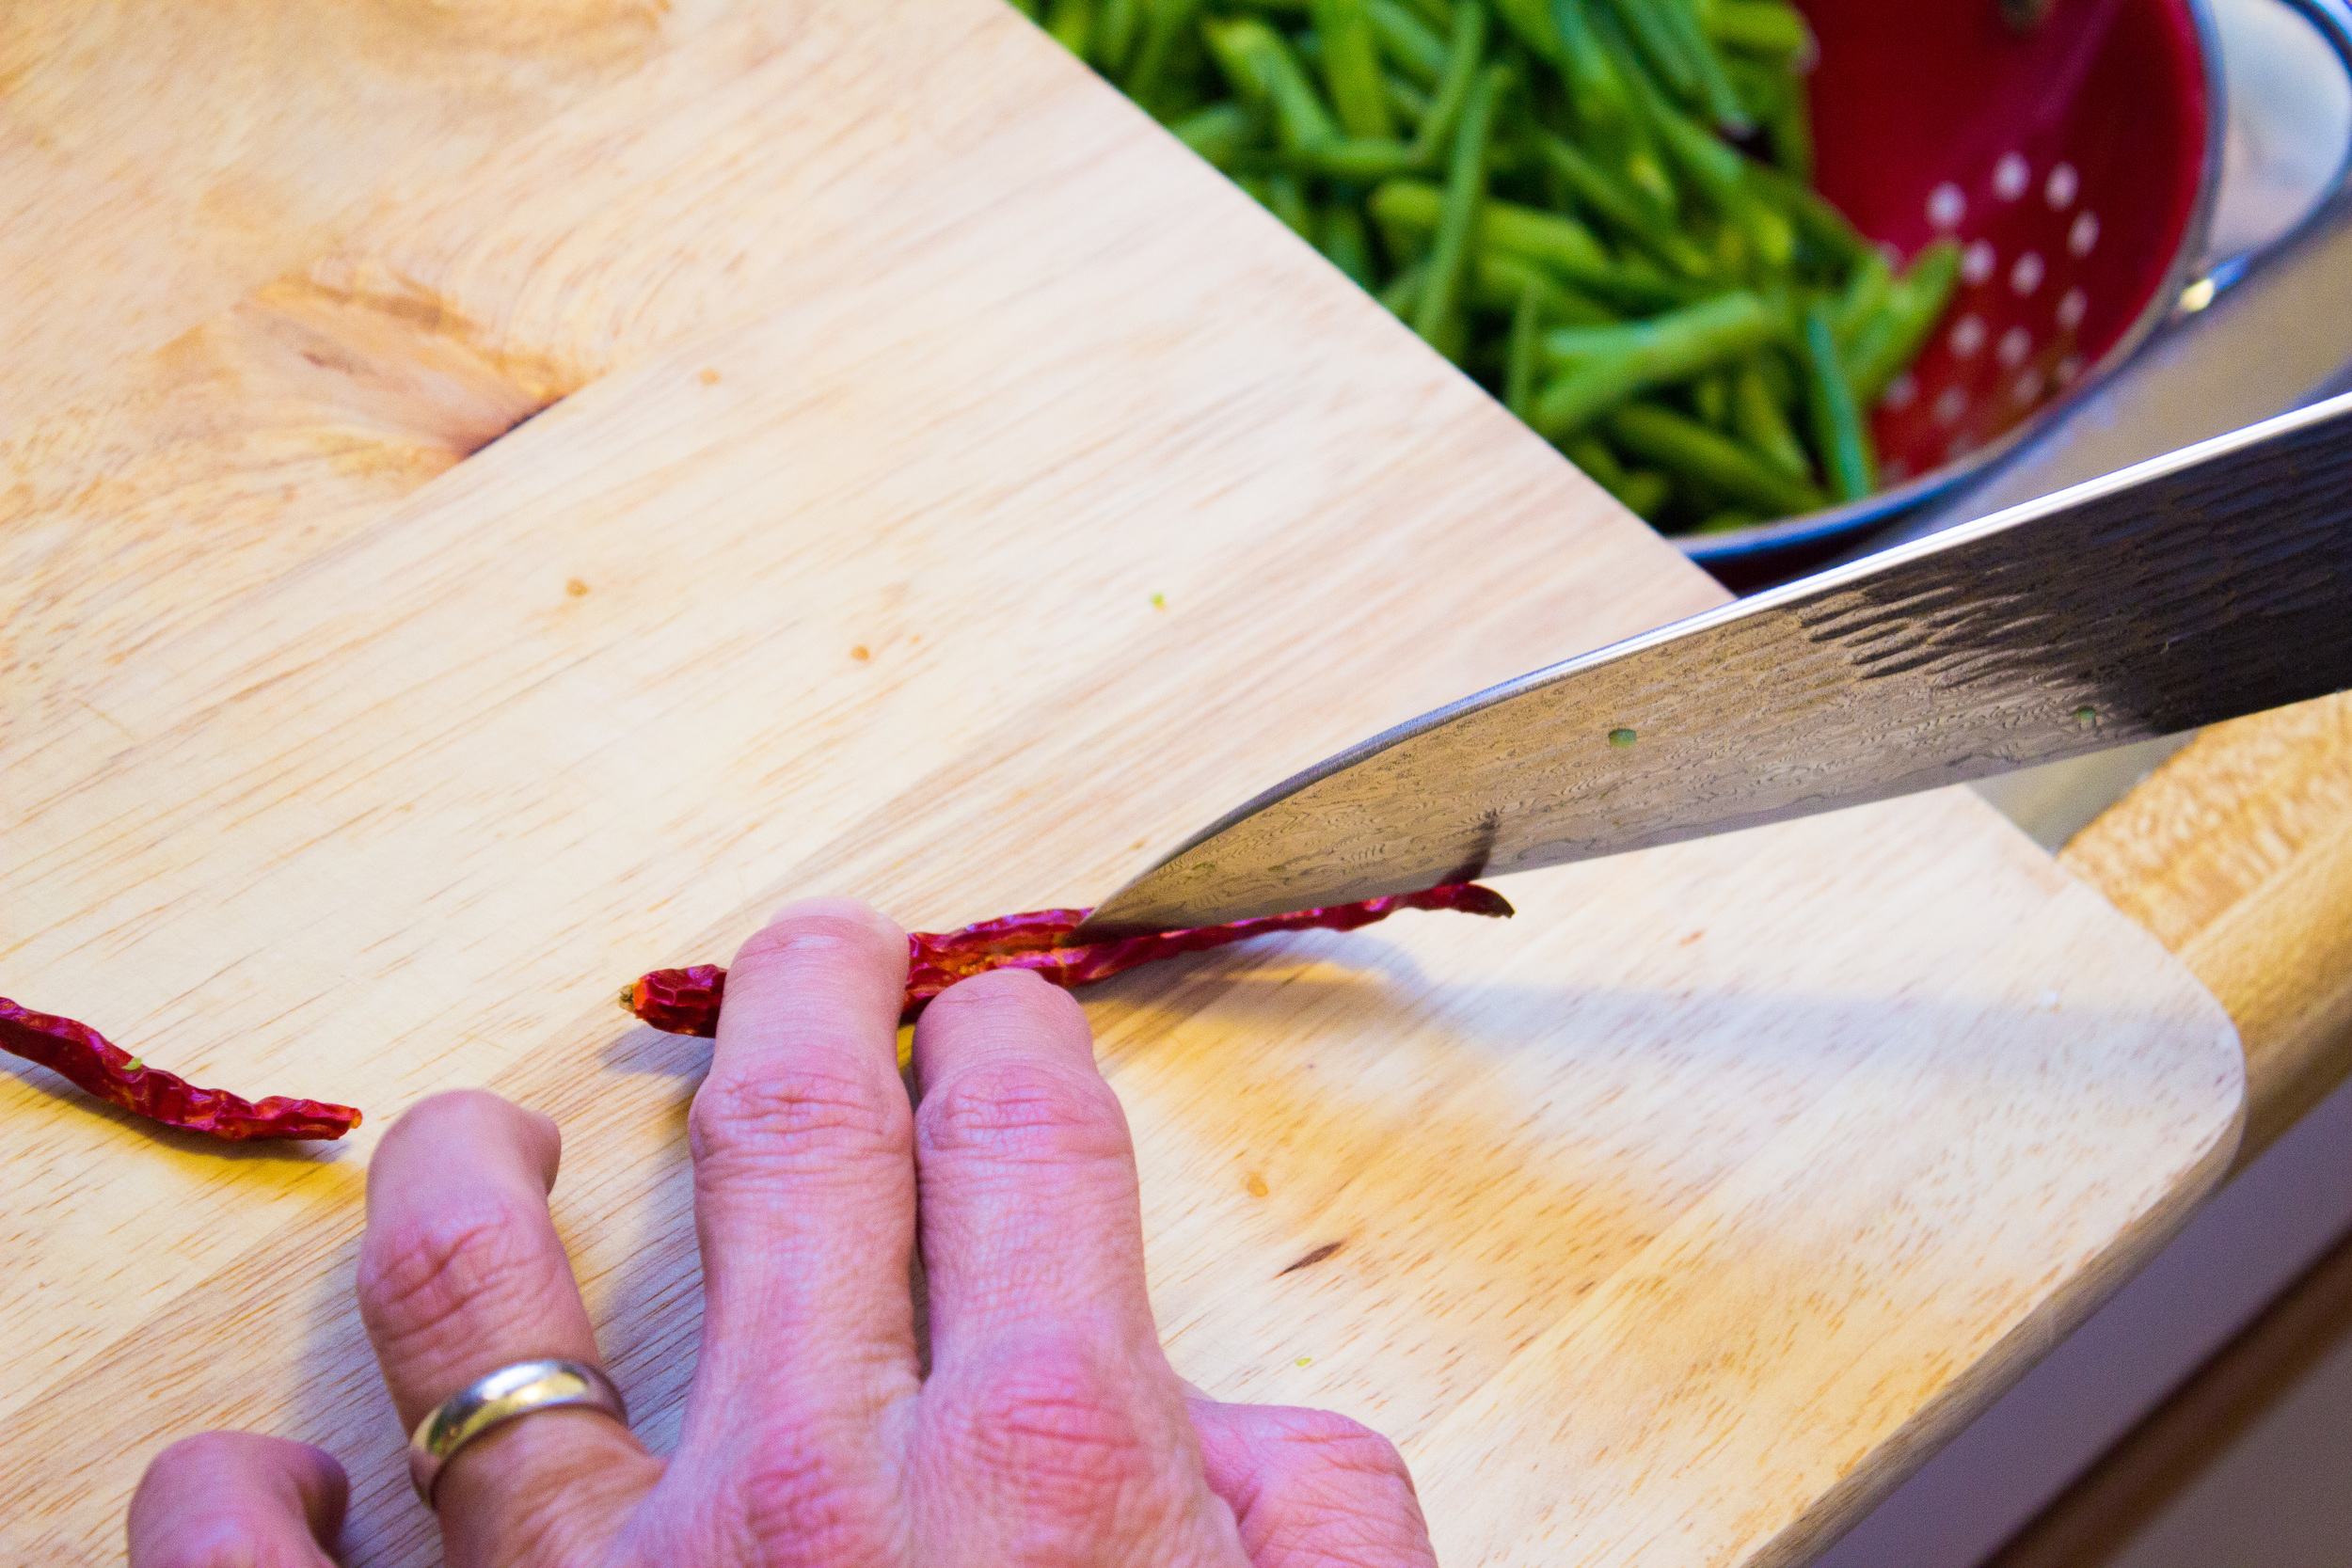
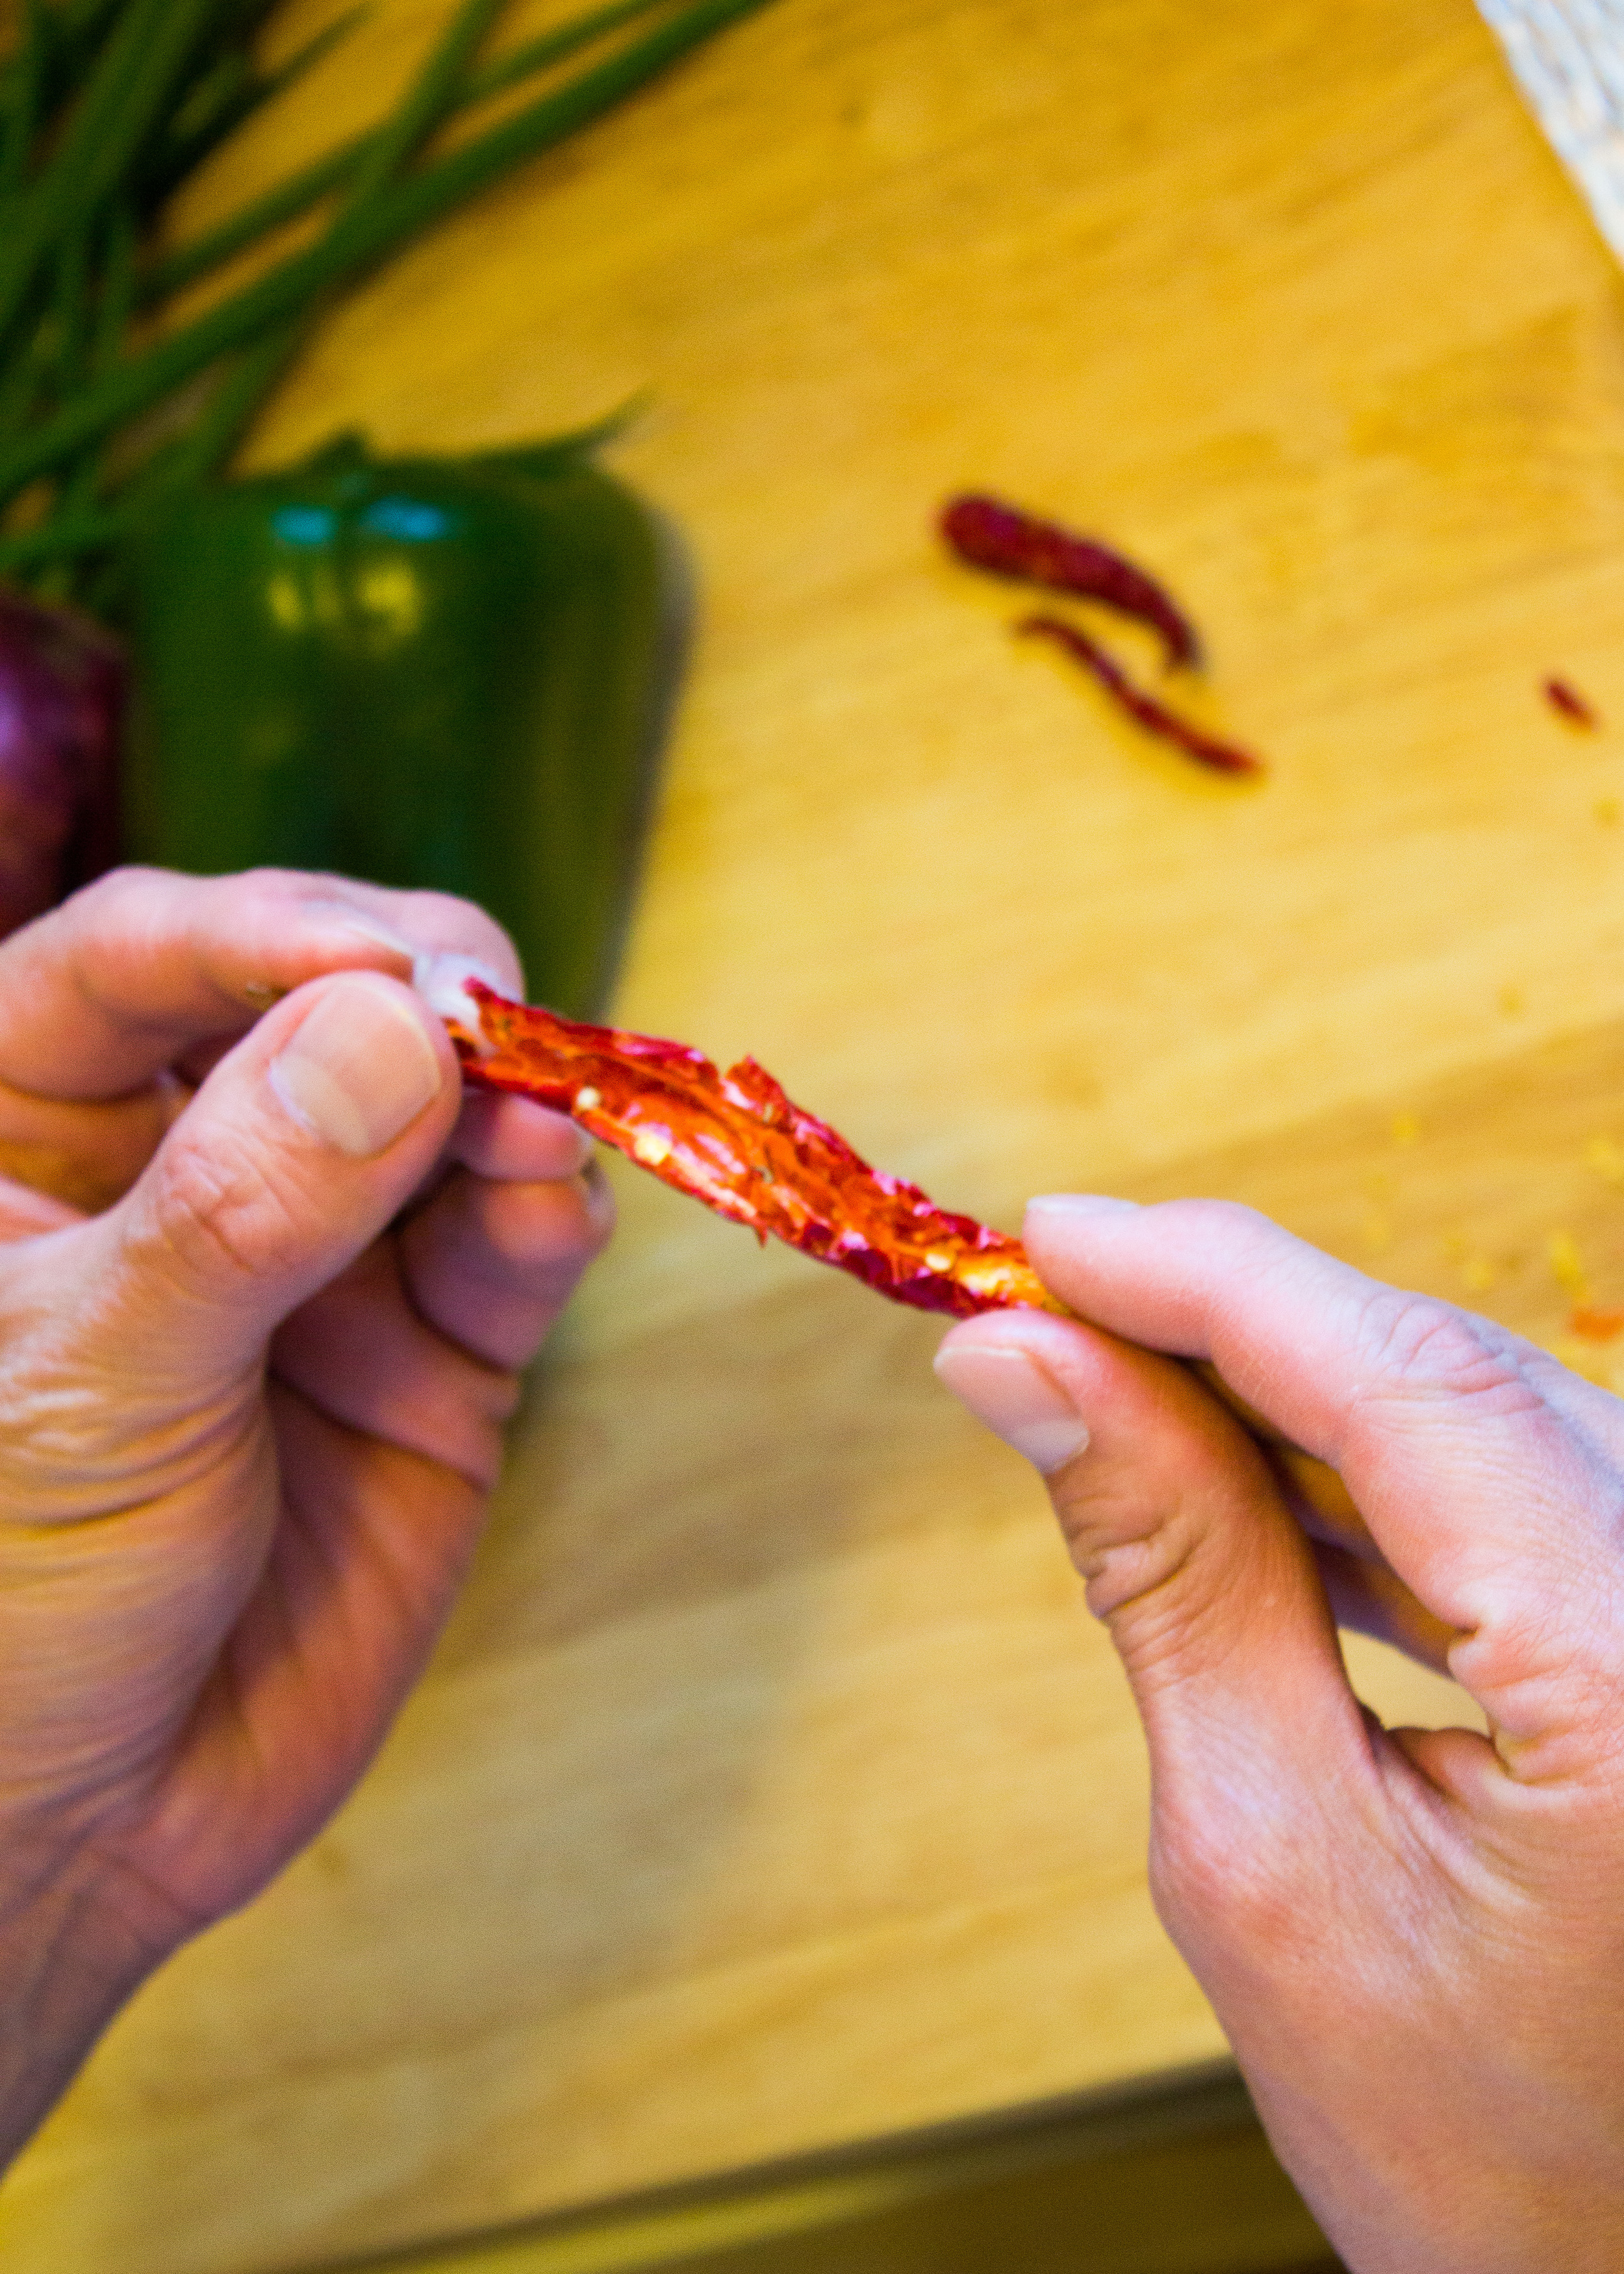
  • 1  tablespoon Red Pepper Flake
  • 2 teaspoons Cumin
  • 2 tablespoons Light Brown Sugar
  • 2 medium Bay Leaves

Before you Start:

  • Some people use whole tomatoes, pulp, skin, and all. I blanch and squeeze mine before I freeze them. The tomatoes used in this recipe were prepared this way.
  • I used an 8 qt. pot to keep spatter from making a mess and keep the heat even.
  • If you don't want to wait hours for sauce, just cook it all thoroughly then use a immersion blender to smooth it out.

Directions:

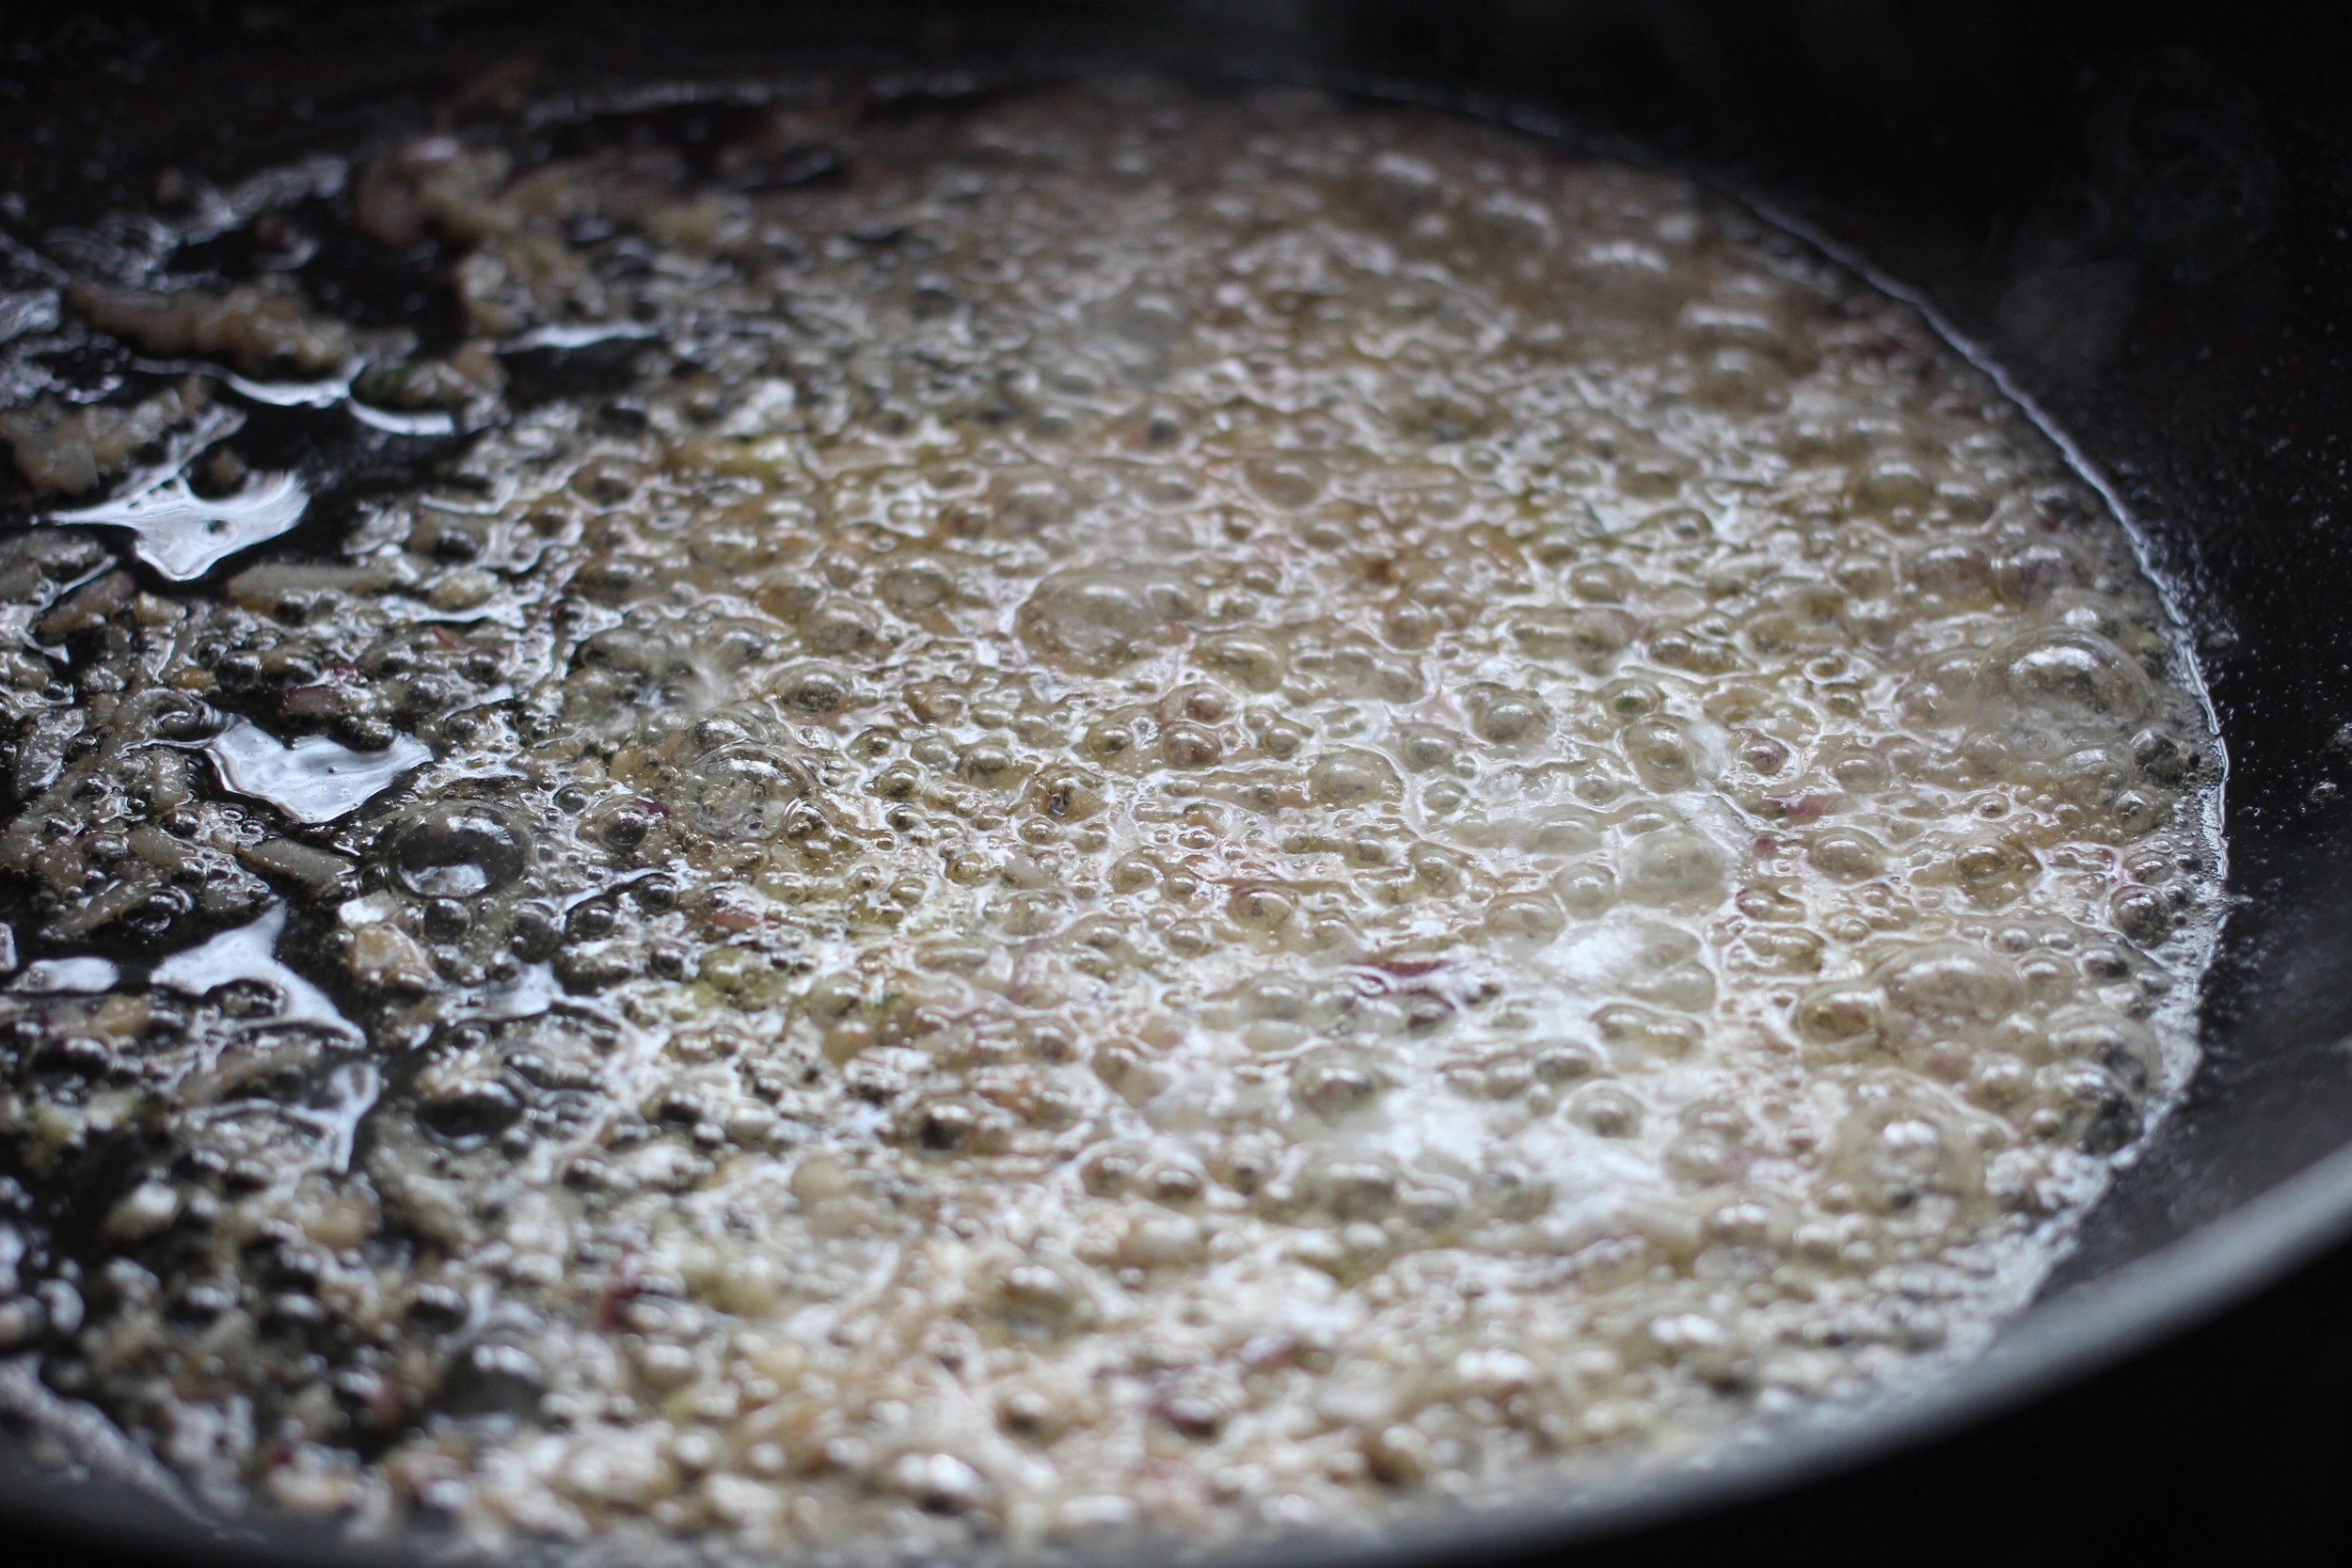
  1. Add heat oil to a large sauce pan at low-med heat.
  2. Add garlic, onions, salt, pepper. Cooke till translucent.
  3. Add the wine and scrape any bits from the pan, cook for 3 minutes.
  4. Now add the rest of the ingredients and turn stove down to a low simmer.
  5. Let simmer for 4-6 hours, stir occasionally to prevent sticking and to help break up the tomatoes.
  6. Mangia!
In recipe, cooking Tags spicy, tomato sauce, spaghetti sauce, tomatoes, cooking, I Heart Food, George Culver, Virginia Beach, Hampton Roads
Comment

Baba Ganoush

August 7, 2016

Everyone has their garden game going on! I'm sure a lot of you that have tons of stuff you planted thinking, "Heck yeah! That'll be cool to have!", then end up with buckets of said item. Cucumbers is one, they grow like crazy and even if you love them you'll have to admit you can't use them all. How about eggplants? I mean you can only eat so much Eggplant Parm right?

I got another another idea - Baba Ganoush!

If you don't know what Baba Ganoush is, it's basically hummus made with eggplant instead of chickpeas. Yeah, yeah, I know that's super simplifying it but you get the idea. Speaking of simple, I'm going to tell you how to make it quickly and use up all those eggplants you have stacked up in the corner.

Here's what you'll need.

Ingredients:

  • 3 Medium Eggplants
  • 3-4 Cloves Garlic
  • 3 Tablespoons Olive Oil
  • Juice of 1 Lemon
  • 3 Tablespoons of Tahini
  • 1/4 Cup of Parsley
  • Salt and Pepper to taste

There is a little bit a prep you'll have to do before you end up with the finished product. The eggplant needs to be roasted or grilled. I roasted mine the last time I did it for convenience. I do prefer grilling them though, adds a slight smoky flavor to the dish.

You'll notice in the photo above I'm sweating out the eggplant with salt. Adding salt will draw out bitterness and moisture from the eggplant, it takes about an hour. Is it totally necessary?

No.

So if you're in a pinch for time you don't have to sweat it (haha, get it?) Eggplants these days aren't that bitter so you can skip this step.

Before You Start:

If you want to sweat the eggplant thickly slice and then heavily salt both sides. Do not cut the eggplant too thin. If the the slices are too thin they'll be hard to work with and they will dry out quickly Place on a tray or rack and let sit for about 30-45 minutes. You'll see moisture bead up on the surface of the eggplant. When done, rinse the eggplant under cold water and thoroughly pat dry with paper towels. Place them loosely in a roasting pan.

When using the food processor, pulse for as long as needed to get the baba ganoush to the desired consistency. The shorter in the processor, the more chunky. The longer, the smoother it will be.

Directions:

  1. Move an oven rack up to the top notch and then pre-heat the oven to broil.
  2. Place eggplant on top rack and roast about 15 minutes then flip and roast another 15 minutes. When the eggplant feels soft, they're done.
  3. While the eggplant is in the oven, put all the other ingredients except the parsley in a food processor.
  4. When the eggplant is done, take it out of the oven and let it cool down.
  5. Add the eggplant to the food processor and run it through until it hits the desired smoothness.
  6. Add the parsley and pulse until it is chopped and distributed evenly.
  7. Scoop into a bowl, garnish with some olive oil and a little more parsley.
  8. Eat.
In cooking, recipe Tags eggplant, baba ganoush, cooking, recipe, iheartfood, iheartfoodvb
Comment

Jumbo Jimmies from Jubilee

July 9, 2016

That title was a tongue twister!

For a couple years now we've primarily buying our crabs from Jubilee Seafood Company out of Knotts Island, NC. They have a booth setup at the Old Beach Farmers Market in Virginia Beach on Saturdays and I'm always at the market on the weekend because Jasper would kill me if we didn't go. That's his social time and he even makes me go to Back Bay Brewing and buy him a beer sometimes. He never drinks it, he doesn't even like beer, so I end up having to drink it for him.

Jasper thinks it makes him look cool when he has a beer. 

Anyways, back to the crabs. Jubilee has a beautiful crabs, they're usually selling jimmies, but they can do females sometimes too. The prices aren't bad either, on average you can get a bushel of #1s for $130. That's a great deal.

In addition to crabs they sell oysters, shrimp and clams...here let me just cut and paste they weekly letter with the prices:

 Hard crab **Please pre-order by Thursday
Jumbo size - $40 dozen or a bushel for $180
# 1 size hard crabs for $25 a dozen or a bushel for $130  
# 2 size hard crabs are $20 dozen or a bushel for$70
# 3 female hard crabs $15 dozen or bushel for $65
 
Littleneck clams - from the Eastern Shore
**Please pre-order by Thursday - we recycle clam/oyster bags.
$35 for a bag of 100 clams
$18 for bag of 50 clams
$10 for bag of 25 clams                   
Seaside Oysters - from the Eastern Shore **Pre-order by Thursday- we recycle clam/oyster bags
$50 for a bag of 100 oysters
$30 for bag of 50  oysters
$18 for bag of 25 oysters
Live Soft shell crabs** size & costs will vary- haven't seen many in the last few weeks
East Coast Shrimp    $14.00 lb

The prices are comparable to what you'd find at the grocery or cheaper but you're also buying from fine folks that locally put the work into bringing a fresh product to the table. Jubilee has their own boats and have been doing this work for over 30 years.

I like to cook them shell down, keeps the juices in, I like to sip it out when I pick.

Next time you're in the area and want some crabs (while in season of course) check out Jubilee Seafood Company. You'll be happy you did. Here are more photos from our recent Blue Crab dinner with delicious Jubilee jimmies.

Check out the claws on these monsters!

Feisty action shot! I've been pinched a few times by these things when catch them. It feels how you imagine it might - not good lol. This kinda reminds me of the Barrel of Monkeys game.

Shelby likes butter when she picks crabs, I love the mud and stuff in the head :)

In cooking, market, seafood Tags Jubilee Seafood Company, seafood, Virginia, North Carolina, Blue Crabs, crabs, cooking, jimmies, #1s, Old Beach Farmers Market, OBFM
Comment

Tom Kha Talay

Tom Kha

January 20, 2016

Tom Kha is something I've been around my whole life - that's not the same thing as saying I've been eating it my whole life mind you. If you keep up with me and have read stuff I've written in the past, I wasn't into Thai food much when I was a kid. I do remember how the house would smell when my mother, who is Thai, was using the mortar and pestle to crush Thai Chilis, garlic, and lemongrass.

Delicious!

Those peppers though...the heat could kill you! Seriously. My mom would grow them by the acre and you better believe she was using them too. My first experience eating her beautiful food made me gun shy for years. Then before you know it, Shelby and I were married and off on our own. Boxes of Potato Au Gratin, cheap cuts and that nice Army E-4 pay had us on a affordable diet for years. I'm not knocking it, seriously. I go to Ollie's and pass the rows of boxed spuds, pasta, and Hamburger Helper and think about the good ole lean years. I wouldn't trade a minute of them.

I was talking about soup right?

Anyway...Tom Kha is good. You'll like it and I'm going to show you how to do it. The photo up top has seafood in it obviously. You can do that if you like, the seafood version of this dish is called Tom Kha Talay. Tom Kha is usually made with chicken though, that version (below) is called Tom Kha Gai.

Tom Kha Gai

The recipe I put together isn't so much different than most you'll find out there. It's primary components consist of this: Galangal, Kaffir Lime Leaves, Lemongrass and Coconut Milk.

Galangalangawhat?

Galangal has nothing to do with that M.I.A. song, it is a root known as the Thai ginger. You might see it sold in the stores as "Baby Thai Ginger" but please don't confuse it with ginger. Galangal and ginger taste totally different and if you make this soup without galangal it's not really Tom Kha (which translates into "galangal soup" basically.) That being said, you can make it with the ginger we're familiar with if you're in pinch, it just won't taste exactly as it should. It'll be still be good, but different. Galangal can be bought fresh or frozen in your local Asian market. Ask the someone behind the counter to help you out if you're having a hard time finding it.

Galangal

Let's make some soup! Here's what you need to make Tom Kha at home.

Ingredients:

  • 1 Can of Coconut Milk
  • 3 large Kaffir lime leaves
  • 1 Lemongrass, large stalk, trimmed
  • 2 Thai Chilis
  • 1 Tsp Sugar
  • 1/4 Yellow Onion, minced
  • 1 Package of mushrooms shiitake/oyster preferred, approx 8 oz., chopped
  • 2 Tbsp Galangal, slivered 
  • 1 Lime, large
  • 3 Tbsp Fish Sauce
  • 3 Cups of Chicken Stock
  • Cilantro to Garnish
  • Optional: Thai Chili Powder

Before You Start:

  • Important! Do not boil the coconut milk. If you boil the coconut milk at a high temperature, it will not remain emulsified and the fat will separate from the liquid. Just like what happens to butter when it is heated at high temperatures.
  • You can use chicken or seafood (shrimp, mussels, squid, etc...) with this recipe. Eat what you like!
  • Chop up everything you need to put in the soup. I like to cut my galangal up in small, thin slivers. I do this so it can stay in the soup and not be strained out. Most recipes will have you remove or strain the galangal after the first phase of their recipes, I like to keep it in the soup. Getting a little bite of the root, almost crunchy, almost nutty, is great. If you prefer not to have it in, just slice it in larger pieces then strain before you add your chicken or seafood.
  • Trim the lemongrass taking off any rough or brown bits. It a lot of recipes you would only use the white, fleshy part of the lemongrass. The reason is because it it easier to eat, we're not eating the lemongrass it's being steeped in the broth essentially. I'll admit to finely cutting up some lemon grass and leaving it in the soup when the mood hits me.
  • Crush the lemongrass, Kaffir lime leaves, and Thai chilis. Use your pestle, a muddler or back of a heavy spoon to open up them up to release flavor. Remove chili seeds if you don't want it too hot.
  • I do not remove all of the aromatics from the stock pot before I add the meat, but I do before I add the coconut milk.
  • Chili powder can be added for more flavor, this is optional.

Directions:

  1. Add the chicken stock, sugar, onion, Kaffir lime leaves, Thai chilis, lemongrass and galangal to a medium sized stock pot. Bring to a rolling boil for about 10 minutes.
  2. Add mushrooms, continue to boil for about 8-10 minutes to cook mushrooms.
  3. At this time if you wish to remove large pieces of aromatics (Kaffir lime leaves, lemon grass, chili, galangal) do so after the mushrooms are done.
  4. Add your chicken or seafood now, cook for about 10 minutes in the boiling broth. Remove any foam that might float to the top of the broth.
  5. After the meat is cooked through, pour in the coconut milk, fish sauce and lime juice, lower heat to a light simmer for 10 minutes.
  6. Serve with cilantro and lime wedges and maybe have a little more fish sauce on hand.

This is pretty easy to make and after a couple of tries it'll be a breeze. We use leftover chicken sometimes, if we do it doesn't need boiling as long. Just lower the heat to a simmer, cook for the same amount of time as you would the raw. Continue to follow the directions.

Enjoy!

In cooking, recipe Tags Tom Kha, Tom Kha Gai, Tom Kha Talay, Thai, coconut, soup, lemongrass, galangal, spicy, chicken, seafood, recipe, cooking, I Heart Food
Comment

Brussels Sprouts with Bacon

November 25, 2015

I never ate Brussels sprouts until I started dating Shelby. Her mother would make them when we had dinner at her house and I grew to like them and then love them. They've become a staple in our special dinners. My daughter asked me the other day if I had my recipe available for the Brussels sprouts I make at home and I discovered I didn't. I'm writing it down now.

Note: Don't throw out the bacon grease or clean the skillet you fried it in, you'll need it for this recipe. Get a pot of boiling water ready too, we'll be blanching the Brussels sprouts. We don't want to blanch or leave the sprouts in the pan too long. If they're mushy, they're ruined.

Enjoy!

Preparations

  • 1 pot of boiling water
  • ice bath for blanched Brussels sprouts
  • Saved grease from cooked bacon

Ingredients

  • 1 package or approx. or 1 1/2 lbs of Brussels Sprouts (cleaned and trimmed)
  • 1/2 lb of Bacon
  • 2 tbsp of Bacon Grease
  • 3-4 cloves of Garlic, minced
  • 1/2 Red Onion, chopped
  • Salt and Pepper to taste

Directions

  1. Start a pot of boiling water, enough to handle the Brussels sprouts.
  2. Fry the bacon. We like ours a little chewy, but cook it your preferred doneness. 
  3. Remove bacon from the pan but leave the bits and pieces.
  4. Put the Brussels sprouts into the boiling water, blanch for approximately 5 minutes.
  5. Scoop sprouts out of boiling water and place in ice bath. Take them out when cooled and place in a strainer to dry.
  6. Once cooled, cut Brussels sprouts in half, lengthwise.
  7. Heat up skillet to about medium heat.
  8. Add bacon grease.
  9. Toss in the garlic and onions, cook for 1 minute.
  10. Add Brussels sprouts, salt and pepper.
  11. Cook to desired doneness and browned on the outside.
  12. Remove from heat, toss in bowl with chopped bacon then serve.
In cooking, recipe, produce Tags Brussels sprouts, sides, bacon, bacon grease, garlic, onion, recipe, cooking, blanch, ice bath
Comment

Thanksgiving Day Turkey resting before carving!

How to Roast a Turkey

November 23, 2015

How do you roast a turkey? Easy! Follow the instructions on the bag! Seriously though, it is pretty simple. Here are a few things to consider:

First, you'll have to get a turkey. These days there are so many options - but you have to think ahead. If you're looking for a locally sourced turkey you might be out of luck waiting a few days beforehand. Most places want you to order them so they can make sure they have the stock and can prepare it for you in time. I would definitely check with your local farmers and butchers first before giving up on the Buy Fresh, Buy Local route if you feel like you're late though.

Of course, turkeys are pretty big and most of them will be frozen. We usually cook birds over 20 lbs. and turkeys that size could take about 5 days to thaw! Take into account thaw time. Oh! Save the neck and giblets for the stuffing and/or gravy!

Clean off excess brine from the turkey after removing it from the bag

Second, if you're going to brine the turkey make sure you have everything you need ahead of time! If you're looking for a good brine recipe, use mine! I've been brining my turkey for a few years now and love how it turns out. There are some out there that think it is totally unnecessary or takes away from the natural flavor of the turkey. You'll have to determine that for yourself and do what you like.

Third, determine the the roasting time for the bird which is dependent on the size of the turkey, whether or not you've brined the bird and if you stuff the cavity. Check out Epicurious' page on roasting times here for some pointers.

Breast-side down in the roasting pan

Fourth, cook the turkey breast-side down for the first two-third of the way then flip it over to brown the breast. Approximately an hour breast-side up. This will allow the breast to baste in its own juices and you'll have crispy skin all around!

Let's get started!

I always stuff my turkey with dressing, but I do it lightly. The cavity is usually stuffed with aromatics too - citrus and herbs. I also don't tie (truss) the legs together. I know it looks pretty and some people swear by it, but I've found that my turkey roasts fine without it. I want as much of the skin exposed as possible and I believe the turkey will cook more even in those spots not concealed by the trussed legs.

Roasting pan about ready for the turkey

Of course we use the drippings for gravy. I add vegetables, a little white wine, stock and butter to the pan before I place the turkey in it. I also use a rack to keep the turkey from sitting directly in the drippings while it's roasting. After the turkey is done I save the braised vegetables from the roasting pan for the gravy too. There is a good amount of butter in the pan for basting, I love how the butter cooks into the skin. Here's what you need for the pan before you put the turkey in it:

Ingredients (Roasting Pan)

  • 4 cloves of Garlic
  • 2 medium Carrots
  • 2 medium Yellow Onions
  • 2 stalks of Celery
  • Approx. 6 stalks/sprigs of Parsley
  • Approx. 2 sprigs of Thyme
  • Approx. 2 sprigs of Rosemary
  • 2 large Bay Leaves
  • 1/2 stick of Butter
  • 1/2 cup Dry White Wine
  • 1/2 Poultry Stock
  • Optional: 1 Orange and some Parsley for cavity


Directions

  1. Preheat oven.
  2. Wash turkey (whether it it's straight from it's packaging or from the brine bag) and pat dry and set aside.
  3. Roughly chop the carrots, onions, celery, garlic and butter and spread them evenly within the roasting pan.
  4. Toss in your parsley, thyme, rosemary and bay leaves, these will be picked out of the pan after the turkey is finished. Try not to break them up too much at the start. You can add more or less of these herbs according to your preference.
  5. Pour in the wine and stock then place the rack on top of the vegetables and herbs.
  6. Salt and pepper the turkey to taste. I like to add a quartered orange and parsley to cavity and before I stuff it - do so now if you like.
    Note: If you brined your turkey it will already have absorbed salt from the brining solution. Lightly salt if this is the case.
  7. Place turkey in middle of the oven so it will evenly cook.
  8. Feel free to baste the turkey every 40 minutes or so.
  9. When the turkey is done roasting (165°F internal thickest part of the bird) pull it from the oven and let it rest for 20 minutes before carving.

Coming up next is gravy!

Do not pour out the drippings from the pan or remove the braised vegetables in the pan. These will be used to make a delicious turkey gravy and a lot of it too! No need to list ingredients here because we have everything we need. If you saved giblets for the gravy or stuffing make sure they're available.

Note: In our house, I'll have the neck and giblets simmering on the stove the whole time the turkey is roasting. In the simmering pot I'll add the same mix of vegetables and herbs put in the roasting pan. Brown the giblets and vegetables before you pour in the liquids to simmers. This will make a flavorful broth, reduce it by half. When it's done, strain out the giblets and neck, keep these. Pick the neck for as much meat as you can get. Add this to the gravy later.

This takes anywhere for 15 to 30 minutes to complete. You can speed it up by adding a little bit of flour or a nice, dark roux.

Make a broth with the giblets and turkey neck

Directions

  1. After the turkey is taken out of the pan, start removing the turkey fat from the drippings. I usually tilt the pan so the grease collects in one spot, making it easier to collect. Skim using whatever technique you like: skimming spoon, baster (with the rubber bulb), or whatever fancy device you get to use once a year. If you don't remove the fat you'll end up with a really greasy plate and miss out the concentrated flavors of the turkey seasoned turkey juices left in the pan. 
  2. After the fat has been removed from the pan, remove the herbs (thyme, rosemary, parsley). You can leave them in but the rosemary might be a little overpowering if someone gets a good chunk of that.
  3. Transfer all the contents of the roasting pan into a medium sized stockpot. If you made a broth stove top, add that to the stockpot too if you're not freezing it.
  4. Bring contents to a low boil, about medium.
  5. Take an immersion blender (one of the handheld wands) and puree the vegetables in the stockpot. This will thicken the gravy and give it a ton of flavor.
  6. Let gravy sit and roll till it's as thick as you like it. Taste test and add whatever seasoning you like.
In cooking, holiday, family, recipe Tags turkey, roast, roasting, Thanksgiving, cooking, upside down, breast, breast-side down, poultry, gravy
2 Comments

Croissants!

March 8, 2015

Shelby bought me a the Artisan Bread in Five Minutes book years ago and it's something I've used on a regular basis now to bake bread, pizza dough, baguettes - you name it. Recently though I been feeling an itch to try something new so I decided I'd find a few recipes online to try. I found two, one for a baguette and one for a croissant.

This guy probably is mad at me.

I felt bad, I getting my KitchenAid mixer cleaned up and realized I have neglected it. I got it for Christmas a few years back and it has not been utilized that way it should. I need to change that! Other than bread we have sausages we want to make too, especially a Thai sausage one in the Pok Pok book Marleigh gave me for Christmas this past year.

The baguette recipe was going to take two days to complete and the croissant was written out to about three. I started with the baguette dough, measuring out everything, mixing it by hand, adding a little bit of water as i went. Followed the instructions, overnight rest, everything! They turned out terrible! I'll take full responsibility for anything that went wrong with my baguettes, I'll try again and next time I have some ideas. I continued working on my croissants.

I used Weekend Bakery's classic French croissant recipe and it seemed to work out well other than taking three days to work. I know there is a right way to do this, but there has to be something a little bit faster! The croissants came out good but a little dense. Again, I think this has more to do with my technique but I'm going to look at several other recipes and figure out one that will best for me. This one was worked over three days!

I had fun, tried something different and ended up with some tasty croissants. I'll log more of my baking adventures when they happen.

In cooking Tags croissants, baking
Comment
IMG_8830.jpg

Spicy Thai Basil Fried Rice

January 8, 2015

I love Thai style fried rice, Thai food in general. People would assume it's because my mother is Thai but that's not it. I grew up in Virginia, I ate a lot of fried chicken, pork chops and hamburger gravy (sounds gross but it's so good!) My mom would make the foods she thought we should eat since we were in the U.S. When she ate though, she liked to make the foods she grew up eating.

I remember watching my mother prepare Thai food. She would sit in the middle of the kitchen floor with a wooden mortar and pestle she brought over from Thailand. It was worn down in some spots from her pounding and mashing Thai chilies, garlic and any number of ingredients in it. Years of use had seasoned it so that when she brought it out you could smell the delicious aromas pouring from its smooth center. It smelled great and that seasoning would be infused anything crushed in it.

My mother's food was hot. Very hot. When I was very young, I tried to eat some of a meat salad she made (Yum Nua) because it looked delicious. As soon as I put it in my mouth it started to burn and I became very cautious about eating the food she made for herself. That didn't mean I wouldn't eat any Thai food, fried rice and the whole fish she made was something I enjoyed a lot. If I could see chopped or whole Thai chilies though...I was wary. It was years later, when my palate matured, I could properly appreciate Thai food. We eat it frequently now.

Being familiar with what I grew up with and eating out at countless Thai restaurants I came up with my own recipe for Thai Basil Fried Rice, known as Khao Pad Kraprow. If you search for it you'll see it is spelled many different ways. I've seen simpler recipes and I've seen more complex ones, this is how I like it. Give it a shot at home, start by reading the pointers I listed.

A few tips before you get started:

  • Cook the rice the day before. Day old rice is better suited for fried rice. It's less sticky so it sholdn't attach itself to the wok. Fresh, moist rice tends to fall apart a bit too while its being tossed and scraped in the wok.

  • Do not salt! Fish sauce is very salty, if you're familar with it you know this already.

  • I prefer pork when I make this, I think it picks up the flavors the best but anything can be used (chicken, beef, tofu, people etc...)

  • Most people cook with vegetable oil, I like sesame seed oil. It has a nice nutty flavor but it's a little more expensive

  • Whisk the sauces and sugar together before you start. This will give the sugar a chance to disolve a little and you'll be using it as you go along.

  • You can make this a vegetarian dish easily by substituting the meat for a viable options. If you're vegan the fish and oyster sauce can be substituted with a vegatarian "fish sauce" found at most Asian markets.

I've also included a photo walk-through at the bottom of the page. Click through each step for tips on how to cook this!

Ingredients:

  • 1 pound of protein of your choice (I prefer pork)
  • 4-6 Garlic cloves, crushed or minced finely
  • 2-4 Red chilies, Thai, crushed/ground
  • 1-2 teaspoons White Sugar (to taste) 
  • 1/2 to 1 large bunch Thai Basil, whole, chopped, julienne, however you want it, more is better!
  • Several dashes of Golden Mountain sauce
  • Several dashes of Fish sauce (maybe one or two extra)
  • Several dashes of Oyster sauce
  • Pepper to taste
  • 2 cups jasmine rice (measured uncooked)
  • 1 Red onion, chopped
  • 1/2 large Green bell pepper
  • 1/2 large Red bell pepper  (mainly for color, but they're a little sweeter than the green too)
  • 2 handfuls - Green beans, trimmed
  • 4 Green/Spring onion, chopped


Prep the vegetables and meat, this cooks fast, so you won't have time to chop up stuff once you start cooking. Cut it all to whatever size you like, personally I like the vegetables to be a little chunky and the meat sliced thin. I use a wok and I usually cook out back on my grill's side burner to reduce smoke in the house. One time I made this at a relatives house and when I started cooking the chili in the pan it was like a low level crowd control gas canister started leaking. I started hearing coughing in the next room.

  1. Heat the wok up, once it's hot pour some of the oil in. I like to make sure the bottom is coated. When the oil starts to smoke, toss in the half of the garlic and red chili you prepped, remove from heat and swish it around the wok. You'll coat the sides of the wok when doing this.
     
  2. When you can smell the garlic and pepper put it back on the heat and throw in the meat. (If the pepper hits your nose and it makes your eyes water, that's a good thing)

    Note: I just wanted to mention if you leave the garlic and chilies on the burner/heat after you can smell it, chances are good that you're going to burn it.
     
  3. Add some of the seasoning mixture you prepped earlier, about 1/3. I also season it with some pepper and let it brown a little before tossing it, brown the other side.
     
  4. Add about 1/3 of the basil.
     
  5. Keep in wok until all of it is cooked. Obviously, the pork needs to be cooked all the way through. If you use shrimp or beef, the cooking time is a lot less.
     
  6. A lot of recipes don't do this, but I like to remove the meat from the wok and place it aside. You'll add it back in again (juices and all) after you get the vegetables and rice cooked.
     
  7. Add some more oil to the wok, then work the garlic and chili again, same drill as before.
     
  8. Toss in the all the vegetables except the green onion, that tends to gets soggy pretty fast. I like a little char on some of the vegetables before I toss them but they should be firm and not over-cooked.
     
  9. While the veggies are cooking, toss in 1/3 of the basil, sugar. Pepper and add sauce mixture.
     
  10. Keep vegetables in the wok, add the rice and the rest of the ingredients that are left. Add the green onion at this time too.
     
  11. When you start to mix the rice add the meat and drippings in. Add the remainder of the sauce mixture; salt and pepper to taste and let it brown.
     
  12. Optional - You can squeeze a little lime on it once you're done cooking it if you have any sitting around.

Seems a little involved, but it's really easy when you get the hang of it.

If you don't have a wok or Golden Mountain Sauce, go to the local Asian market. A good wok is about $12-20. You'll want to clean off all that funky stuff that's coated all over it from shipping. Scrub it real good, wash it, and then season it with some oil, burn it into it. I don't scrub my wok after I start seasoning it, it has a nice carbonized, black coating on it now. Nothing sticks to it.

As for the spices and ingredients, you can add or remove as much as you like. A lot of the time I'll use whatever I have in the fridge, it's great when I have a little bit of everything in the crisper. I don't use soy sauce in this dish. Thai basil and fish sauce are needed to make this the right way. Thai basil is in any Asian or international market you might have in your area (well, probably not the Russian one.) If you've never bought Thai basil, the leaves are smaller and the stalks are purple. It has a slight licorice flavor too, you'll be able to smell it through the packaging.

Good luck and send me feedback with your own experiences making this. I have my Mom's seal of approval with this stuff so it's gotta be alright.

Garlic, always have garlic on hand
Garlic breakdown
Garlic breakdown

Use whatever method you like to peel it.

Shake it
Shake it

I used that garlic peeling method that was all the rage the other year. It works better for my wife than it does for me.

Ready for the knife
Ready for the knife
Thai Chilies
Thai Chilies

Carefully slice lengthwise and scrape the seeds out.

Seeds = Heat
Seeds = Heat

Removing seeds is optional.

Bell Pepper
Bell Pepper

This is how I remove the stems from my bell peppers most of the time. A quick push on the stem inward...

Bell Pepper
Bell Pepper

...and the seedy core and steam come right out. Might take a little practice.

Vegetables ready for the wok
Meat
Meat

I buy the cheapest cuts I can get. Most of the time this means I'm deboning it, no problem.

Slice thinly to cook fast
Heat up the wok
Heat up the wok

Make sure everything you are cooking has been prepped before you heat up the wok. It'll be very hot and you won't have time to chop up anything before the oil burns.

Cook the meat
Cook the meat

You'll be adding a little garlic and red chili in the wok before you toss in the meat and vegetables. I add the sauce mix in about halfway through the fry of whatever is in the wok. Add a little towards the end for flavor.

Browned and done
Browned and done

I like to try to get a the meat on the hottest parts of the wok to get a little char on it. I believe it adds to the flavor.

Thai Basil
Thai Basil

You can taste a little licorice in Thai basil. You need to use Thai basil if you want this dish to taste right. Chop it or pull it apart, I like my pieces to be a little big bigger and rough.

Stir fry the vegetables

Don't overcook! You don't want the vegetables to get soft. About 5 minutes max, season the same way you did the meat.

Rice time!
Rice time!

Again, I like to try to get a little char on the rice when I put it in the wok. Use your utensil to break down large clumps of rice. Season as we did earlier with the meat and vegetables.

Color
Color

When you have it in the wok and all the herbs and seasoning has been added, you'll start seeing color.

All in
All in

When the rice is about done, toss the meat and vegetables back in. Mix thoroughly, make sure to scrape the bottom of the wok to get any rice that might be sticking to it. Mix for about 8 minutes.

Eat!
Eat!

Garnish with cilantro, green onion and lime.

Garlic, always have garlic on hand Garlic breakdown Shake it Ready for the knife Thai Chilies Seeds = Heat Bell Pepper Bell Pepper Vegetables ready for the wok Meat Slice thinly to cook fast Heat up the wok Cook the meat Browned and done Thai Basil Stir fry the vegetables Rice time! Color All in Eat!
In cooking, recipe Tags Thai, walk-through, fried rice, stir fry, basil, recipe, wok
2 Comments

Clams in Butter & Wine Sauce

December 17, 2014

After having something similar in an area restaurant I wanted to try my hand at a butter/wine sauce for clams. It came out great and the sauce is delicious with crusty bread. Here's what you need:

  • 1 stick of Butter
  • 1 cup of white wine
  • 1 cup clam stock
  • 1 cup chicken stock
  • 2 cloves of garlic, minced
  • 1/2 cup of cream
  • 3 tablespoons chopped Parsley
  • 1 small Lemon
  • Zest from the lemon
  • 1/2 an medium onion
  • 1/2 lb Bacon, cooked soft, roughly chopped
  • 3-5 lbs of Little Neck Clams

Pepper to taste (the clam liquor will be salty enough)

To get the cup of clam liquor you need for this, you'll get from the clams you cook. It's easy:

  1. Fill a stock pot with about half an inch of wine and then place the steamer and clams in. Turn to high and cover, steam for 15 minutes. You'll know they're done when they open. Discard any clams still closed after steaming.
  2. You should have a couple of cups of clam stock in the bottom of the pot. Don't throw it out! Freeze what you don't use in the recipe for later.

To make the sauce:

  1. Heat a large sauce pan to medium-high, place butter in pan.
  2. Add garlic and onion and saute till translucent, about 4 minutes.
  3. Add chicken stock, wine and clam stock. Switch heat to High until boiling, then reduce to medium. Simmer and reduce for approximately 20 minutes or until reduced to close half volume. (At this point you can serve it at whatever consistency you like, add a tiny bit of flour if you want it thicker.)
  4. After reducing liquid add heavy cream, lemon zest and lemon juice. Simmer for 15 minutes, stir regularly.
  5. Add parsley, stir and remove from heat.
  6. Place clams in large bowl and sprinkle the bacon on top. Then pour the sauce all over the clams.
  7. Serve and eat with bread!

Tip: To cut back on salt, use a bacon or ham that isn't as salty.

IMG_7593.JPG
IMG_7598.JPG
IMG_7600.JPG
IMG_7602.JPG
IMG_7604.JPG
IMG_7605.JPG
IMG_7609.JPG
IMG_7614.JPG
IMG_7620.JPG
IMG_7623.JPG
IMG_7624.JPG
IMG_7626.jpg
IMG_7593.JPG IMG_7598.JPG IMG_7600.JPG IMG_7602.JPG IMG_7604.JPG IMG_7605.JPG IMG_7609.JPG IMG_7614.JPG IMG_7620.JPG IMG_7623.JPG IMG_7624.JPG IMG_7626.jpg
In cooking, recipe, seafood Tags clams, wine, butter, garlic, sauce, recipe
1 Comment
image.jpg

Turkey Brine

November 26, 2014

It's Thanksgiving! One of my favorite holidays of the year and I love to cook dinner for the family. The smells, picking at what's being made and the thought of everyone home just feels good. Bonus for us: Our son will be home for the weekend from his training! Can't wait to see him.

I've only recently started brining turkeys, this being my third. I've browsed a lot recipes out there and picked what I liked from them. This recipe will produce a nice aromatic mixture that will add flavor to your bird. Another thing I like to do too is roast mine upside down and them flip it the last hour to brown the top. I can write about that later.

The following brine recipe will be mixed with approximately 2 gallons of water. Brine the fully submerged turkey for about 24 hours (12 in a pinch!) If you don't have room in the refrigerator to hold it, you can use a large, ice-packed cooler. Half way through brining make sure to flip the turkey.

Ingredients:

4 cups Apple Cider

½ bottle White Wine

1 ½ cups Kosher salt

6 cloves of Garlic, crushed

5 medium Bay Leaves

2 cups Brown Sugar

2 medium Onions, sliced

2 Oranges Worth of Peels (just the peel! No pith. I put the peeled oranges inside the turkey while it's roasting)

2-3 tablespoons of Rosemary

2 tablespoons Black Pepper Corn

2 tablespoons Coriander

1 tablespoon Mustard Seed

1 tablespoon Fennel Seed

A few sprigs of Thyme

Mix all ingredients in a stockpot and bring to a roll. Lower heat to a simmer for about 5 minutes, until the salt has dissolved. Cool before pouring in brining container with turkey. From what I've read it could cause problems with bacteria if you pour hot or warm brine on the turkey. You can use ice to cool down the brine if need be, just make sure you don't add as much water when you mix it all together.

Happy Thanksgiving!

In dinner, cooking, recipe Tags Thanksgiving, brine, brining, turkey, dinner, holidays
Comment
Chicken Piccata

Chicken Piccata

Chicken Piccata

March 25, 2014

I stayed a little late at the office last night and I texted Shelby to figure out what we should have for dinner. She offered to cook; we're trying to eat at home more because we've been all over the place recently. You could probably guess that it gets expensive!

We had some chicken in the freezer and some mushrooms in the fridge--Shelby was feeling creative. She looked up several recipes and decided she's put together Chicken Piccata. She's made it before and it came out really good the first time but she worked it a little different this time around. After going through several recipes she melded together what she liked best out of all of them and started.

IMG_4241.jpg

She kept seasoning the dredge until she was happy with it dry, then browned the chicken breasts. Adding whatever she figured would taste good (onion powder, garlic powder, red pepper) and saved the some of it for the sauce. The sauce was made up of wine, lemon juice, shallots, capers, lemon zest, garlic--the dredge had salt and pepper in it already.

She added the browned chicken to the sauce and let it simmer to finish off. She had me clip a little bit of our parsley in the garden to garnish. We ate it with some old bread we toasted and buttered.

IMG_4250.jpg


In cooking, dinner, Shelby Tags Chicken Piccata, dinner, chicken
Comment
Older Posts →

Instafood

Follow I Heart Food on Instagram @iheartfoodvb

Gallery Block
This is an example. To display your Instagram posts, double-click here to add an account or select an existing connected account. Learn more
Etiam Ultricies
Vulputate Commodo Ligula
Elit Condimentum
Aenean eu leo Quam
Cursus Amet
Pellentesque Risus Ridiculus
Porta
Etiam Ultricies
Vulputate Commodo Ligula
Elit Condimentum
Aenean eu leo Quam
Cursus Amet

Fresh Tweets

  • Just posted a photo @ Aloha Snacks VB https://t.co/CJpZSk7OLS
    Feb 10, 2023, 5:12 PM
  • Just posted a photo @ Bonchon https://t.co/DlaVe9ytk2
    Feb 9, 2023, 2:12 PM
  • @_thanksforlistening Grand Opening, Jan 2023. Catch them tonight at @backbarvb 2/2/2023. @ Thank You Gallery https://t.co/c1a8YAJdZZ
    Feb 2, 2023, 1:37 PM
  • Just posted a photo @ The Dirty Buffalo - Grassfield Chesapeake https://t.co/FfCsddikct
    Jan 25, 2023, 2:00 PM
  • The Surf & Turf Burrito at @pelonsbajagrill…amazing! @hearthandhunt suggested extra Baja sauce too 👌🏽 @ Pelon's Baj… https://t.co/73h5ClCFJE
    Jan 22, 2023, 5:10 PM
  • Shots from last week’s Smash Burger Night at @hearthon17th with my buddy @rawsy78! @ Hearth Wood Fired Cuisine & Cr… https://t.co/ELvkBxPttA
    Jan 18, 2023, 12:20 PM
  • Just posted a photo https://t.co/QV97vhzTcm
    Jan 13, 2023, 4:10 PM
  • Have you all checked out @hotpot757 yet? I enjoy getting the Korean BBQ and Hot Pot and I always eat too much 🤣 @ H… https://t.co/t60Z40KbJc
    Jan 11, 2023, 10:31 AM
  • NYE Dinner at @thepinkdinghy was amazing! Thank you @aqua_lamb and crew for squeezing us in. Hope everyone had a gr… https://t.co/VcNtPwEy2T
    Jan 6, 2023, 8:06 PM
  • Steak Frites from @hearthon17th. Craving this right now! #hearthon17th #steak #frites #dinner #virginiabeach https://t.co/f8idp0pQ29
    Dec 11, 2022, 1:47 PM

That Looked Fun!

Hartwood
IMG_4606.jpg
about 5 years ago
IMG_4608.jpg
about 5 years ago
IMG_4609.jpg
about 5 years ago
IMG_4610.jpg
about 5 years ago
IMG_4611.jpg
about 5 years ago
IMG_4613.jpg
about 5 years ago
IMG_4614.jpg
about 5 years ago
IMG_4615.jpg
about 5 years ago
IMG_4616.jpg
about 5 years ago
IMG_4617.jpg
about 5 years ago