• I Heart Food
  • Blog
  • Photos
  • Archive
  • Press/Published
  • Contact
  • About
Menu

I Heart Food

Sharing our experiences eating out and what we cook at home--everything related to food and drink
  • I Heart Food
  • Blog
  • Photos
  • Archive
  • Press/Published
  • Contact
  • About

Thai Curry Shrimp

March 22, 2020

Shelby recently asked about an old recipe I used to cook when we I was trying to cook healthier (I’m still working on that…kinda.) It was a Thai curry dish that was super easy and delicious. It’s been a while so I kinda mixed it up a bit and maout with something even better!

I’ll quit talking so you can get to the recipe. Give it a shot, feedback is always welcome.

Before you start:

I like slicing my green onion in long, diagonal pieces just because they look pretty and when people see it they think you know what you’re doing.

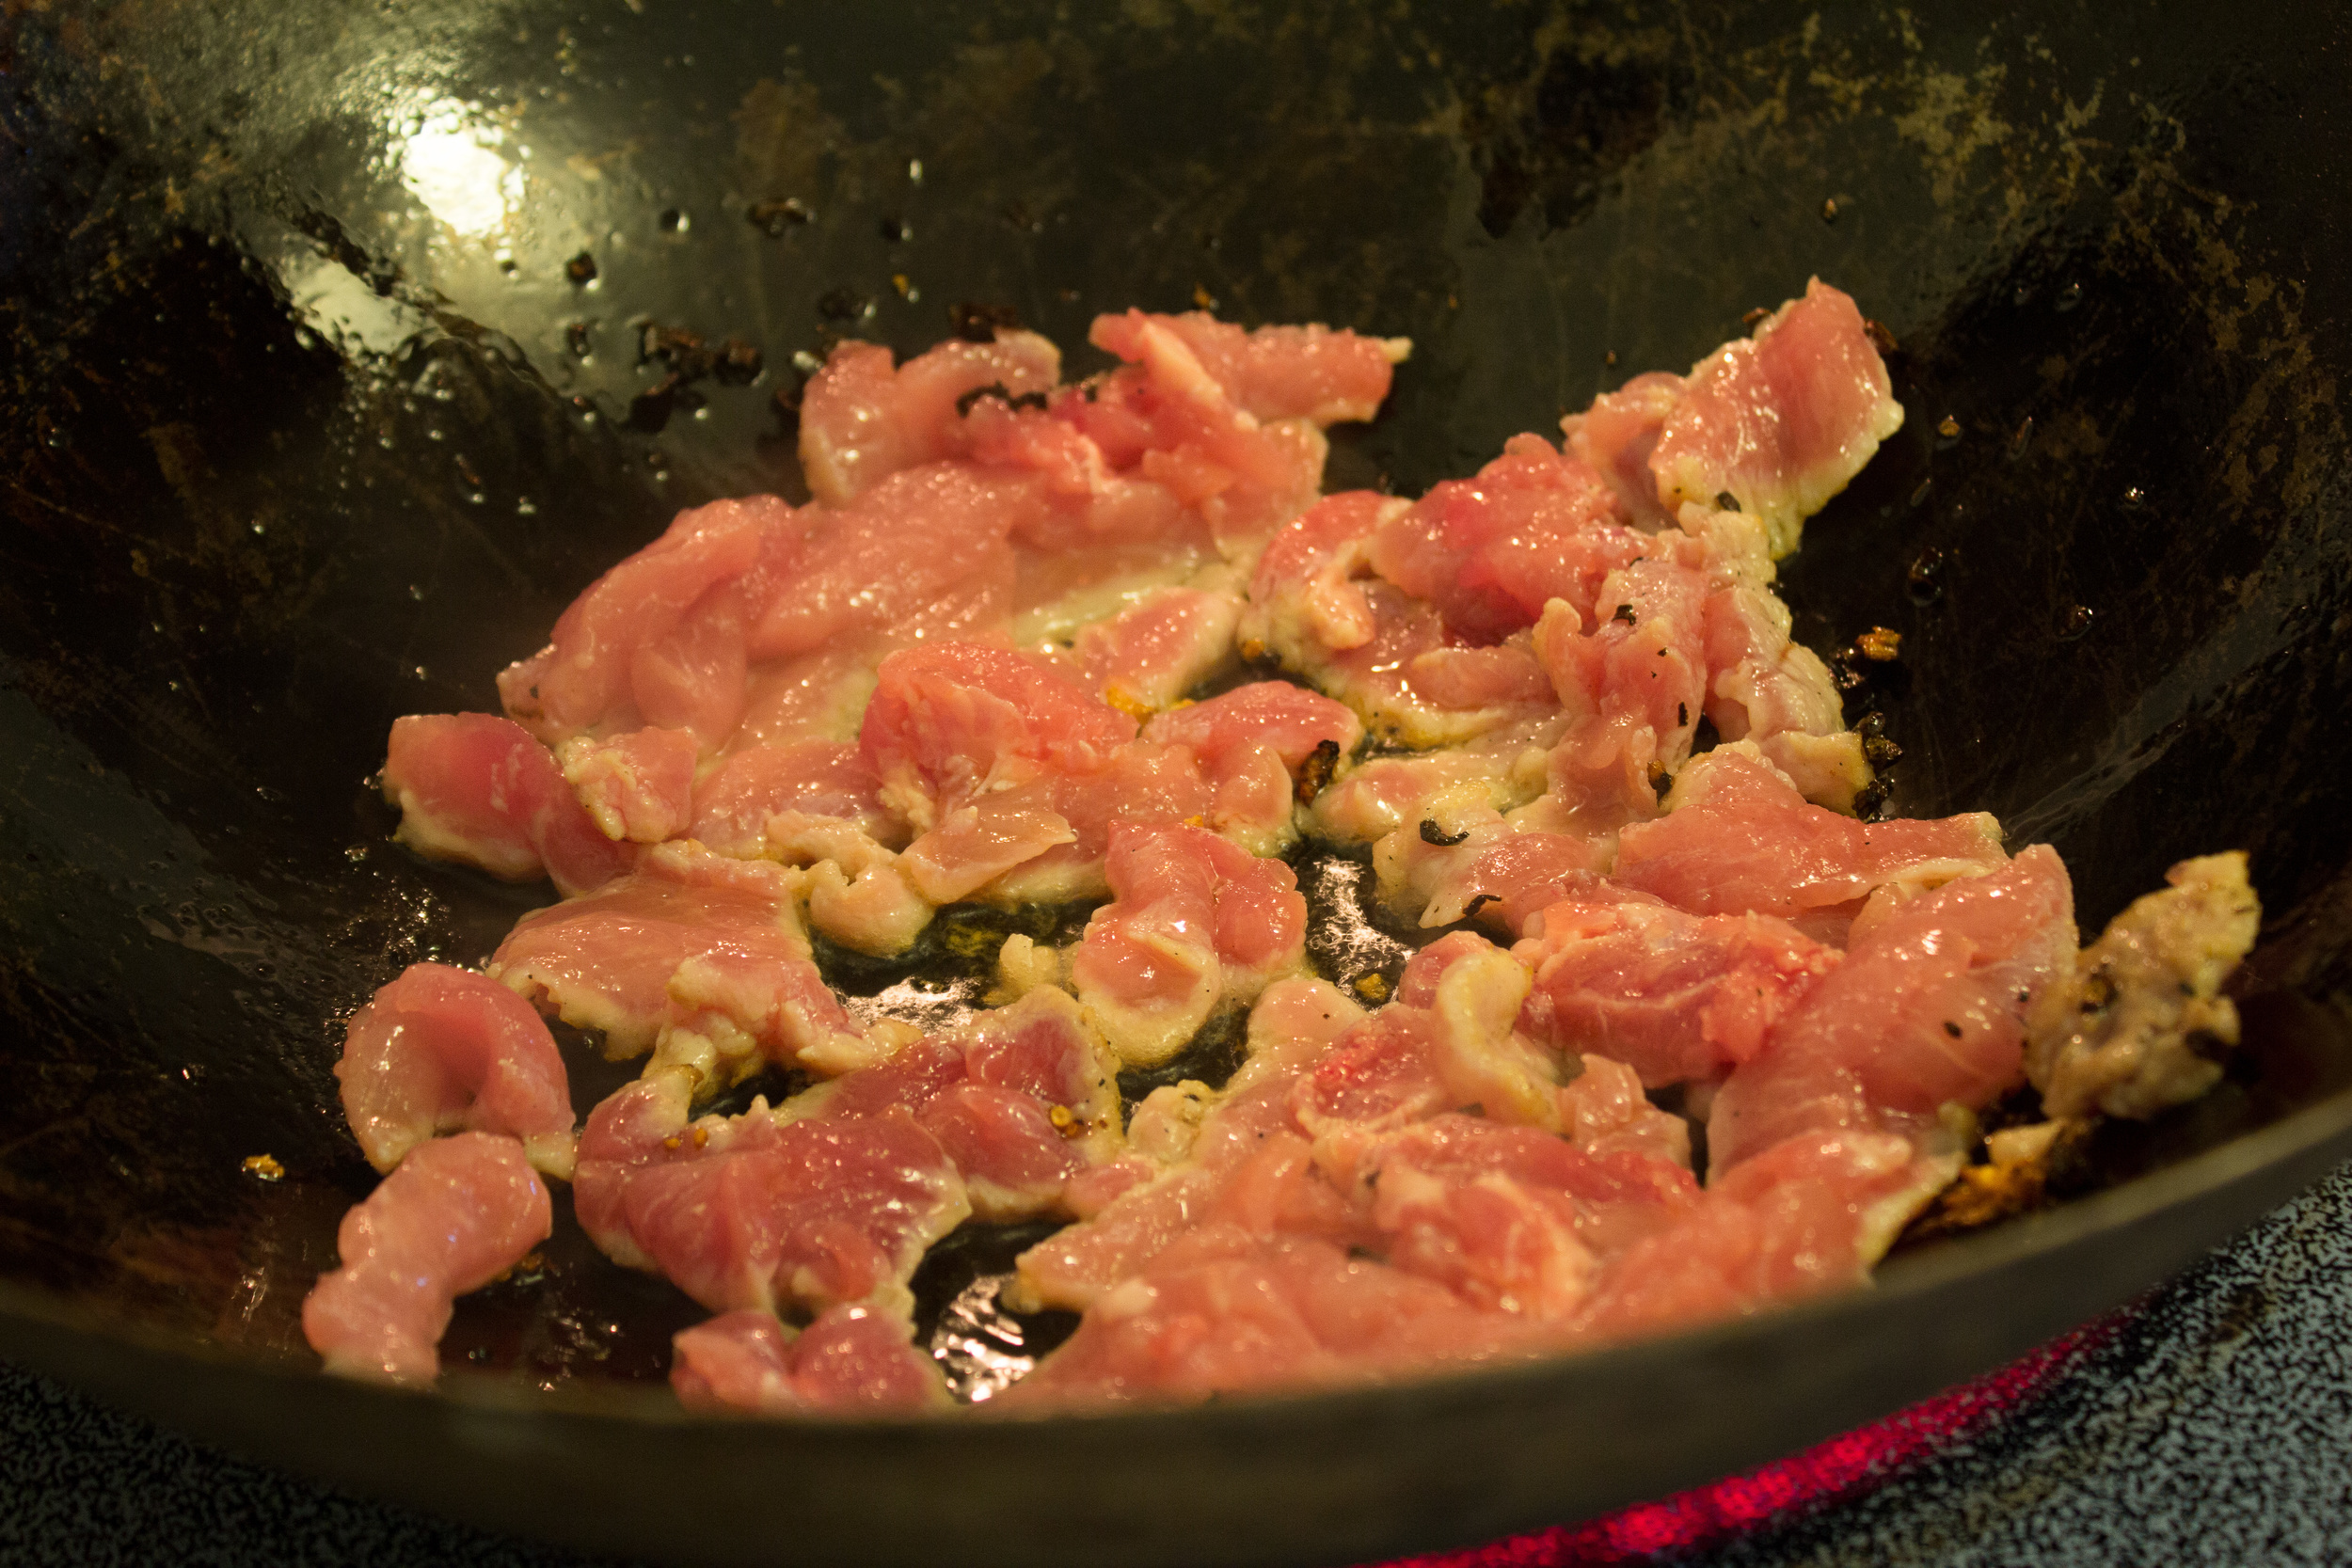
As for the shrimp when I say prepared I mean however you like them. De-veined is always a good idea because even though shrimp are small, poop is poop. I ain’t going to kill you but the vein can mess with texture because it can be gritty. I’ve eaten plenty of shrimp with the vein in and it wasn’t a deal breaker.

I like coconut milk with the cream in it. That stuff is good and adds to the dish. Use it if you have it.

Buy a wok if you don’t have one, every household should have a wok.

Ingredients:

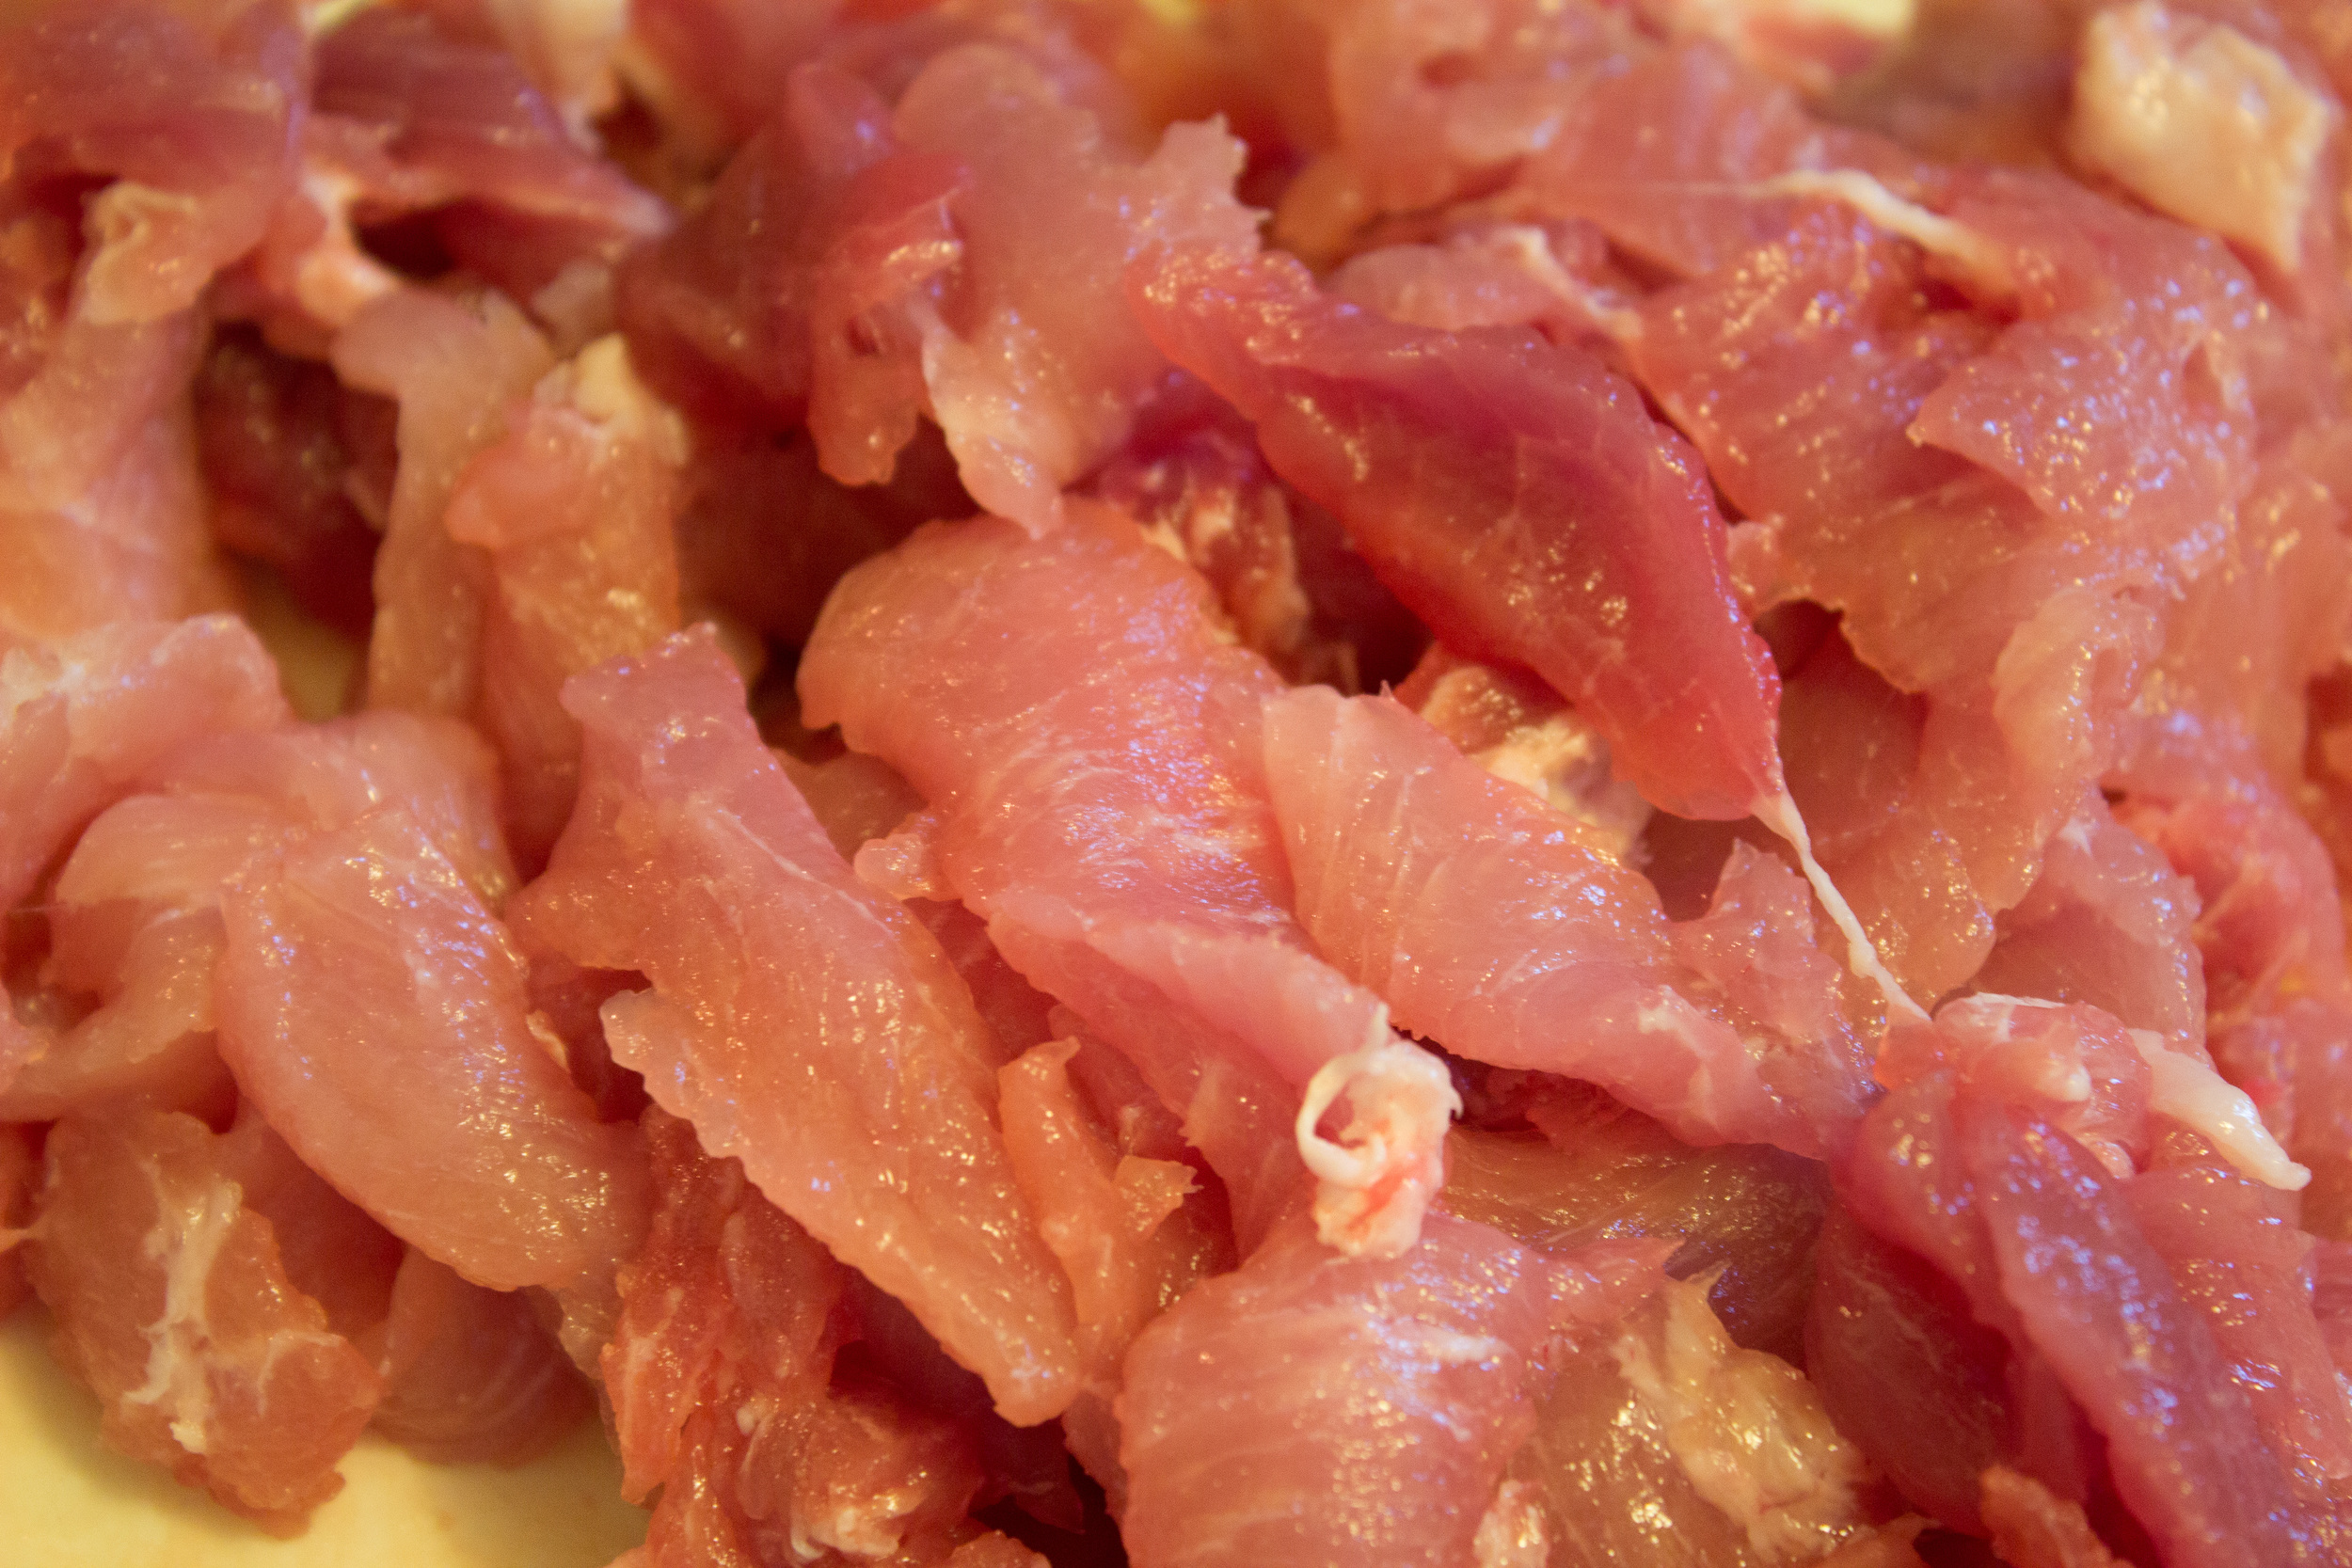
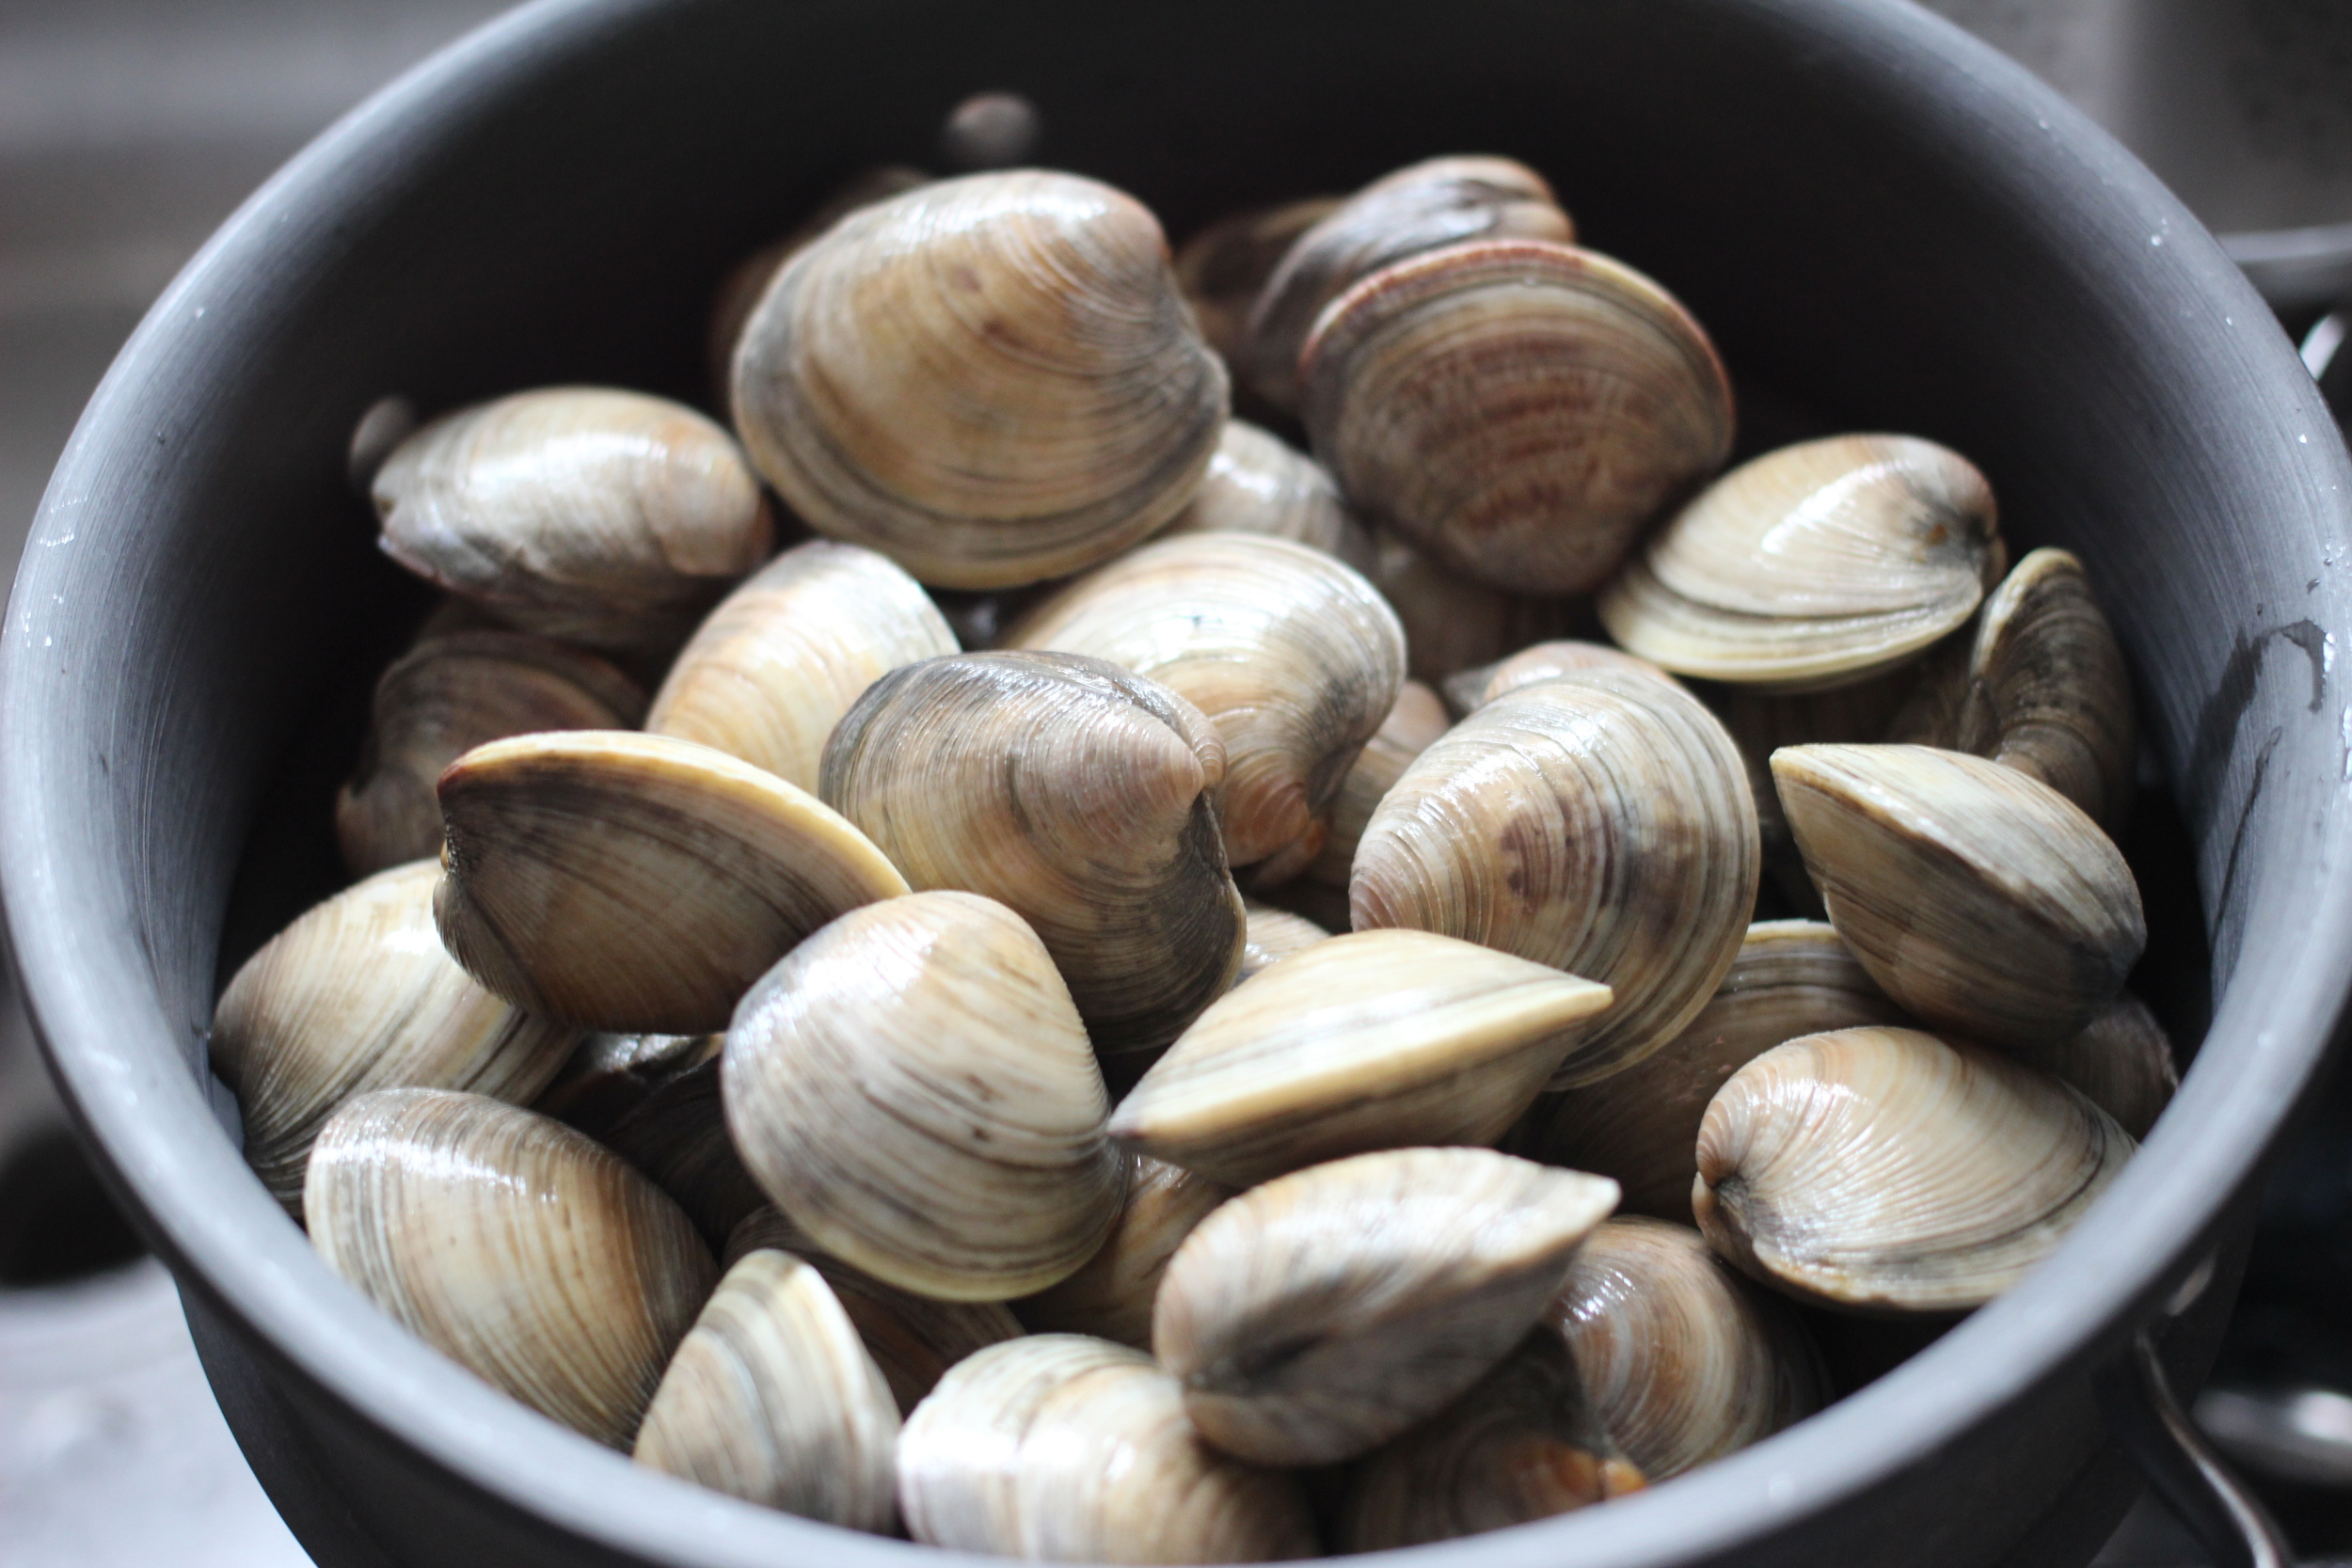
  • 1 1/2-2 lbs Shrimp, prepared

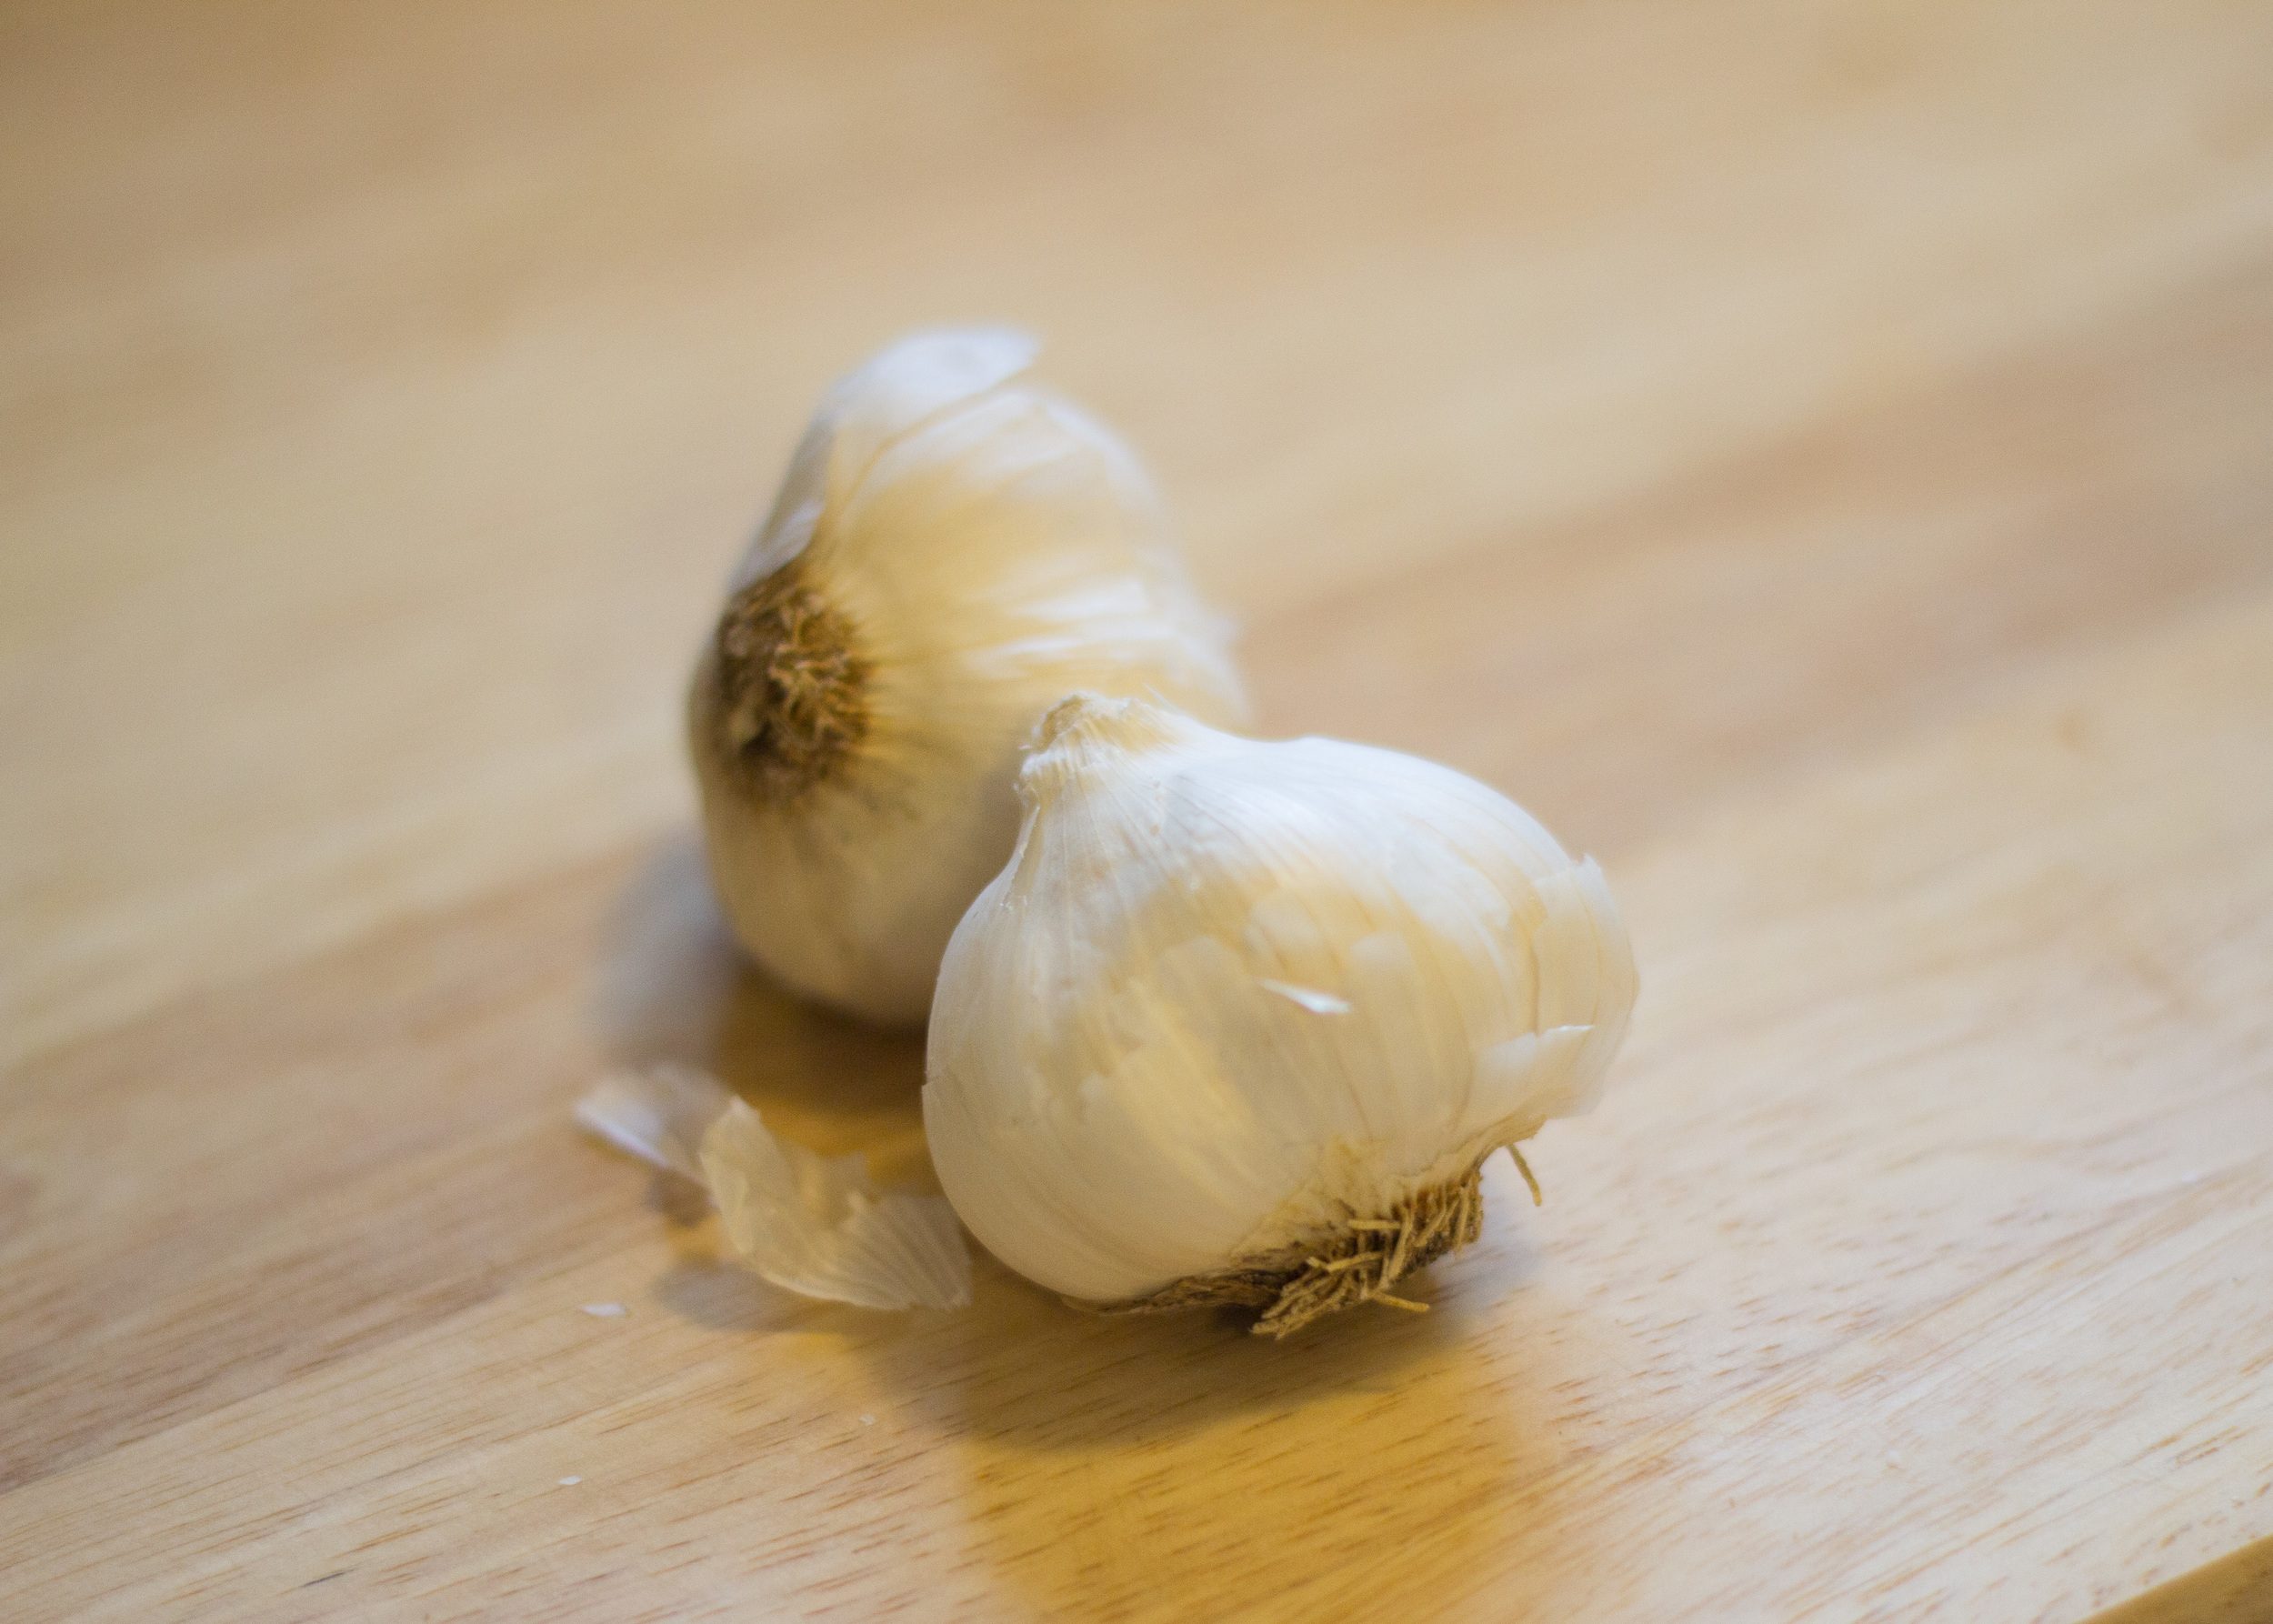
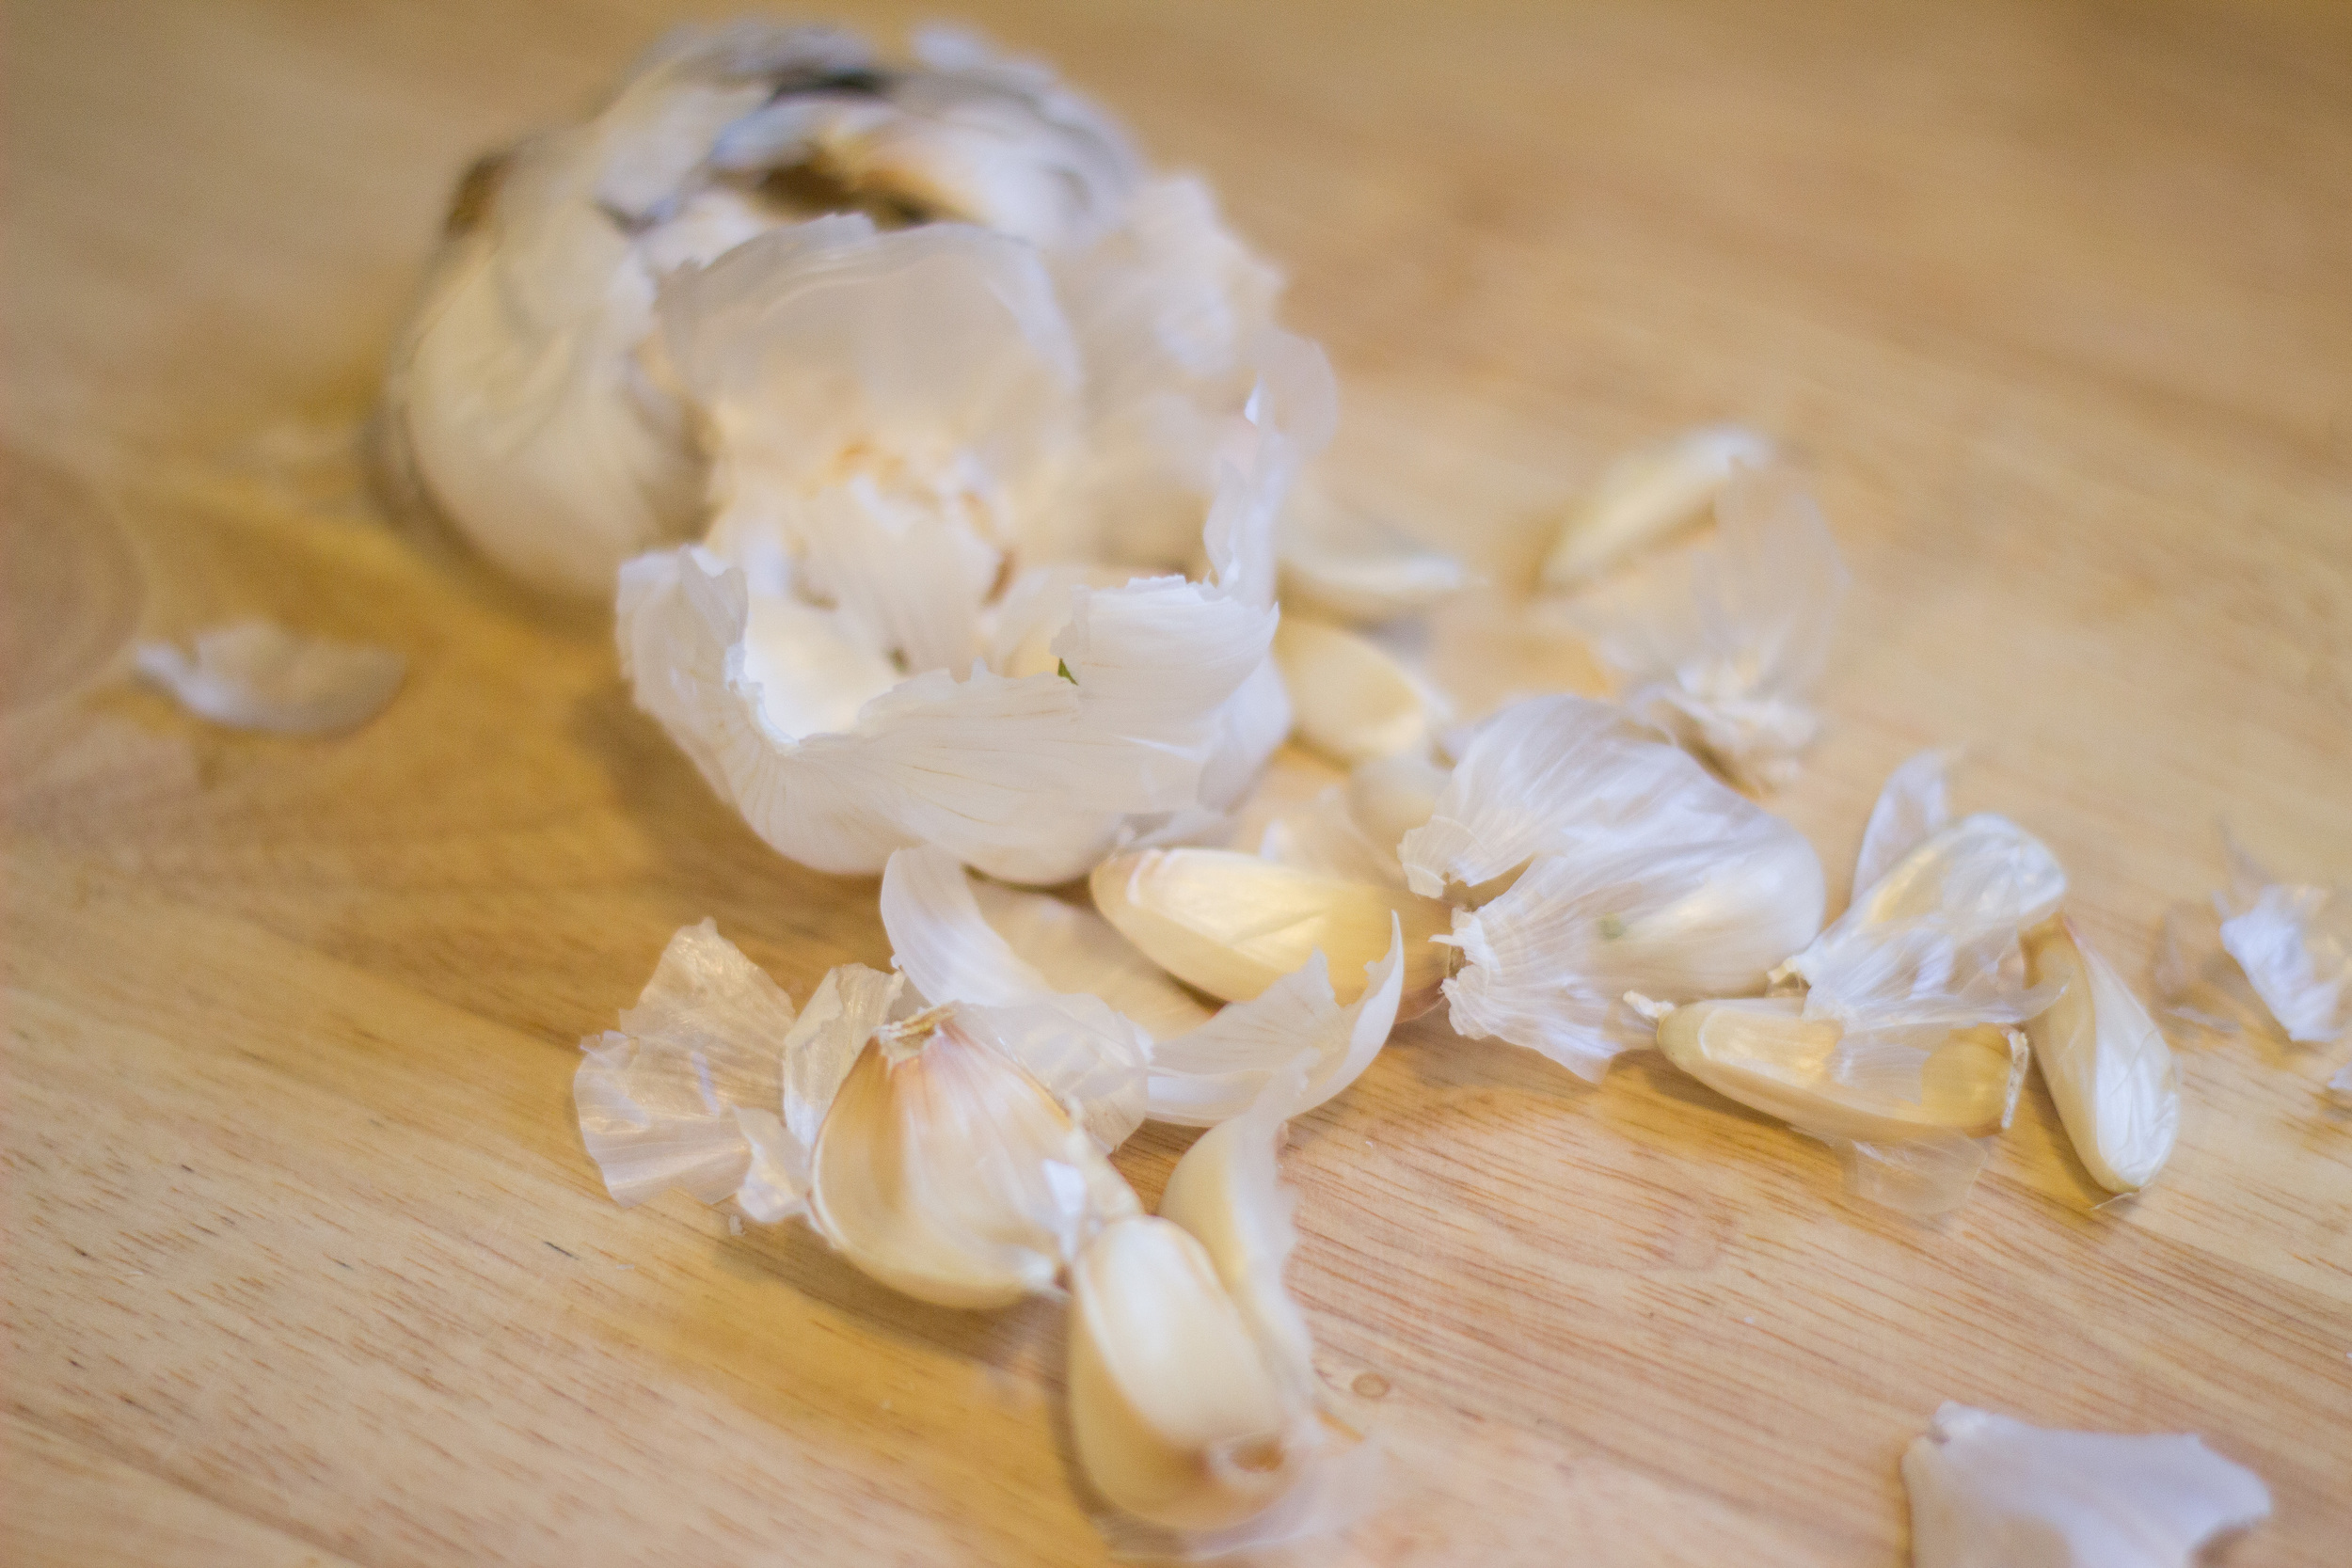
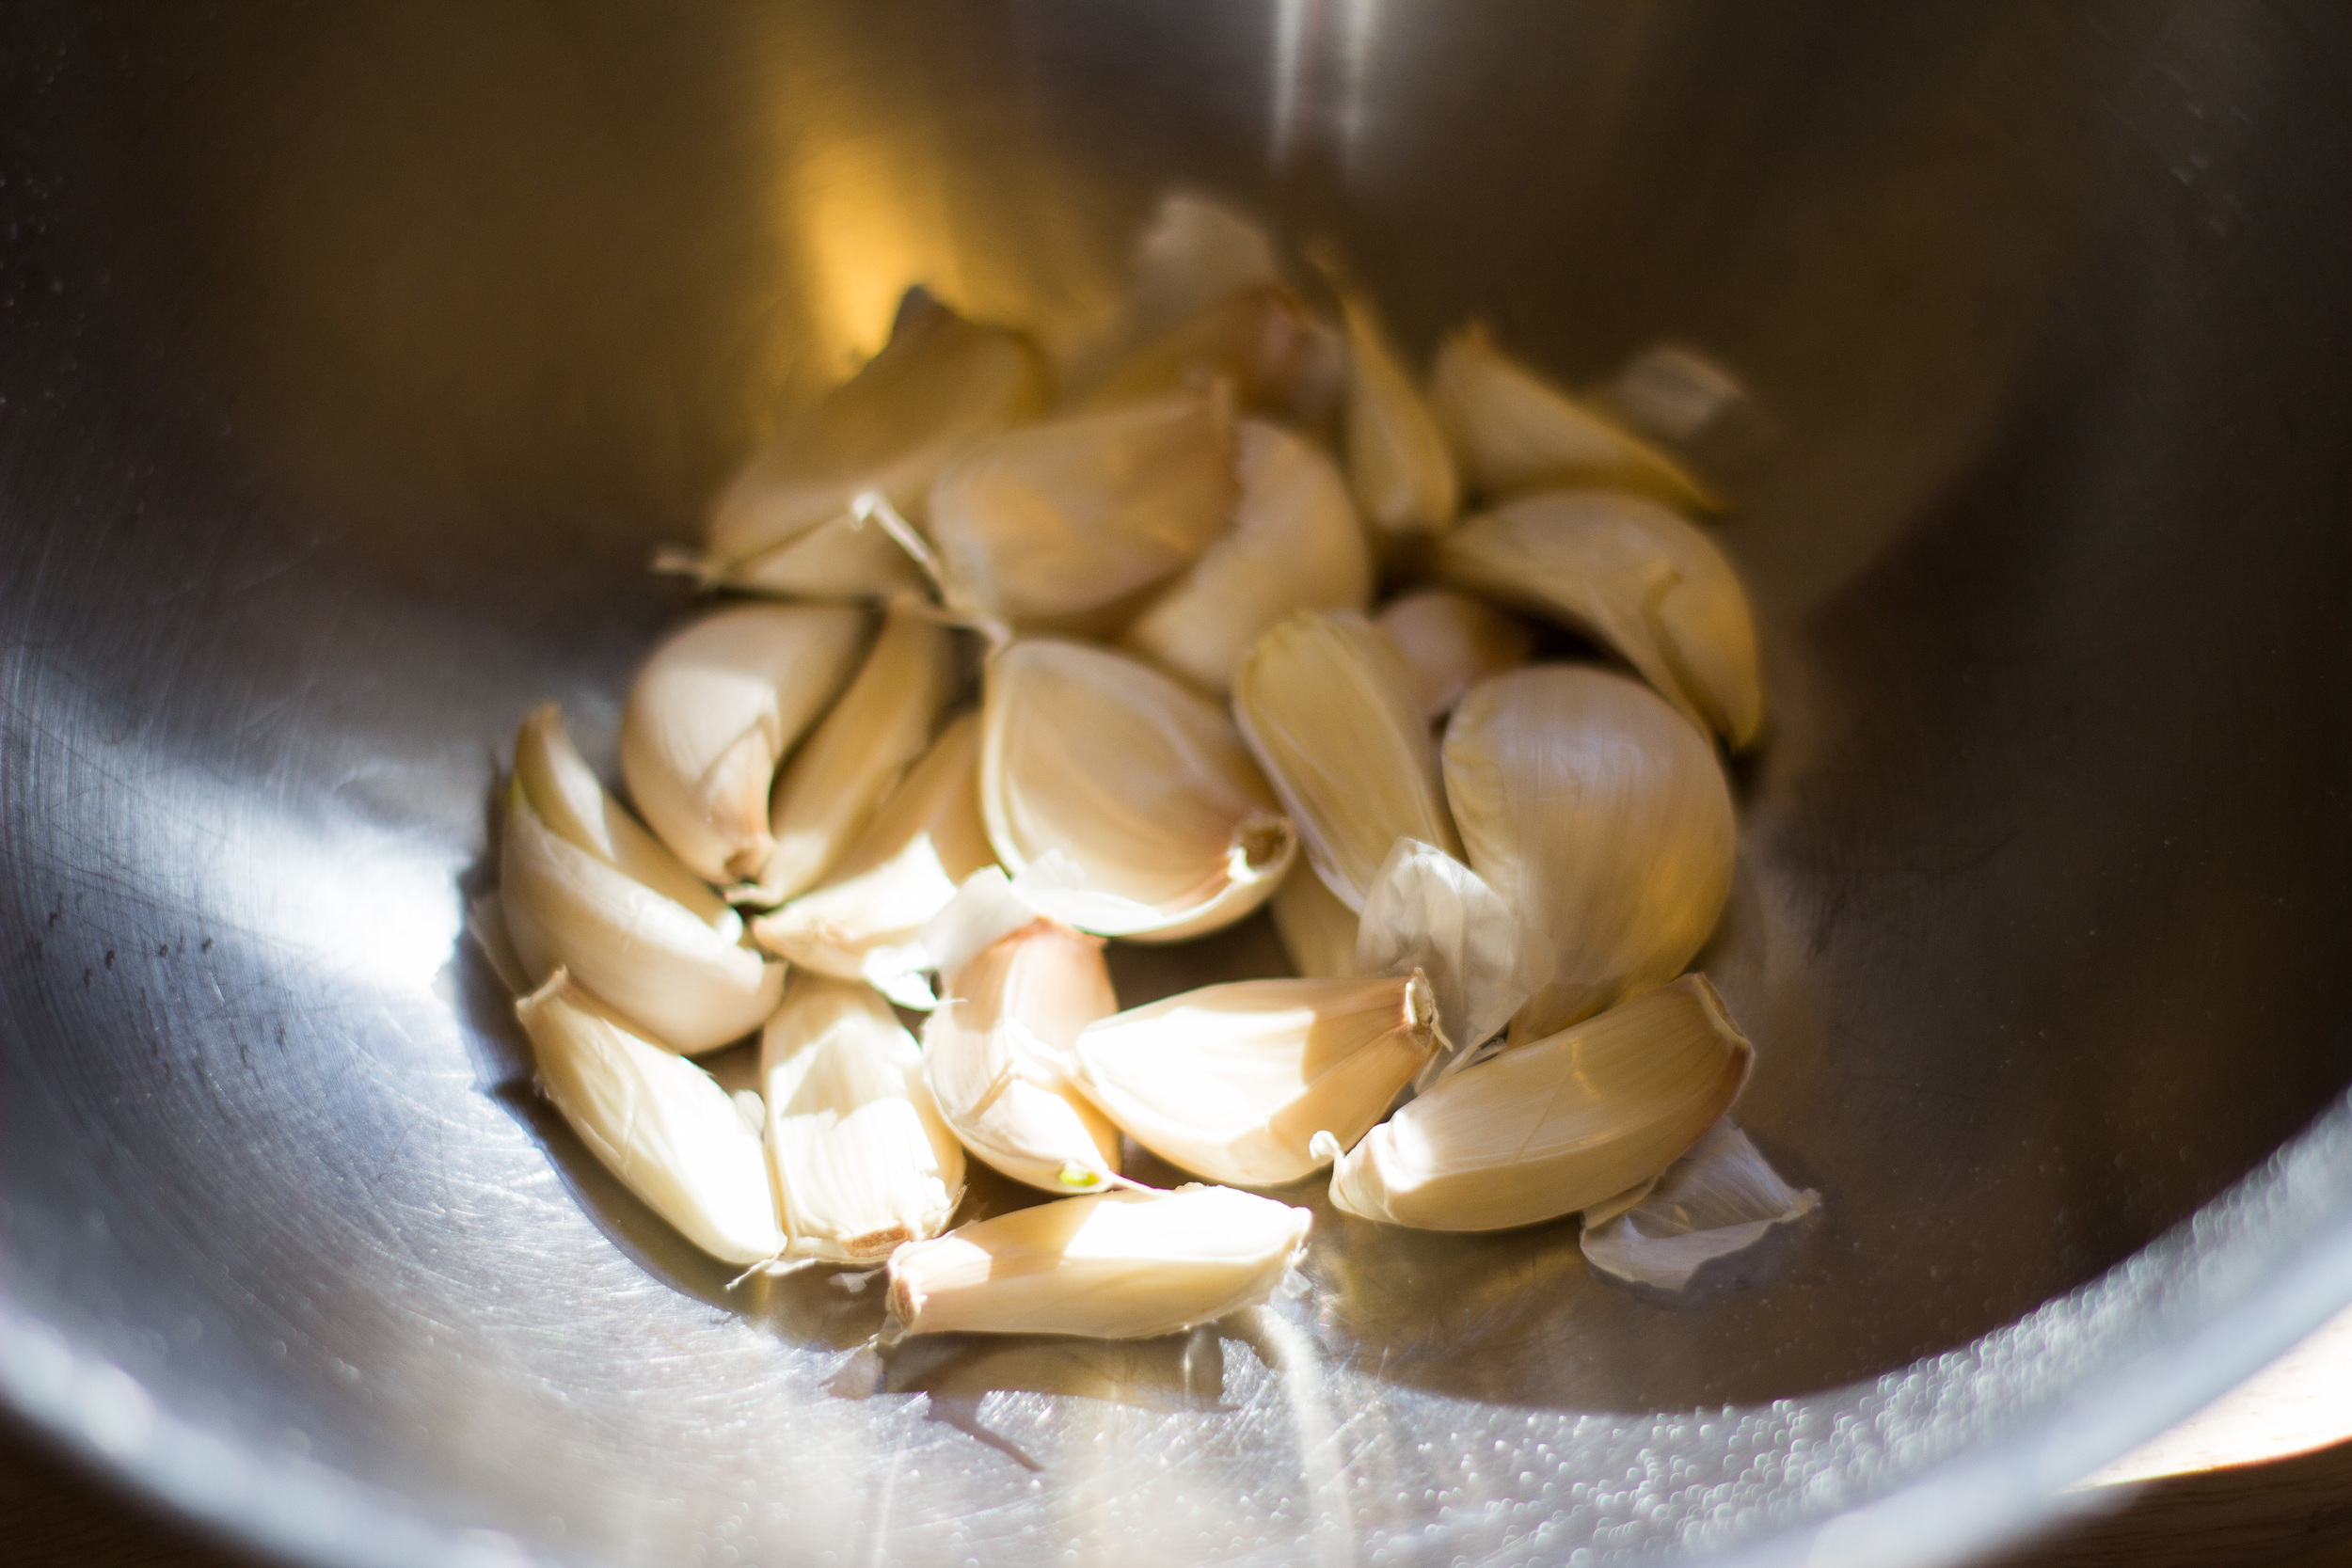
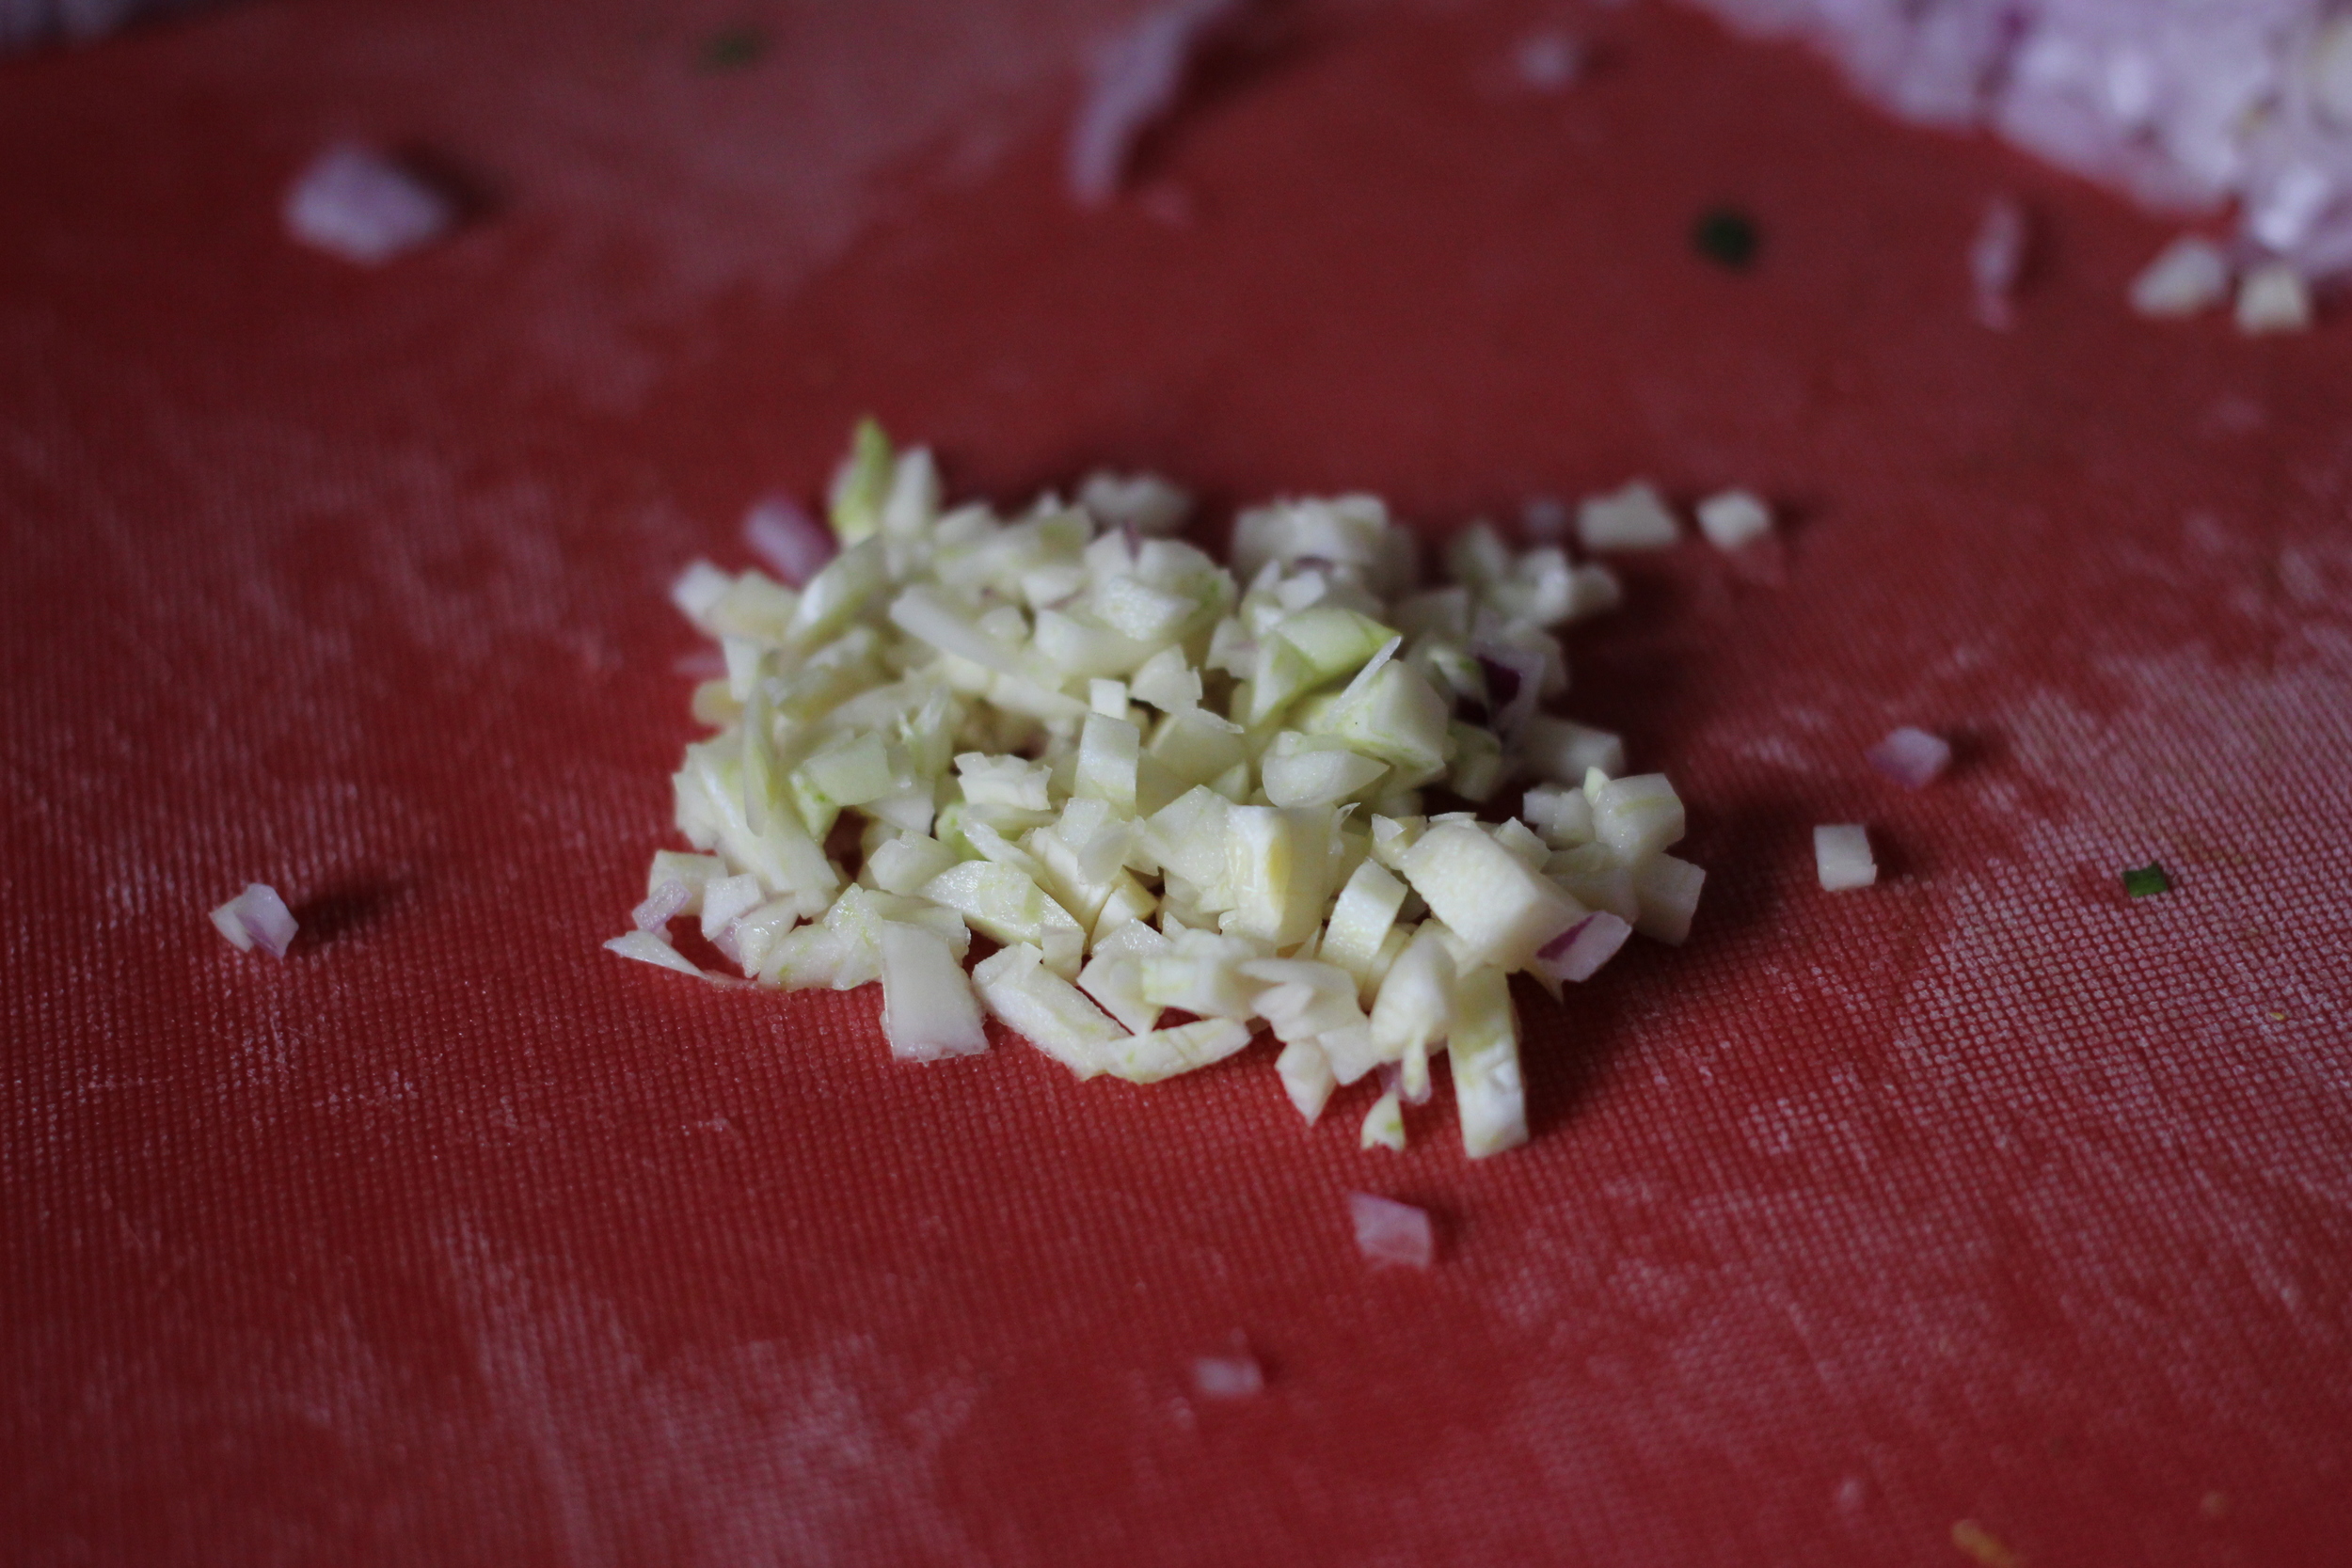
  • 3-4 Cloves of garlic, minced

  • 1 Tsp Ginger, finely minced

  • 1 Tbsp Thai Red Curry Paste

  • 2 Tbsp Thai Green Curry Paste

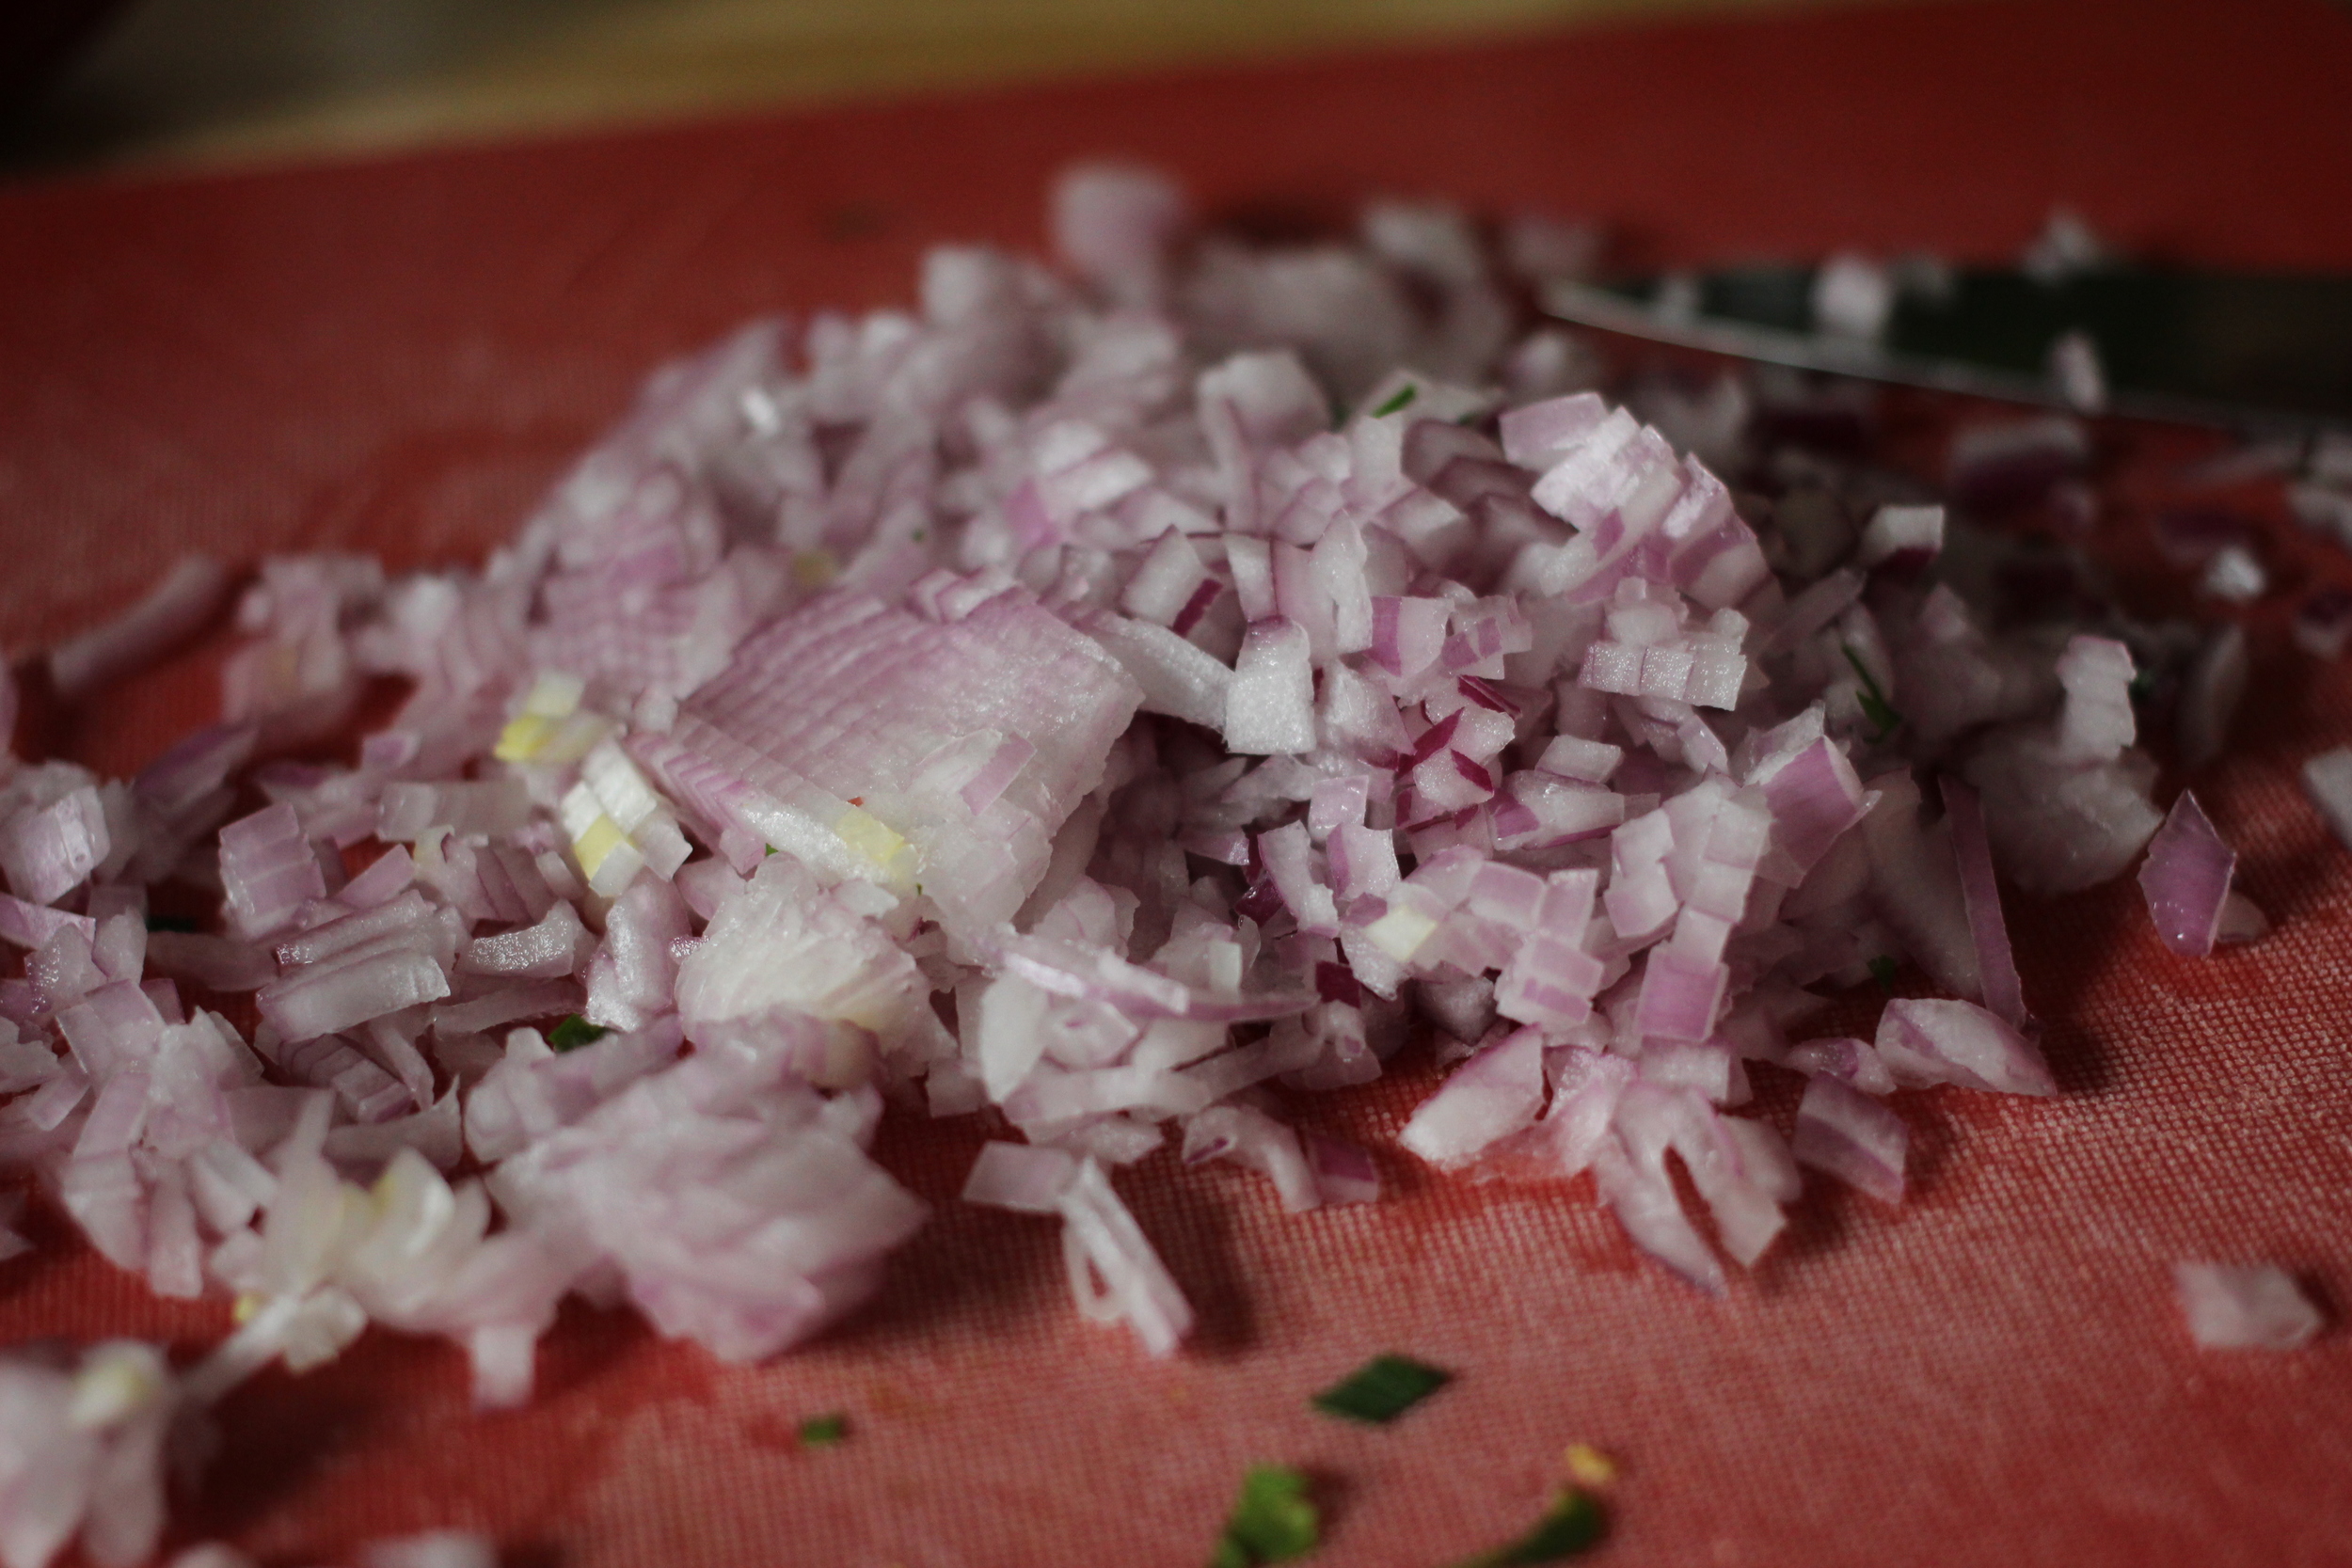
  • 4 Green Onion, chop/slice the whole stalk, separating the white and green parts

  • 9 oz Coconut milk/cream (I’ll use the whole can sometimes - crazy life!)

  • 2 Tsp Fish Sauce

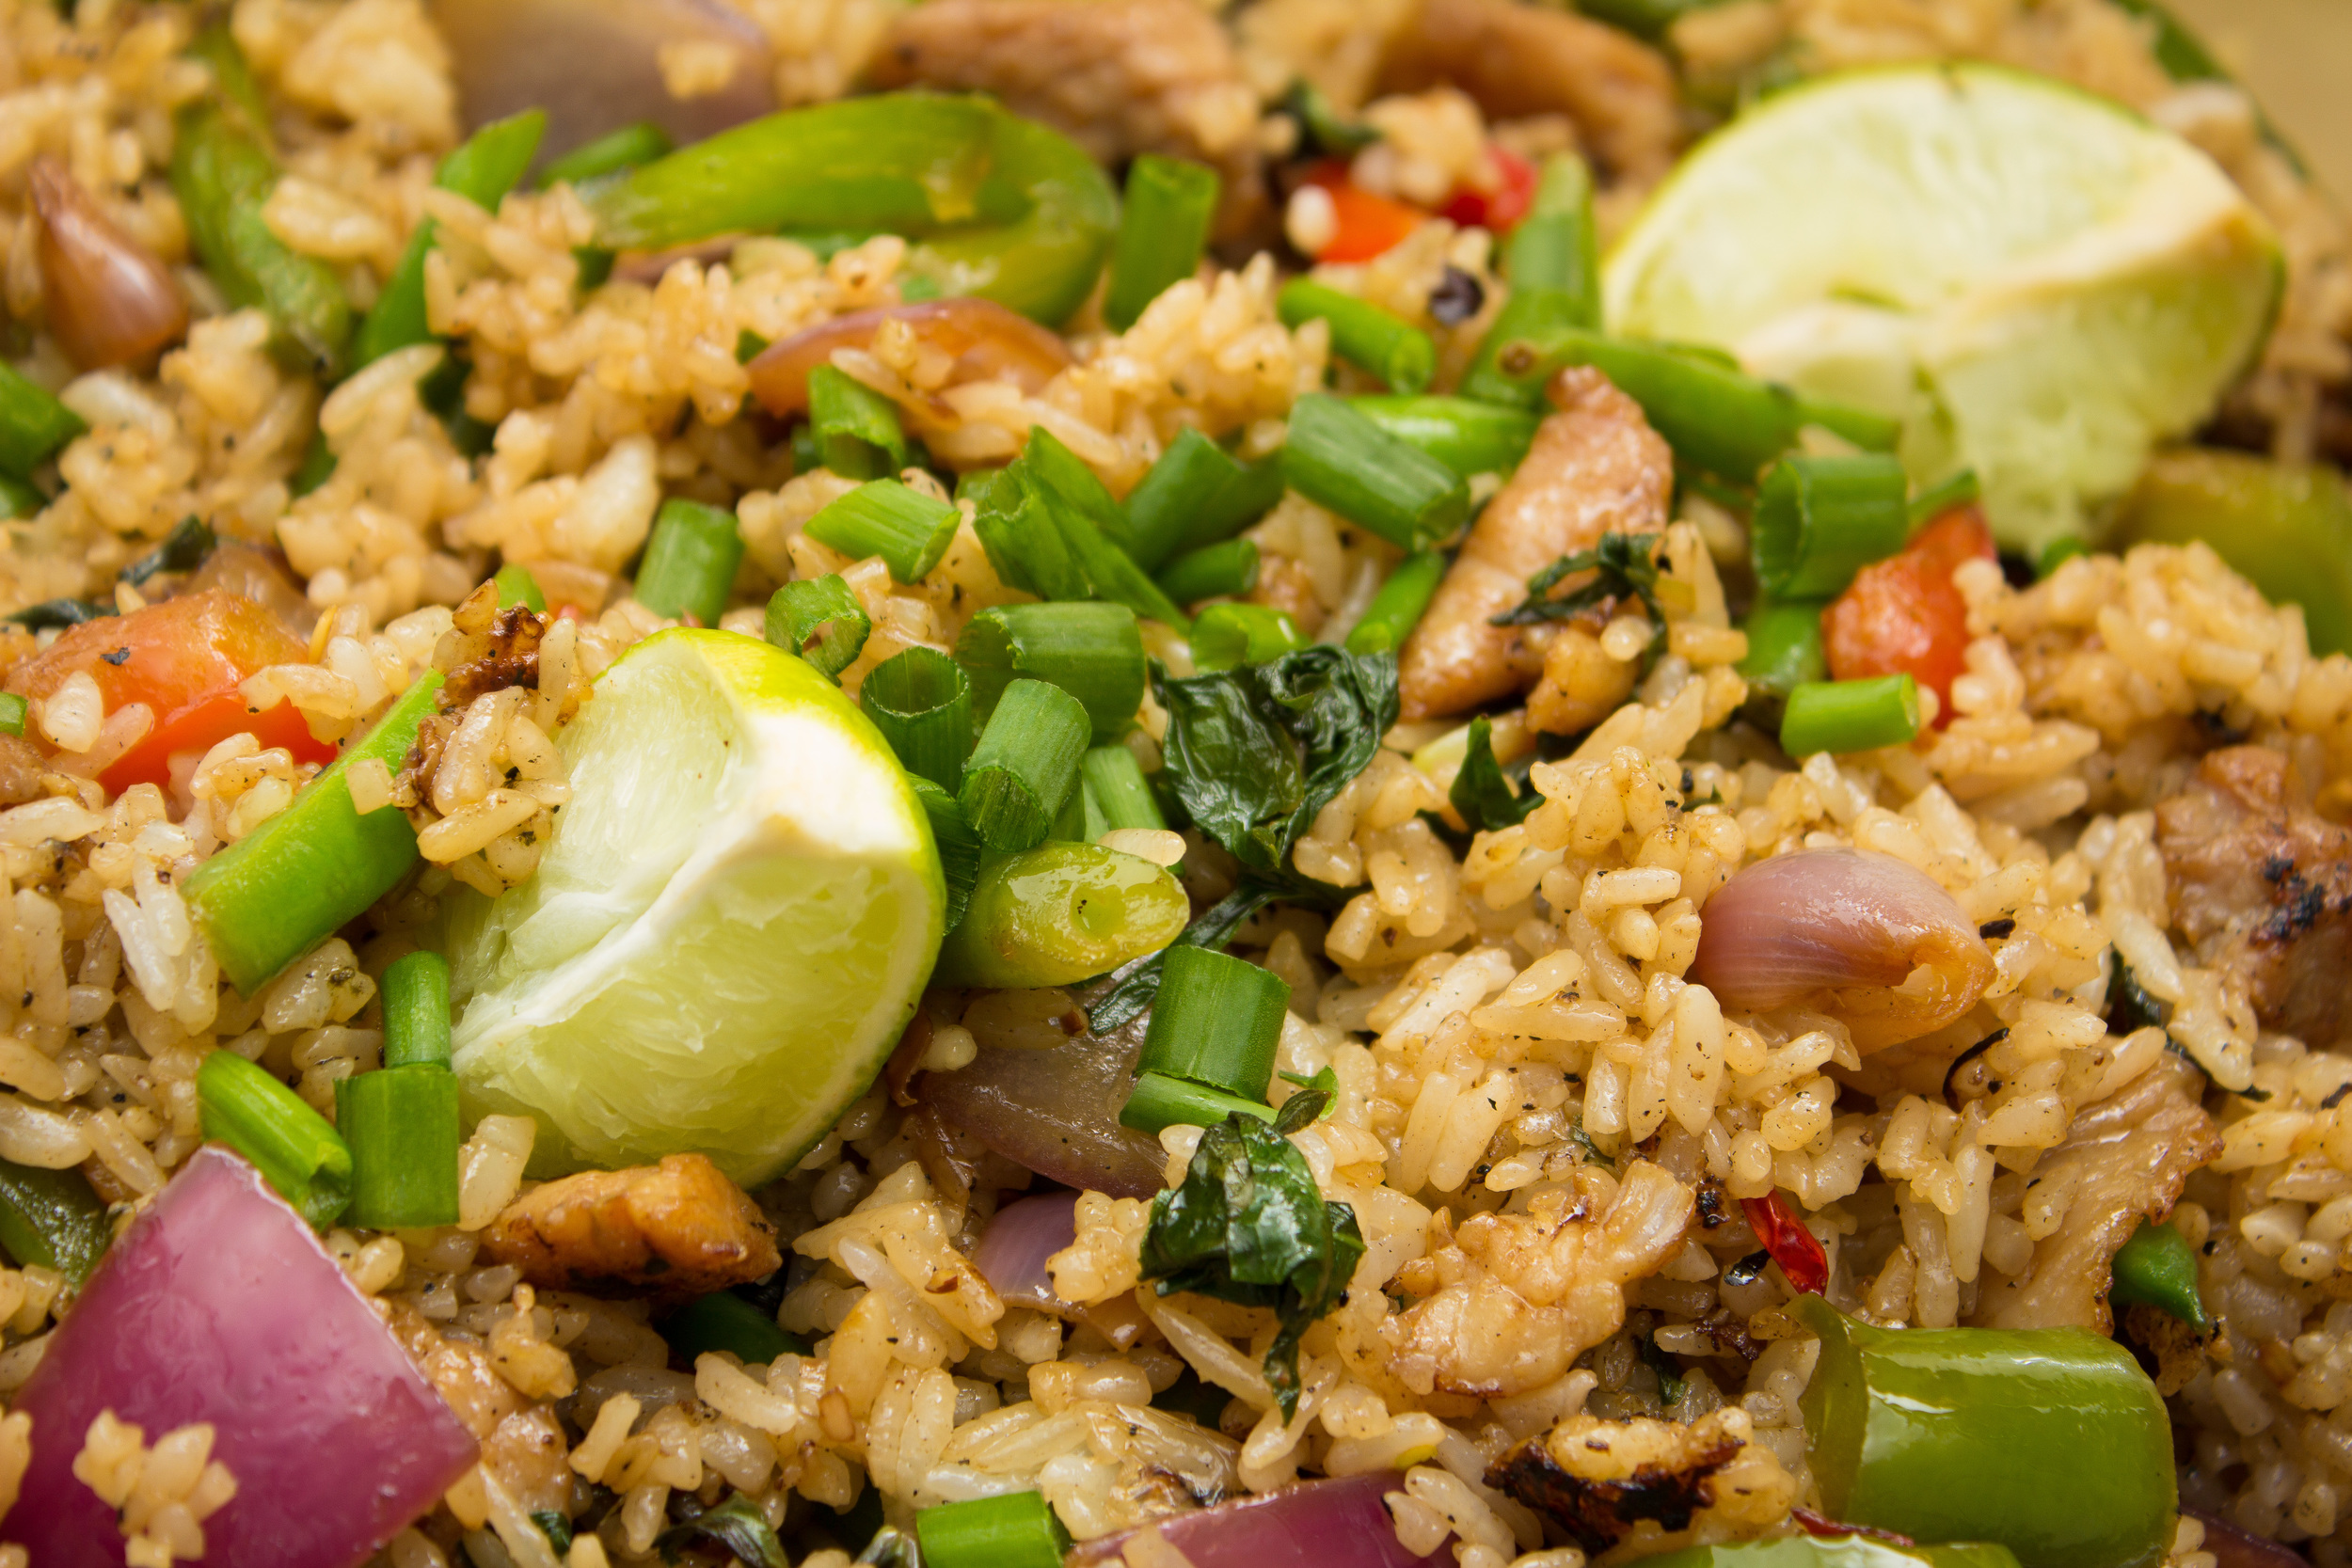
  • 1/4-1/2 Cup fresh cilantro, chopped

  • 1 Tsp Oil

Instructions:

  1. Mash the ginger and garlic into a rough paste, doesn't have to be worked all the way through, just blended well.

  2. In a bowl or bag, toss in the Red Curry, the Garlic & Ginger paste, and the Shrimp, mix well and set in the fridge for about 30 minutes.

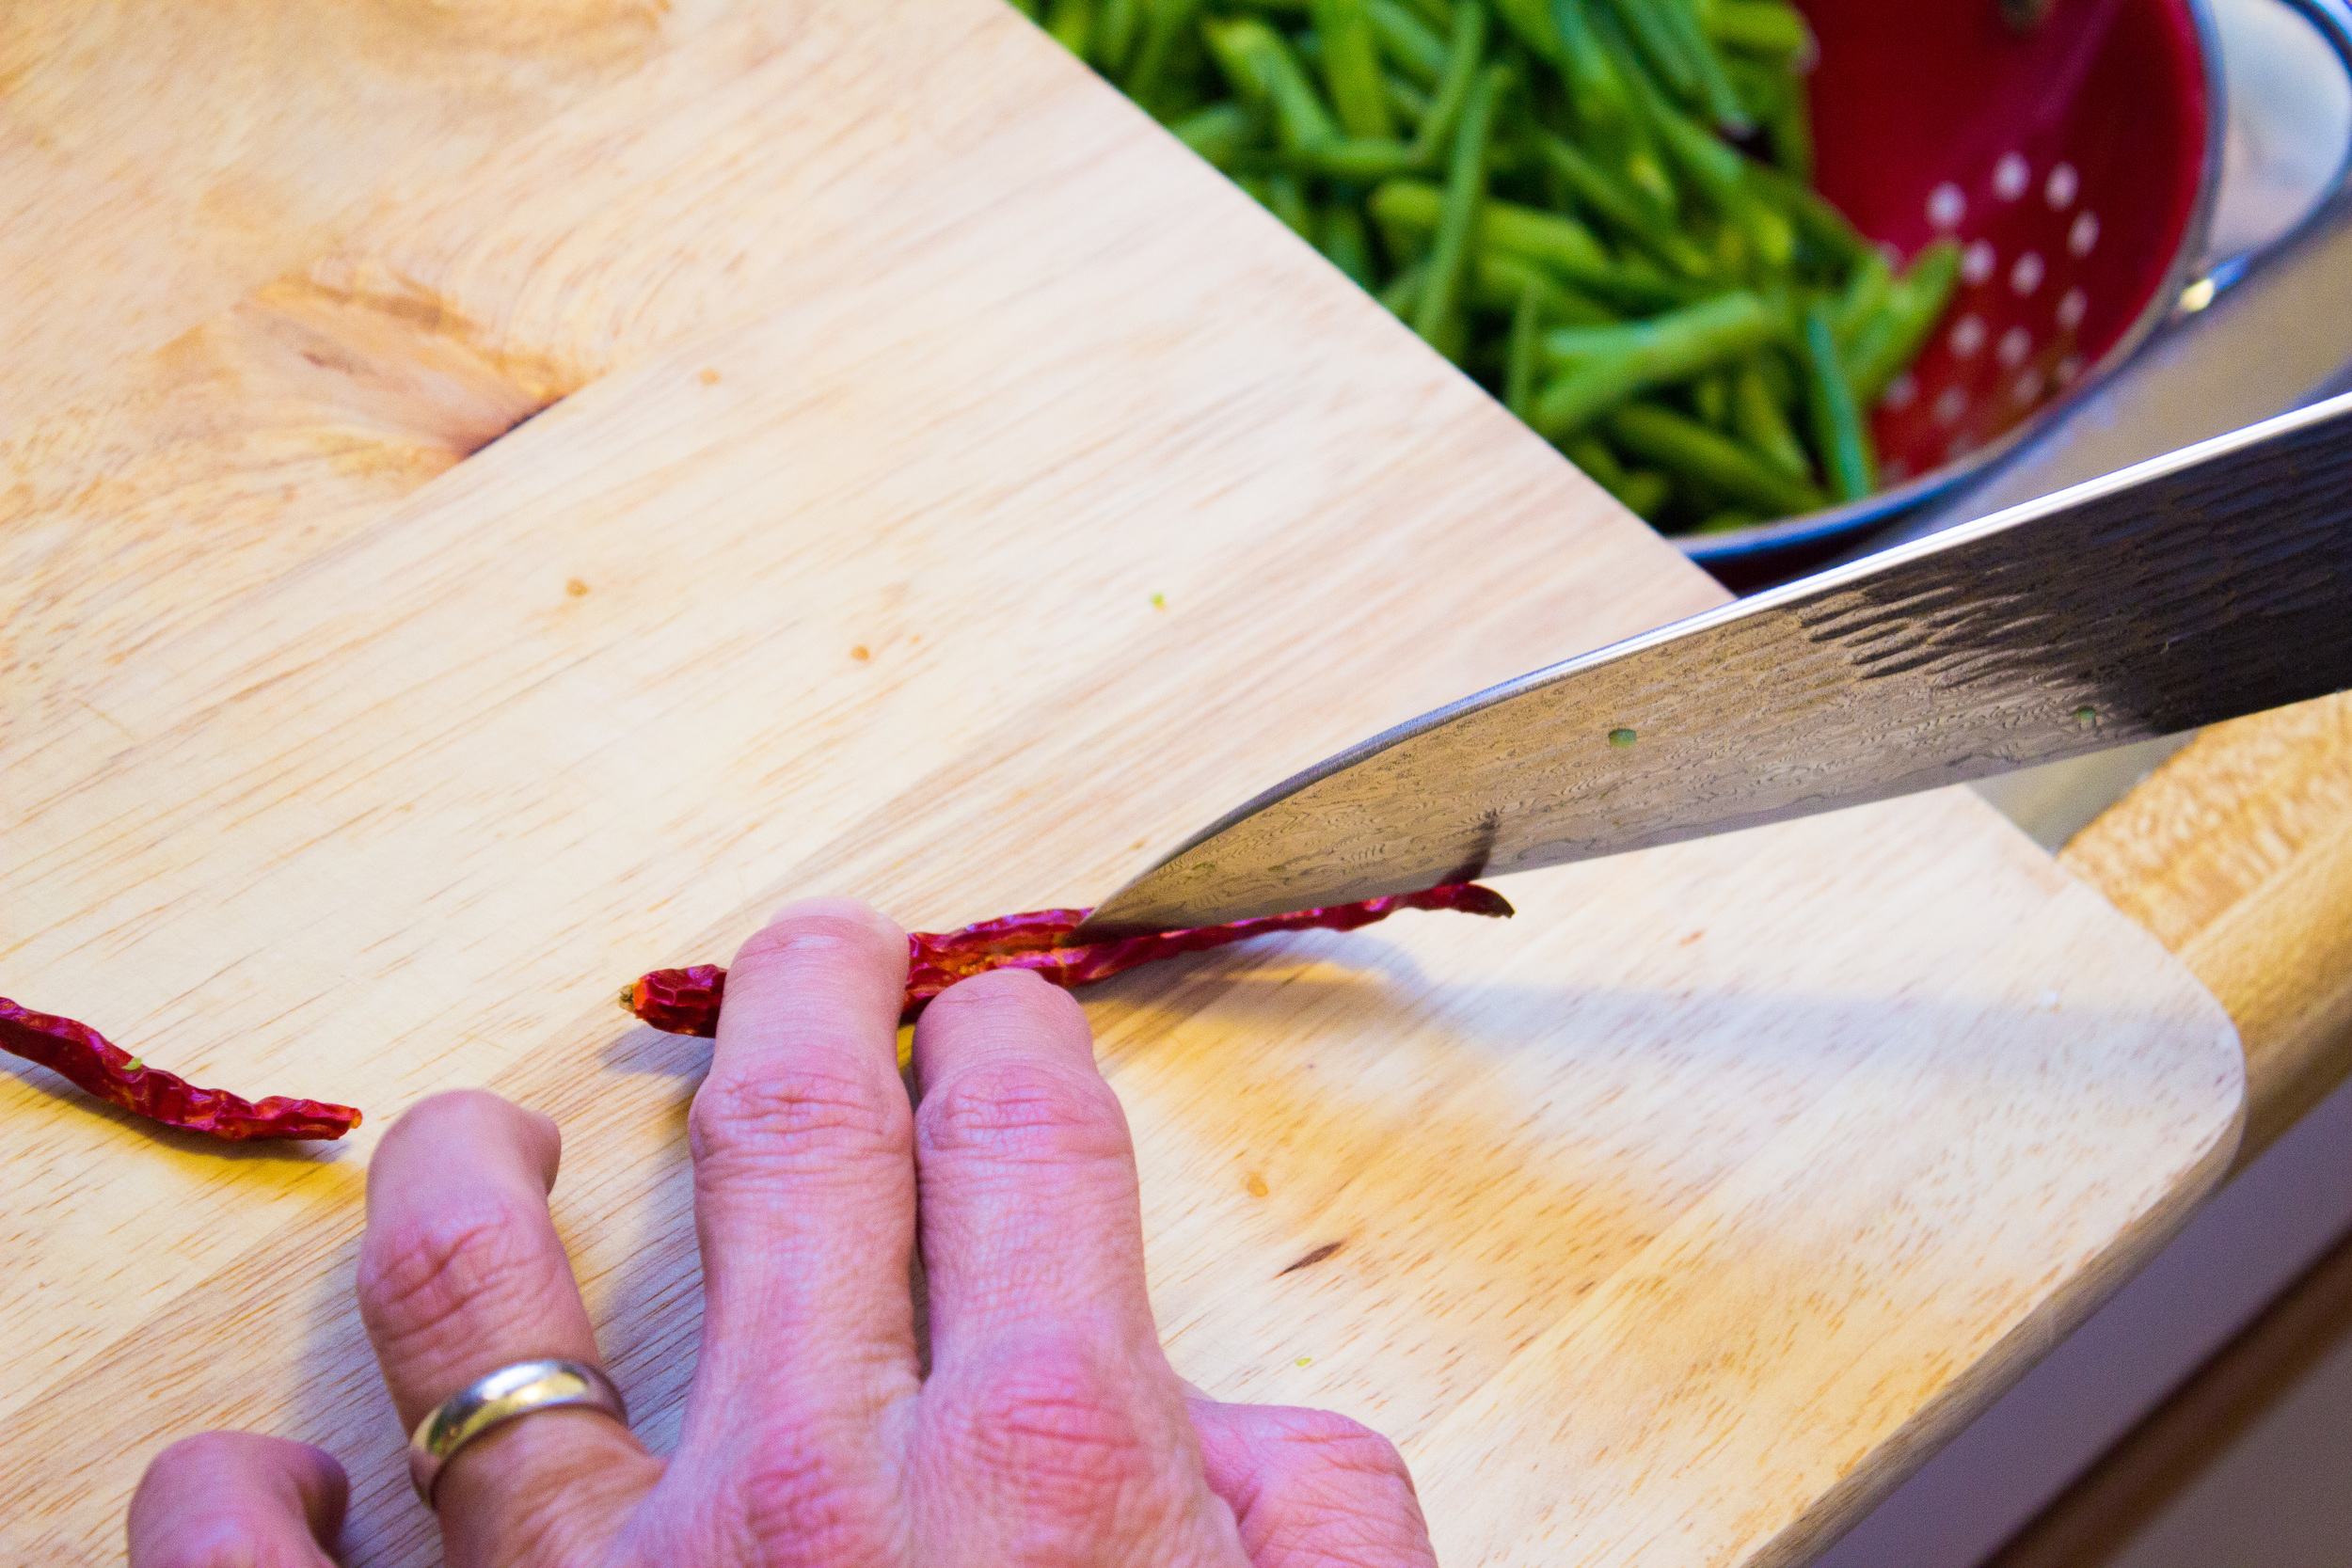
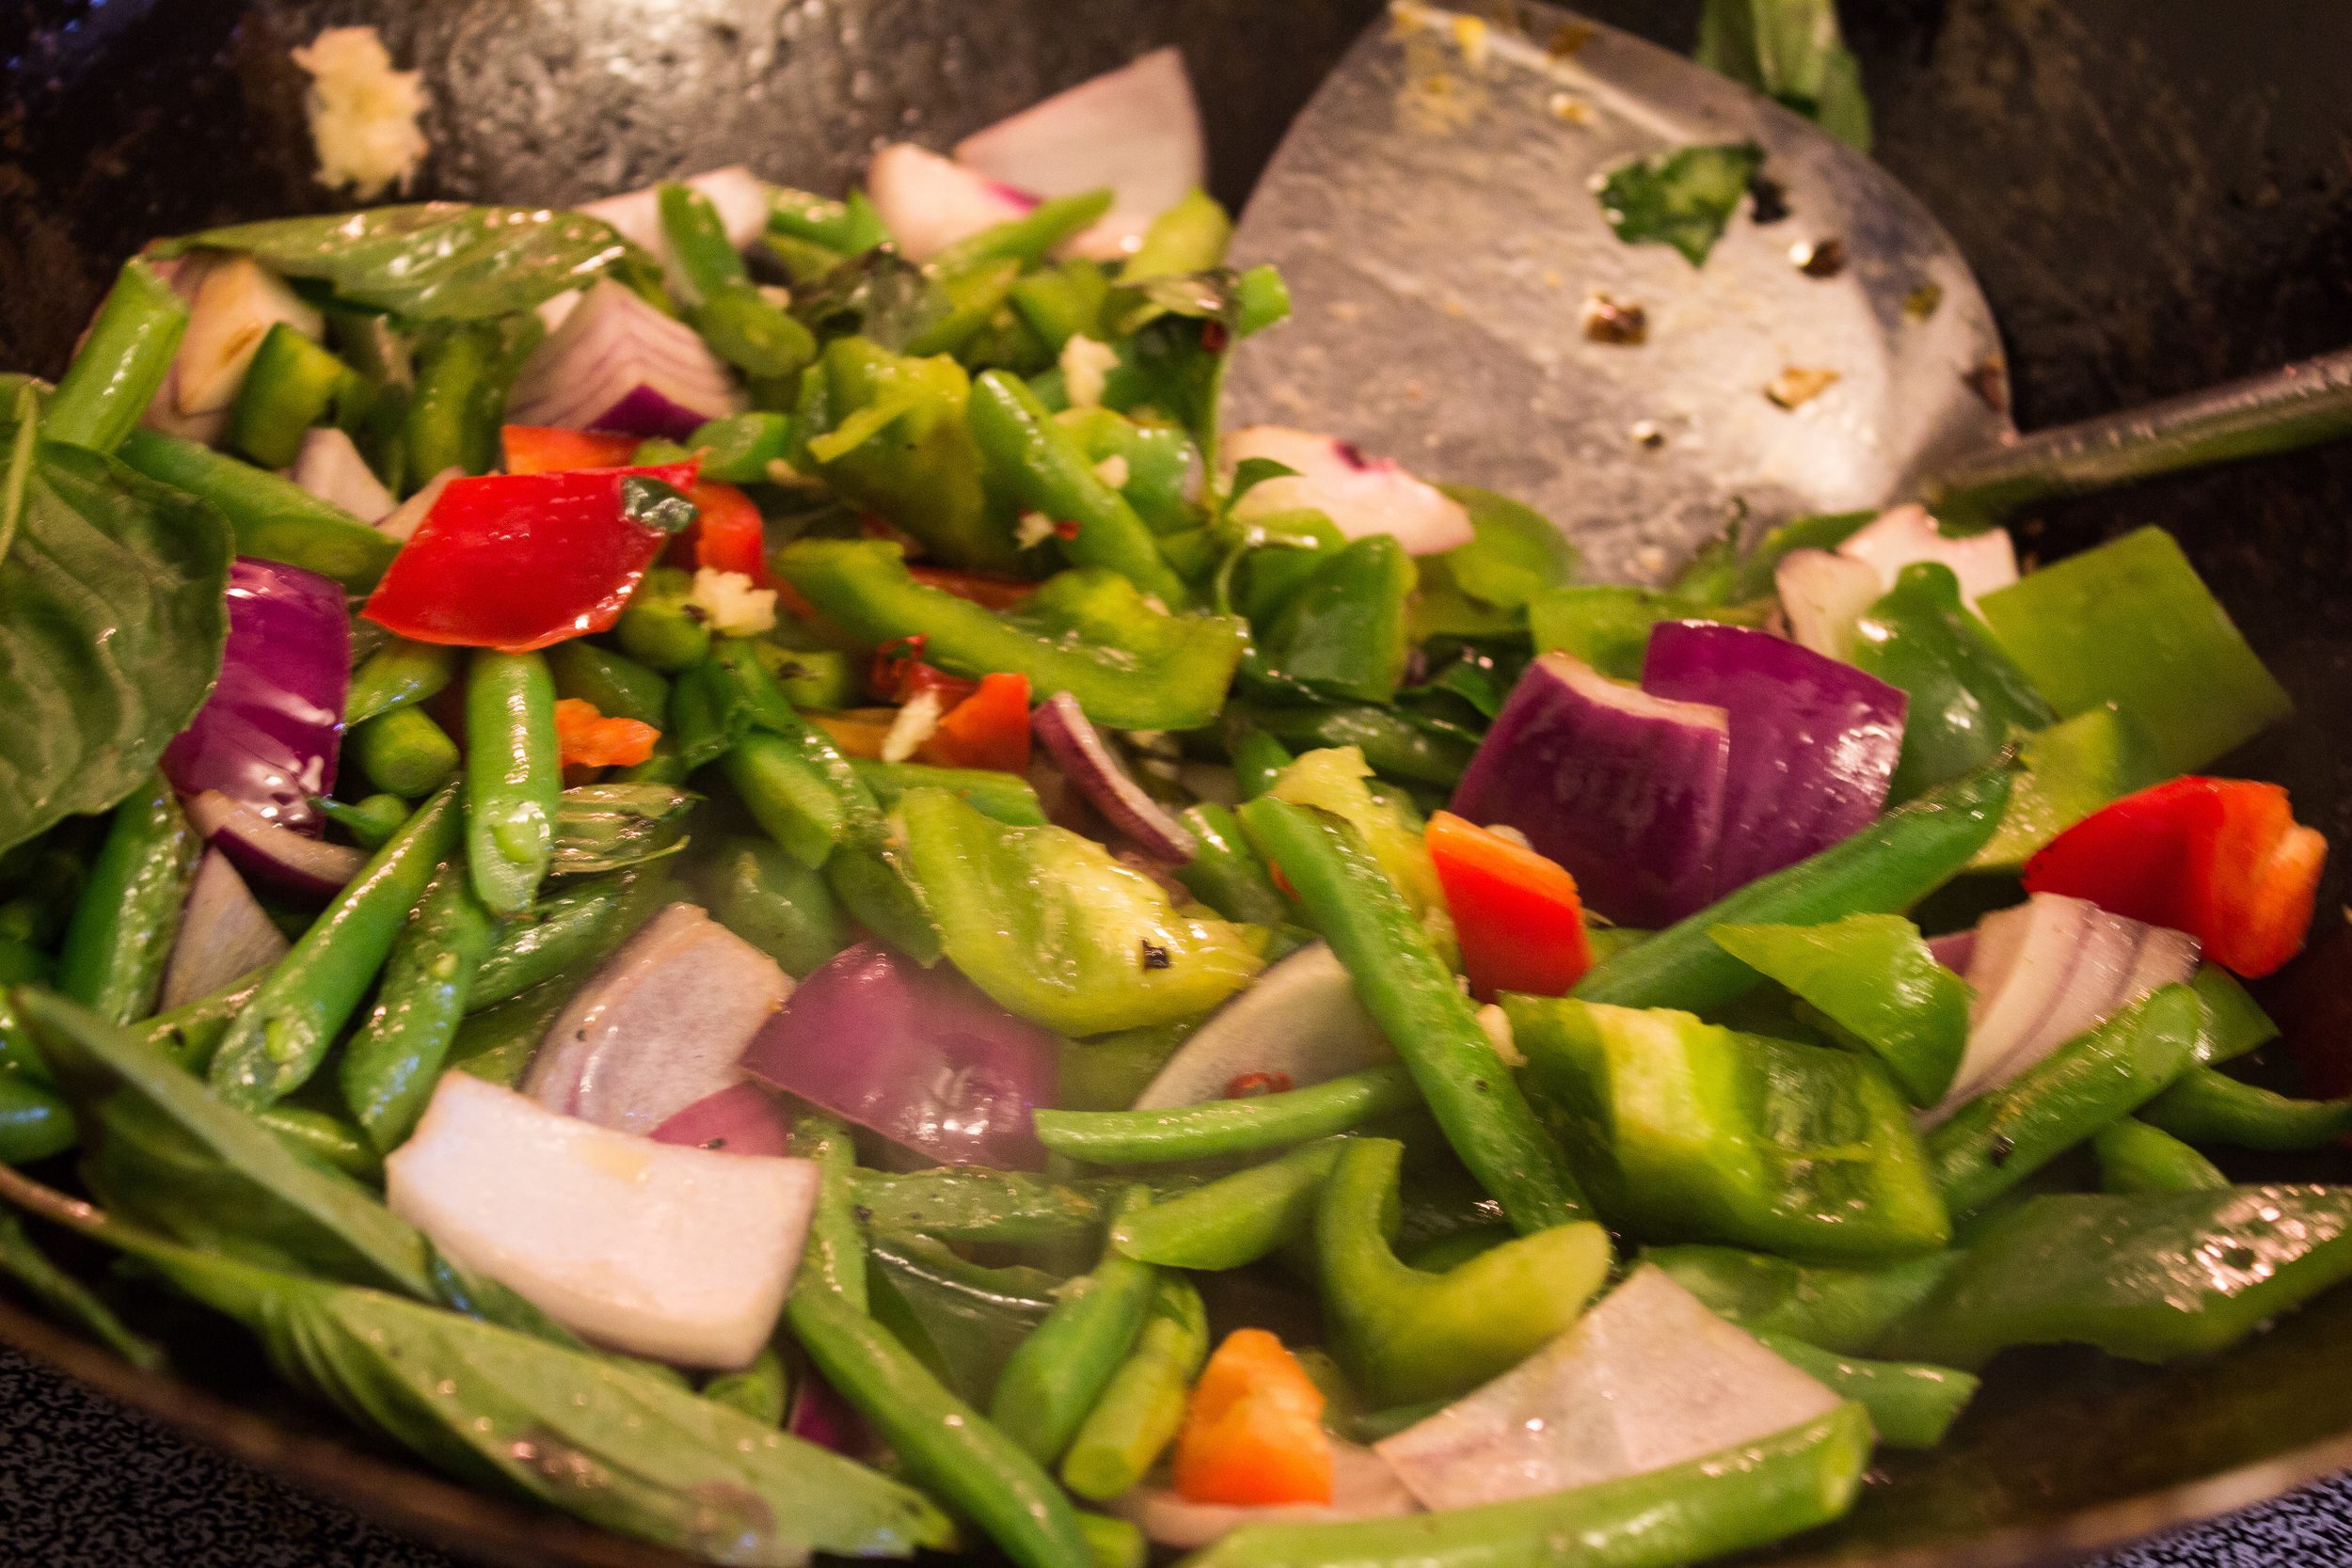
  3. Prepare your Green Onion and Cilantro while waiting for the marinate to work. Go ahead and prep your the remaining ingredients too.

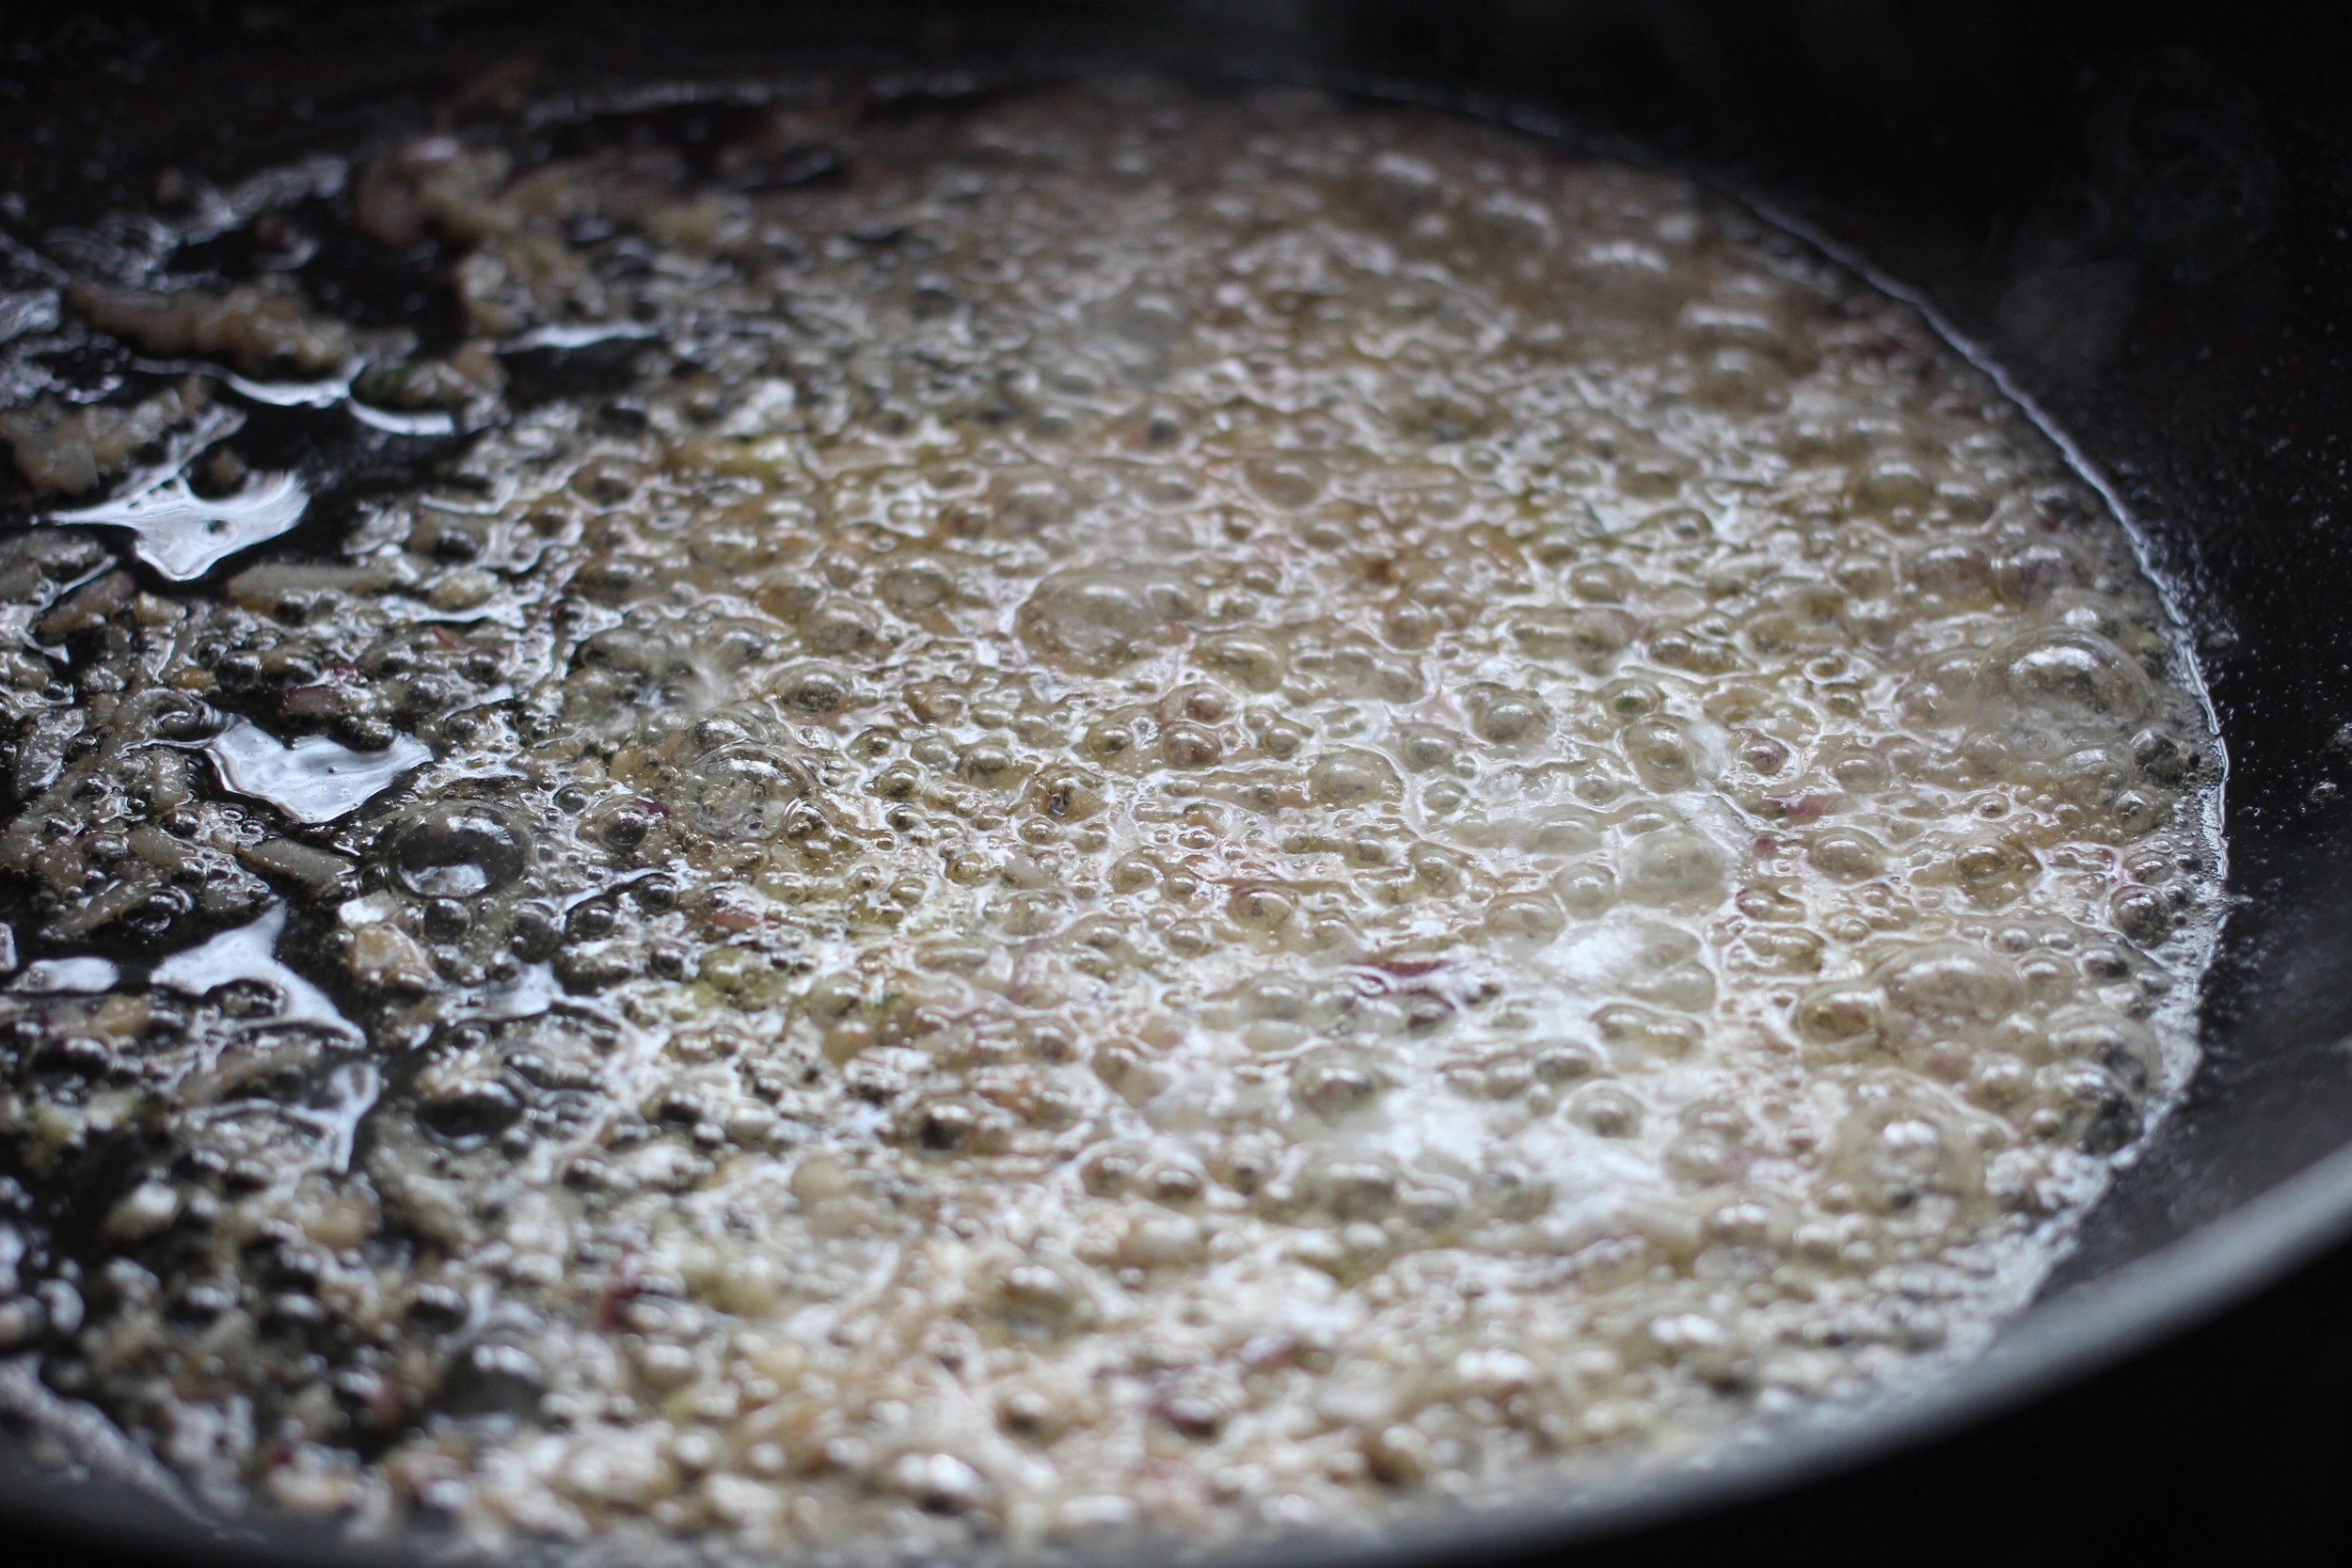
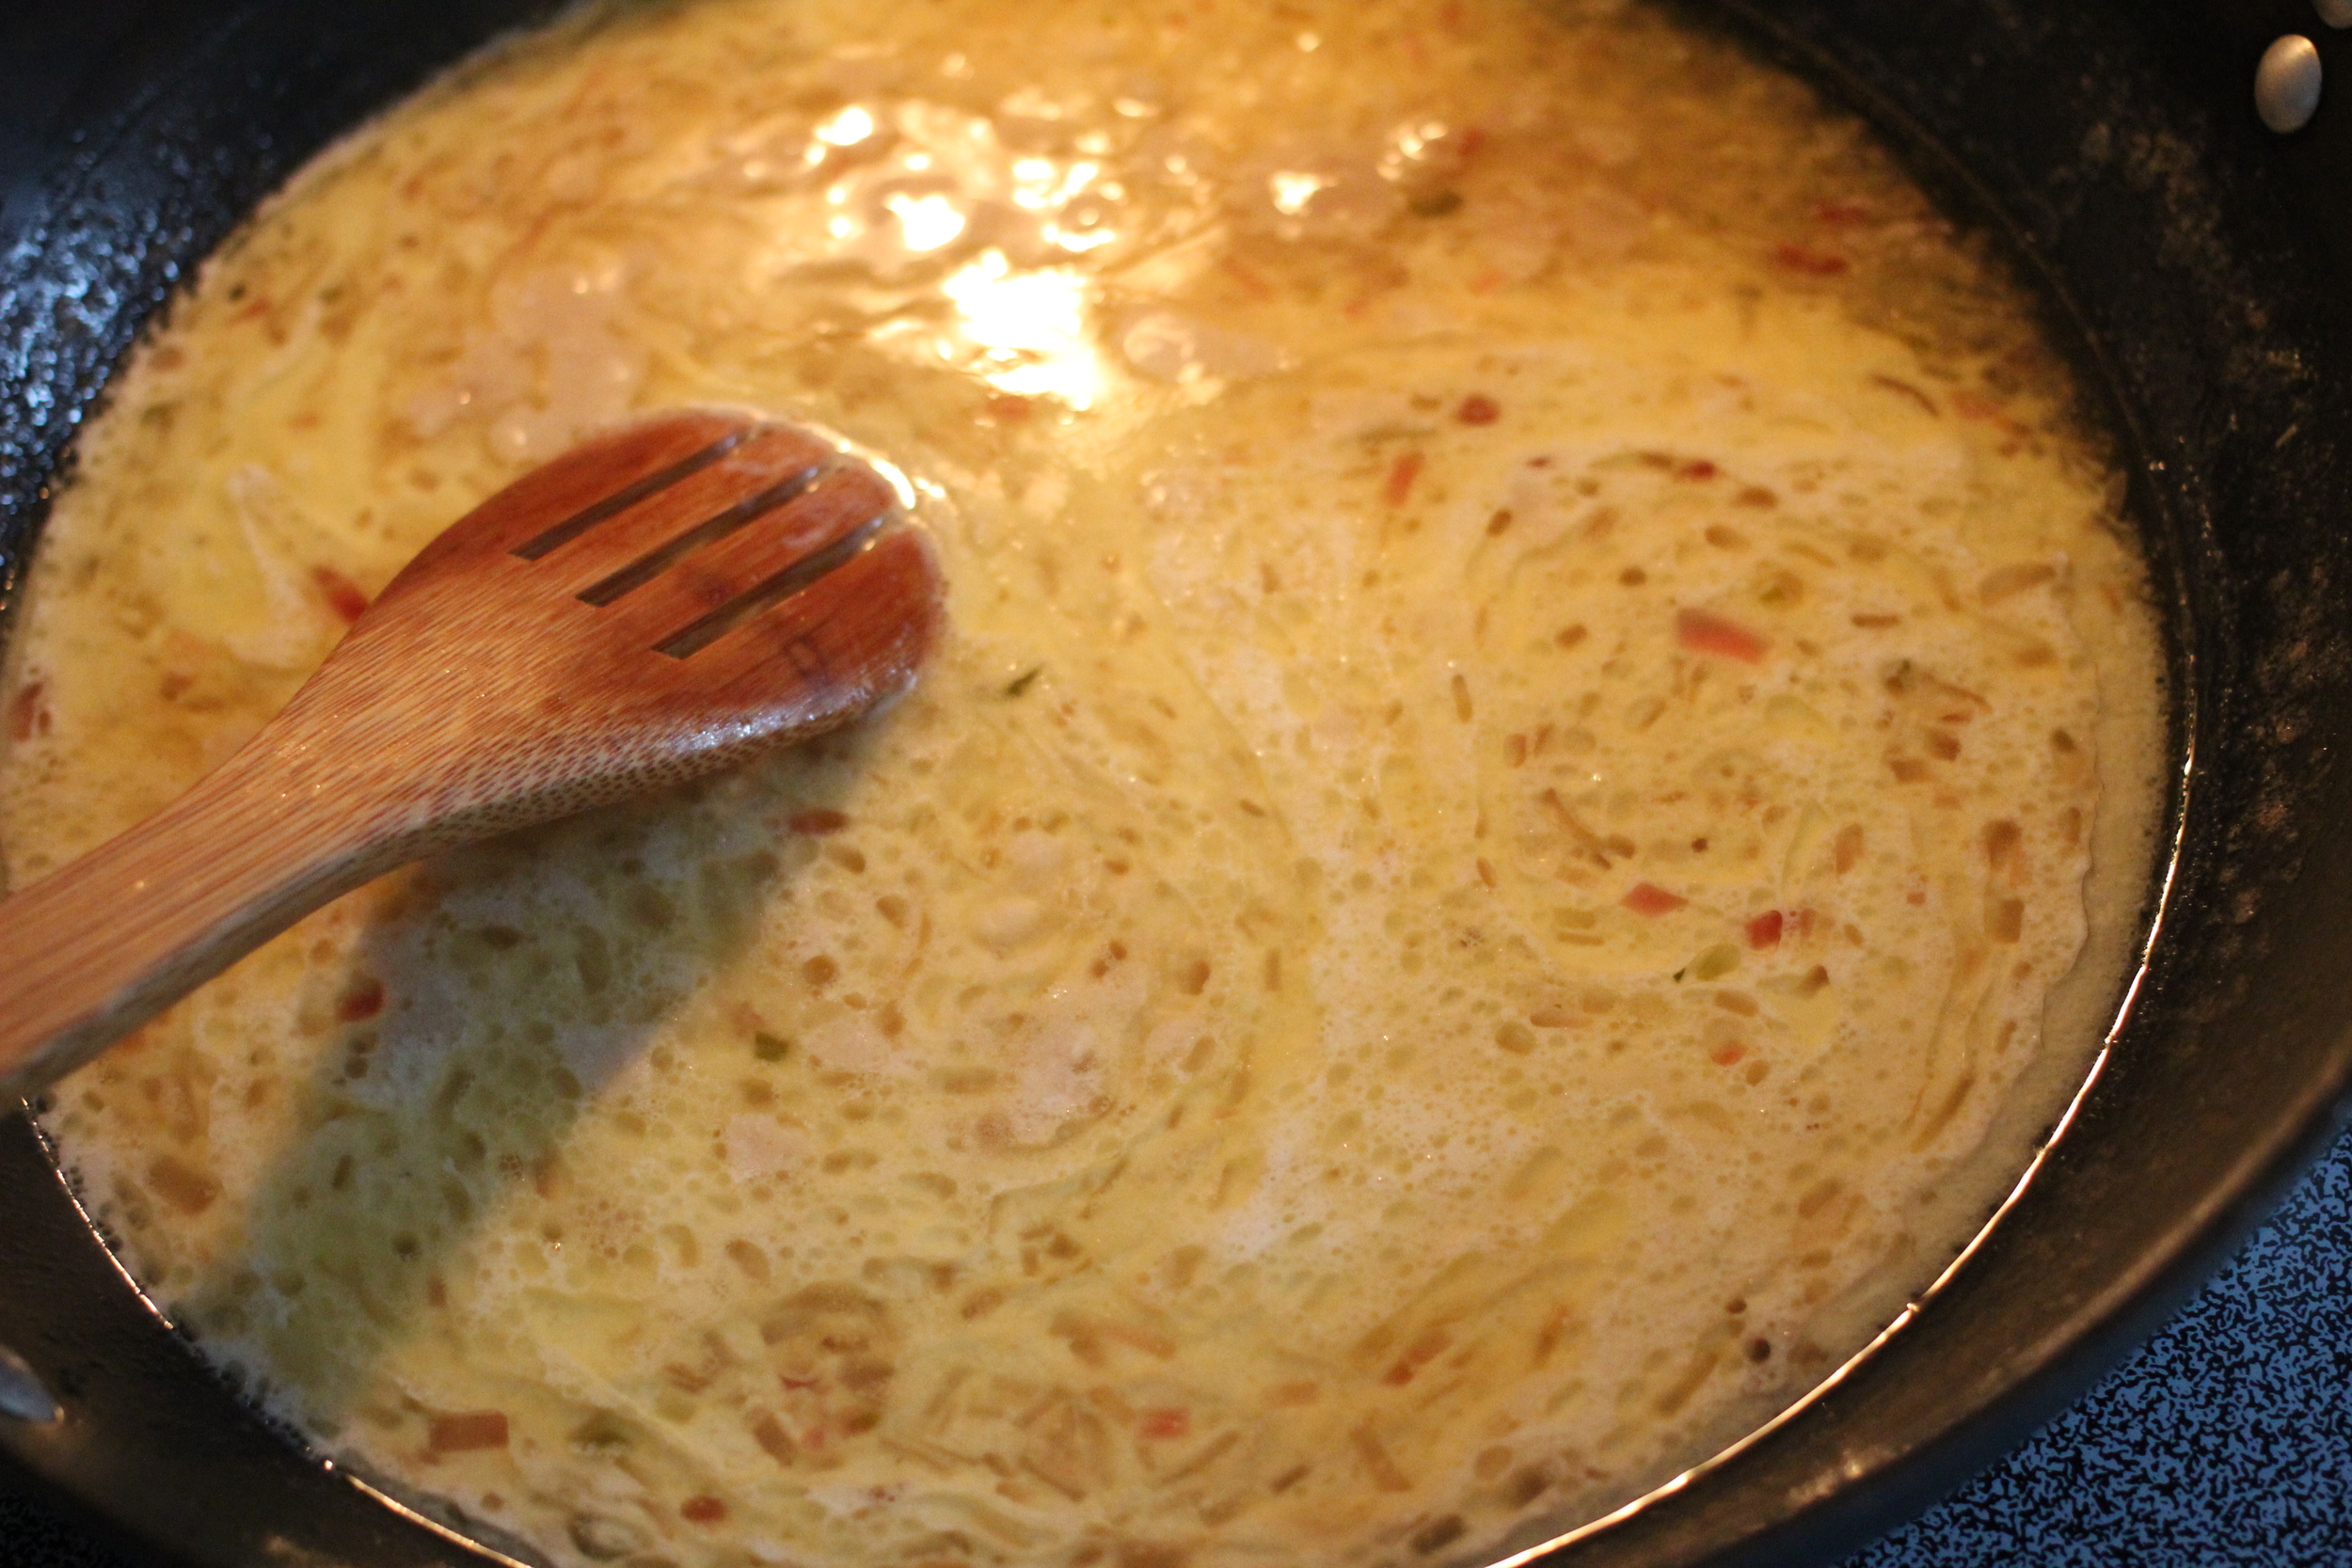
  4. Heat the wok/pan on high with the oil. We want the to toss the Shrimp with all the marinate into the pan when it's really hot. You want to get a nice brown sear on the on outside of the shrimp WITHOUT cooking them all the way through. When the oil starts to smoke you're ready to go.

  5. Add the Shrimp and white part of the onion. Remember, just get some color on the outside of the shrimp.

  6. Add the Fish Sauce and Coconut Milk, let it bubble and thicken up a little bit (your preference and the shrimp will finish cooking at this time.)

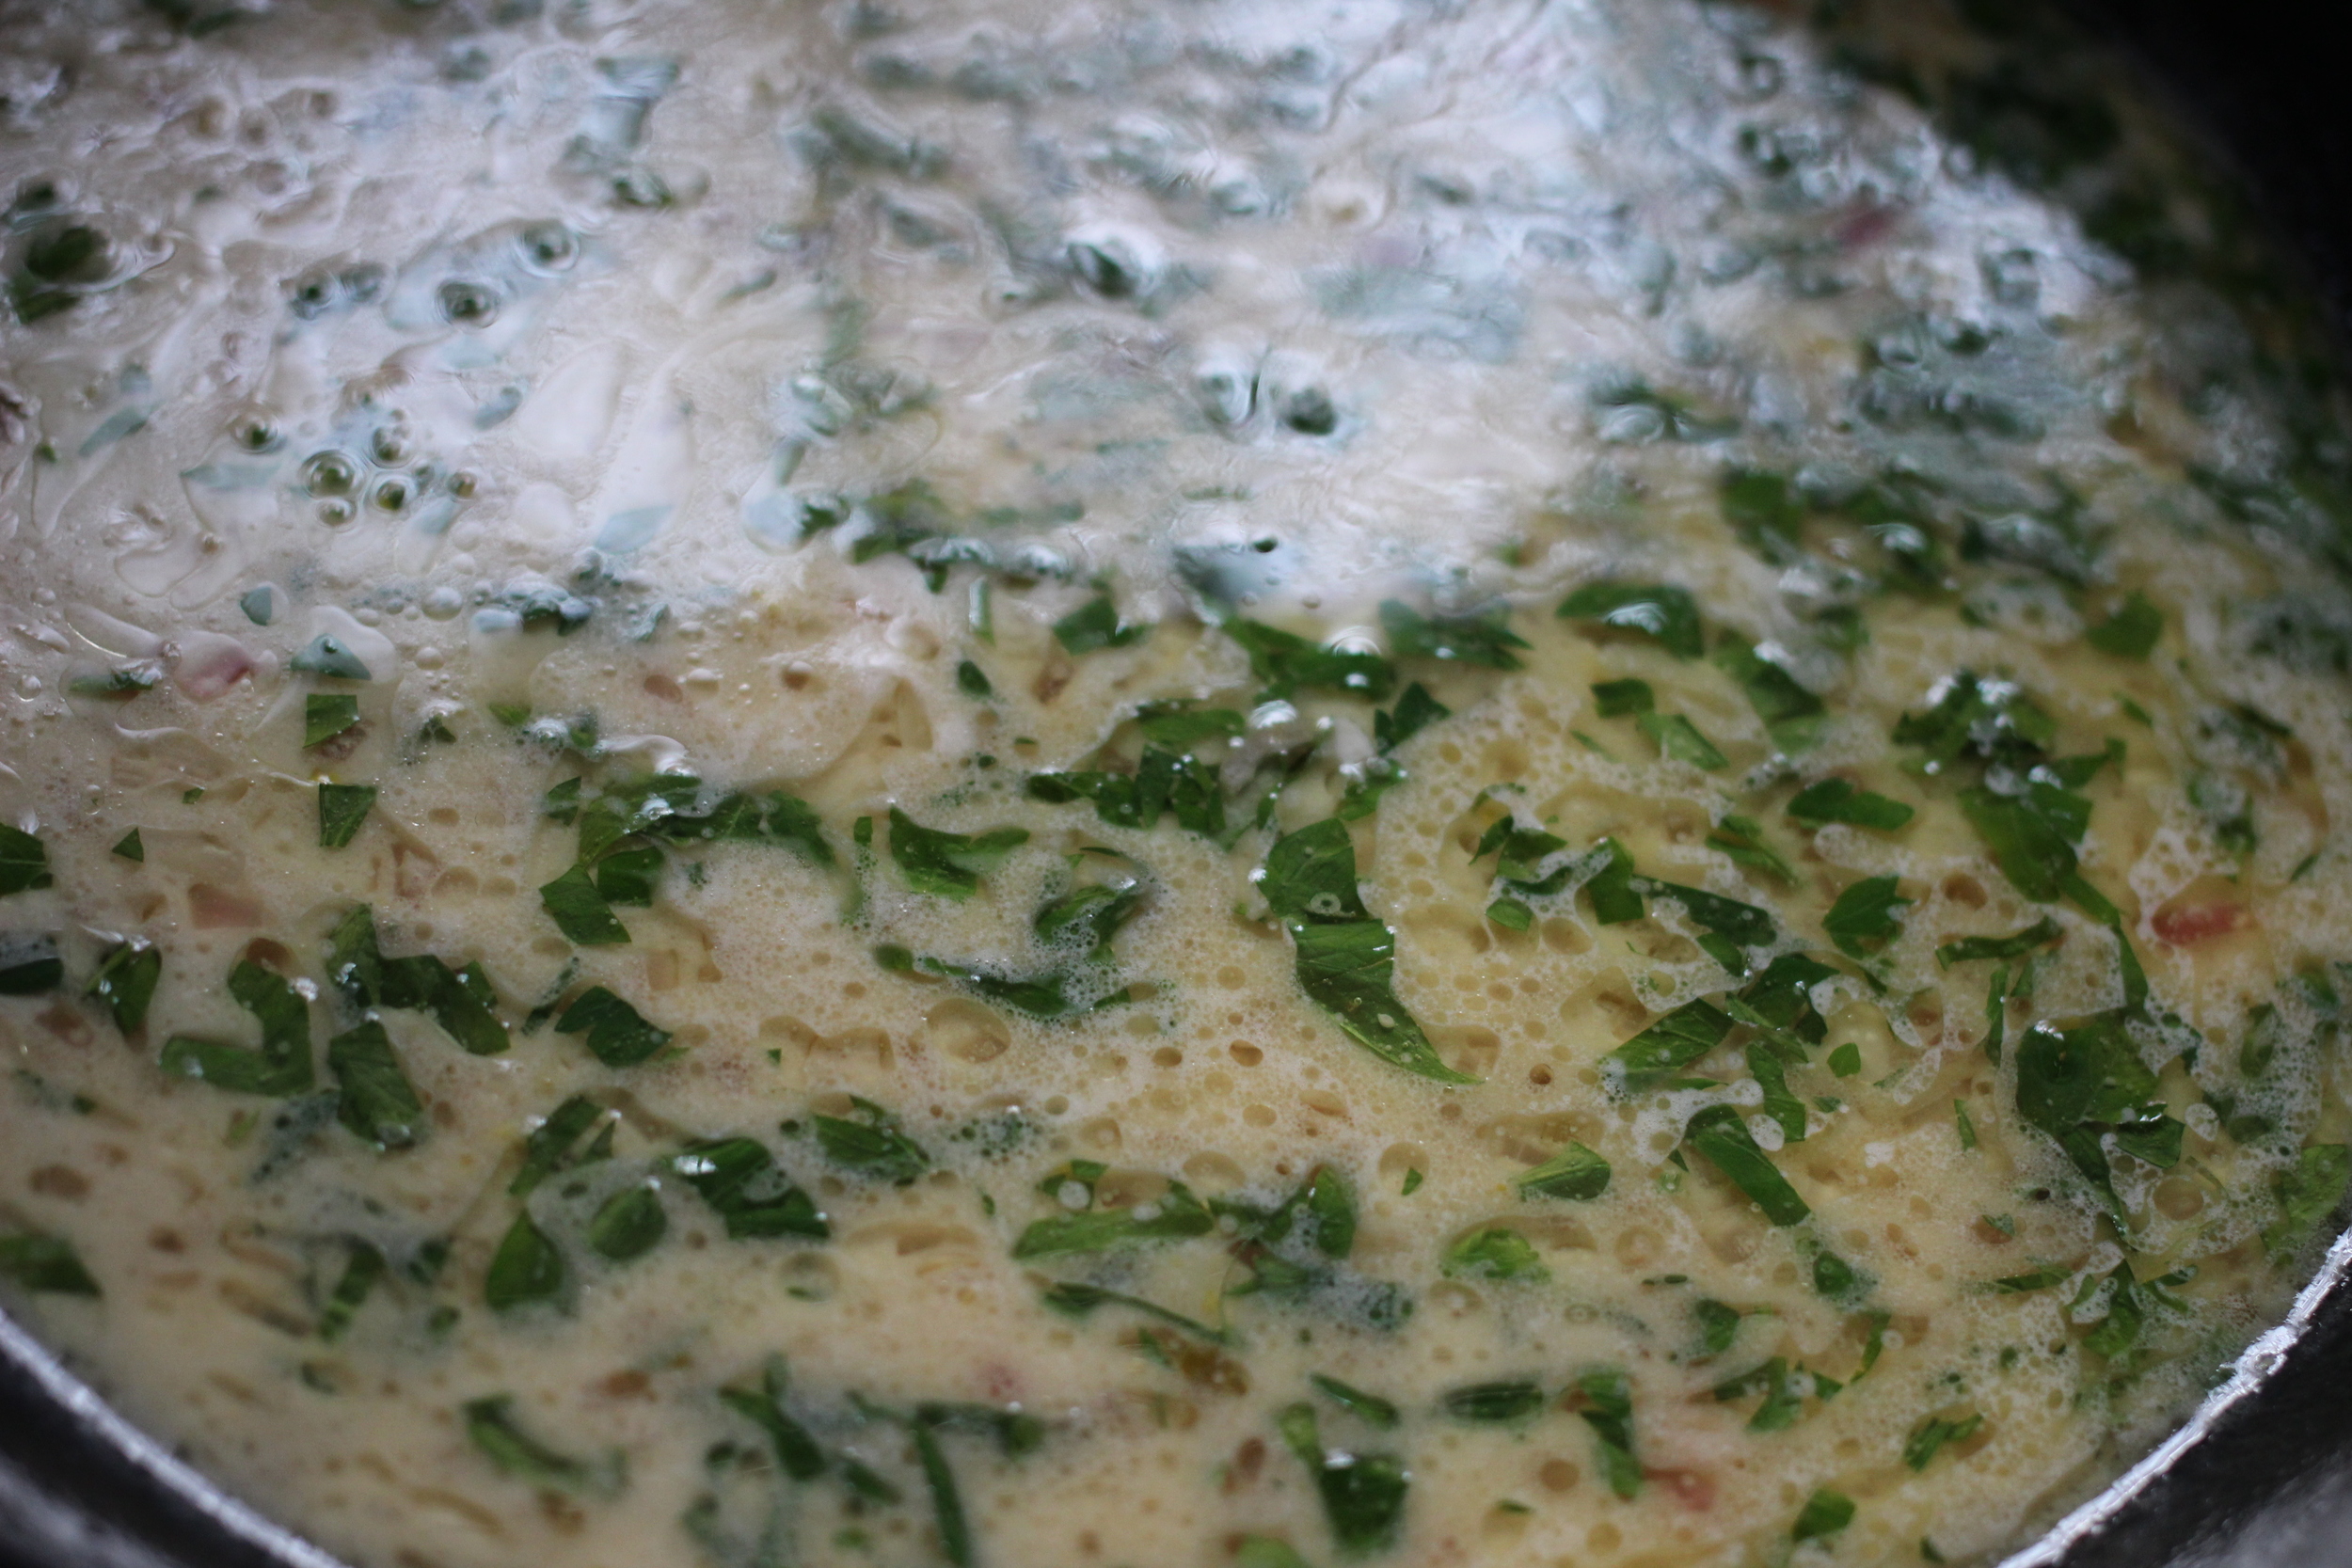
  7. Remove from heat, garnish with Cilantro and Green Onion and Done!

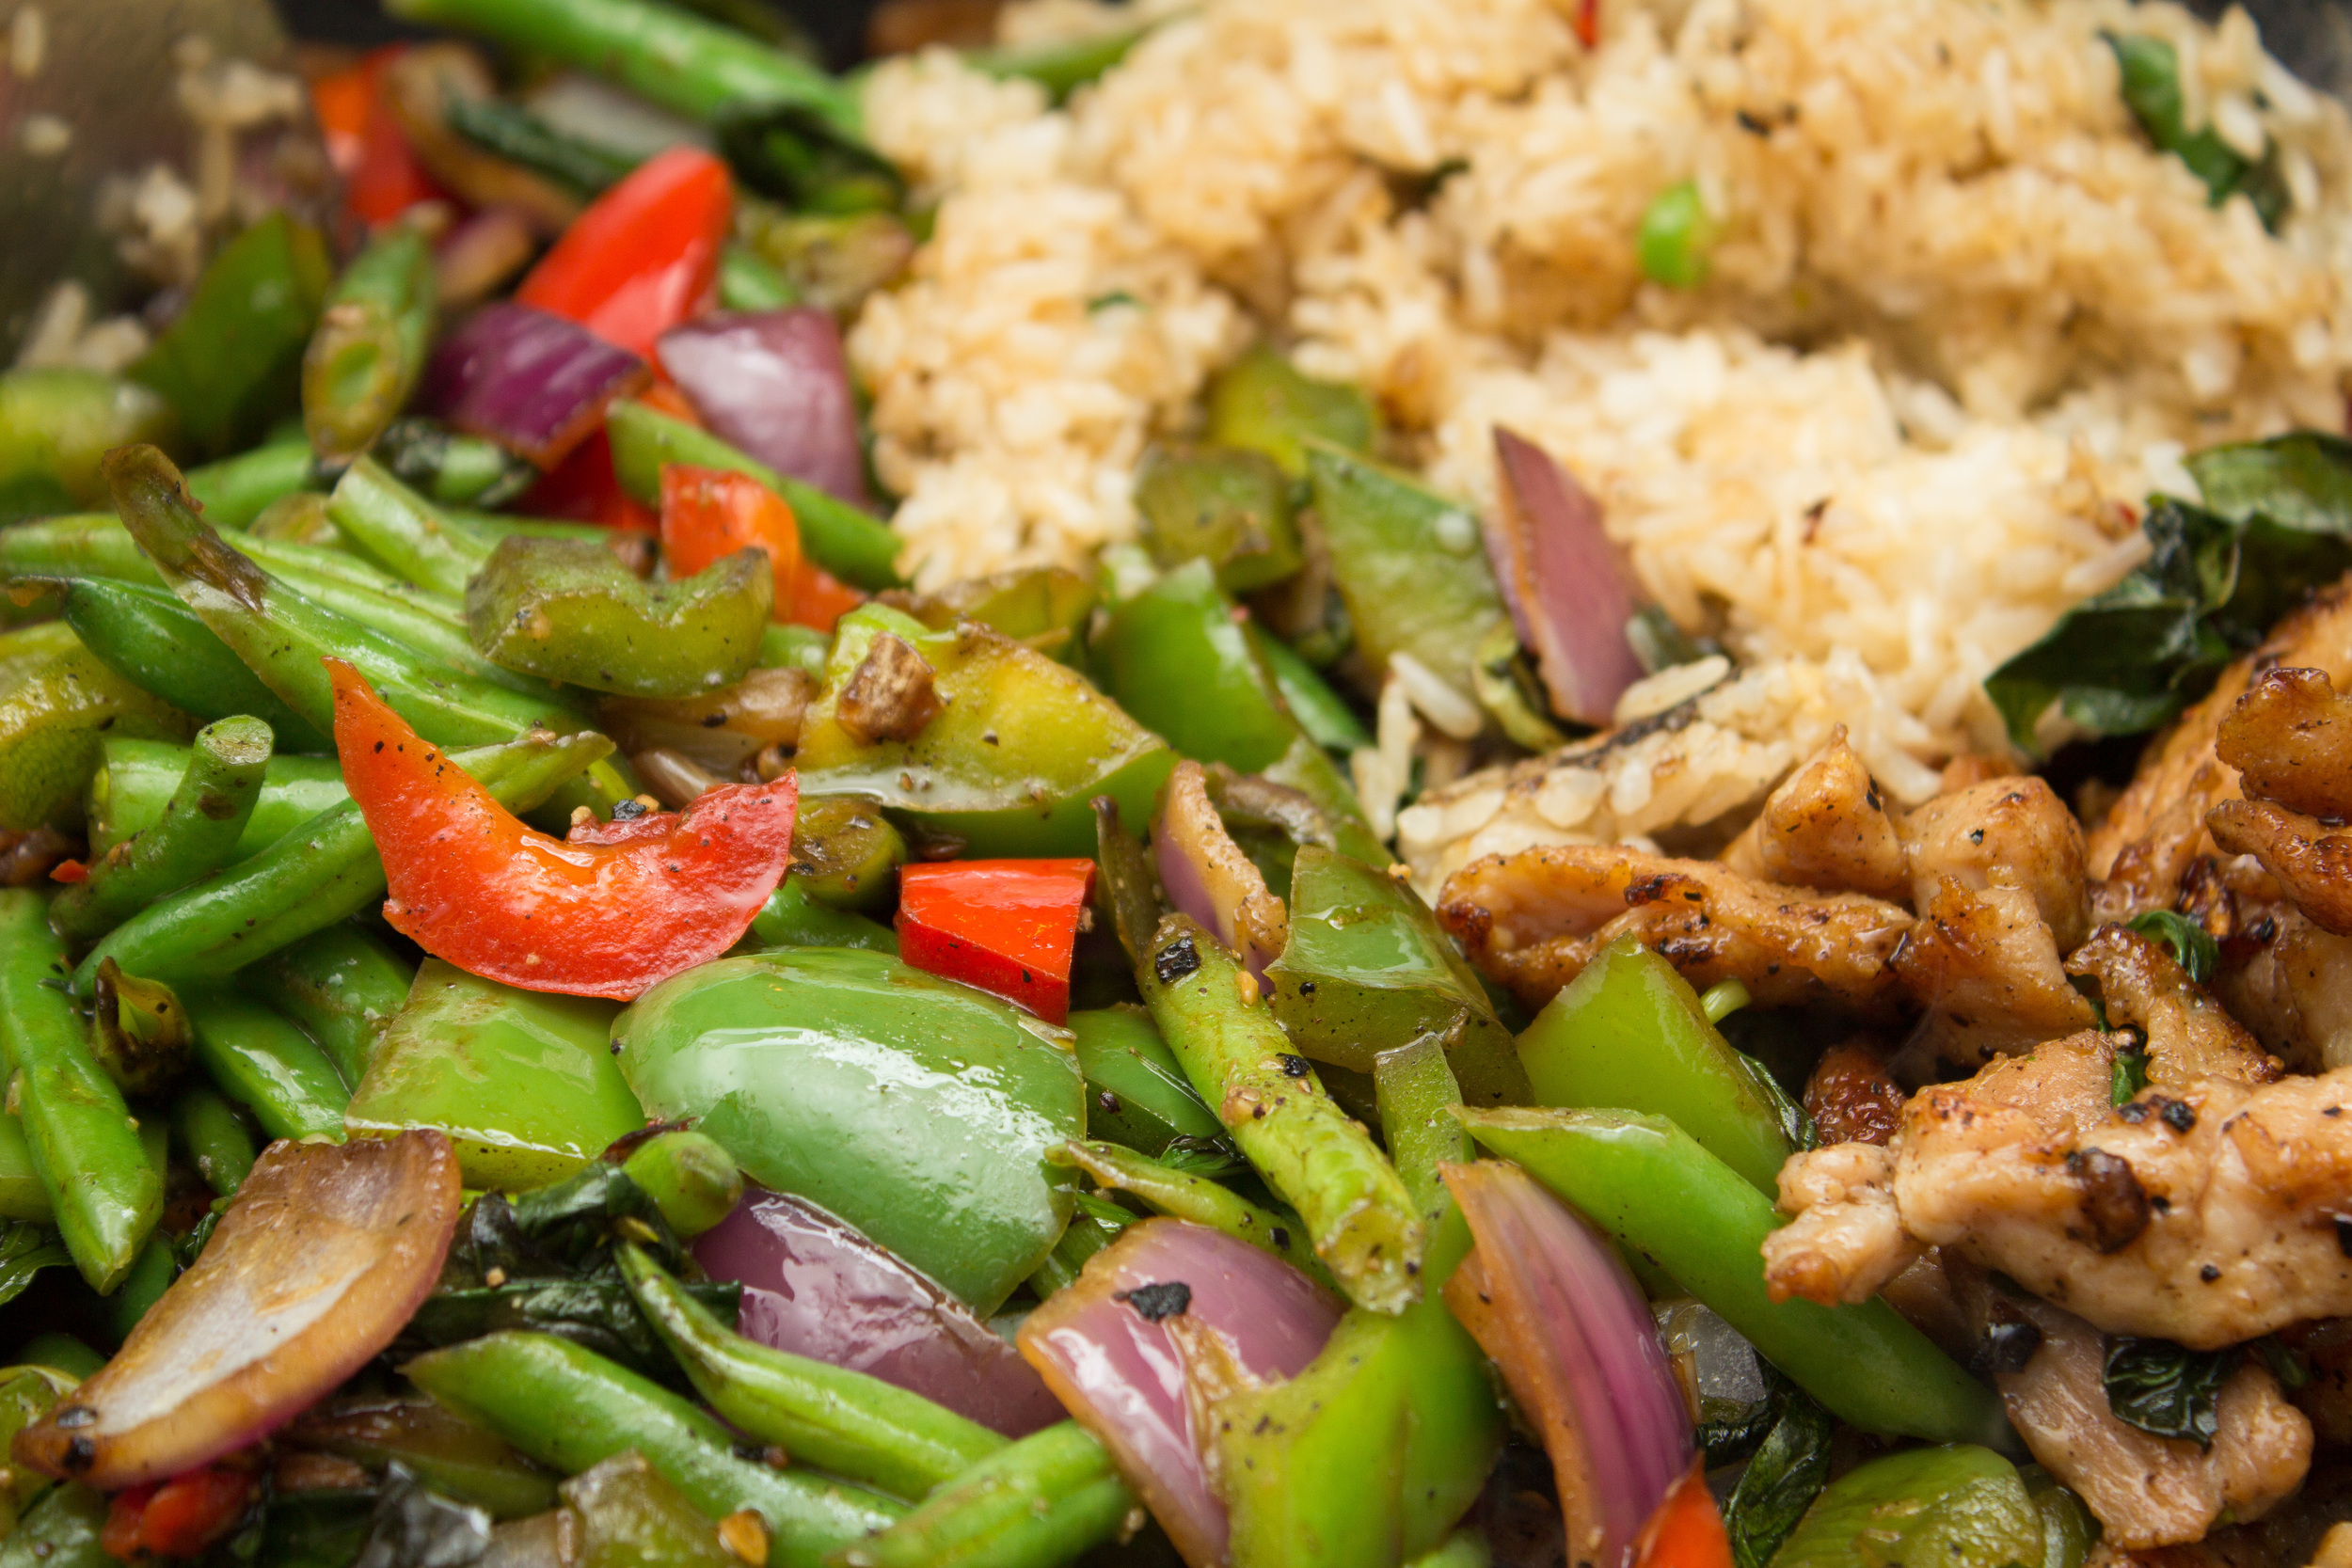
Serve with a nice fragrant Jasmine rice and you’re in business.

In cooking, recipe Tags Thai, green curry, red curry, shrimp, cooking, recipe
Comment
Oyster Stew.jpg

Oyster Stew

November 20, 2019

My recipe is wholly inspired by Chef Bobby Huber, a very popular chef in my region who has unfortunately passed. I only really remember eating oyster stew from cans previously, so experiencing his for the first time was a real eye opener. Afterwards I would order it whenever I saw it on a menu, but always compared it to Bobby’s.

I don’t serve mine with mashed potatoes as his was, but don’t let that stop you from adding them!

Ingredients:

  • 1 tbsp Butter

  • 1 tsp Shallots, chopped

  • 1 cup Corn (fresh or frozen)

  • 1/2 cup Celery, finely chopped

  • 1/8 tsp hot sauce (I use Speedy’s whenever I get a chance)

  • 8 strips Bacon, chopped

  • 1 cup Chicken Stock

  • A couple splashes of White Vermouth

  • 1/2 to 1 tsp of Salt

  • 2 cups Heavy Cream

  • 1 tbsp fresh chives or green onions, chopped

  • 1/2 tbsp of Celery Leaves, chopped (optional)

  • 24 large oysters, shucked; with liquor

Directions

Add the butter, shallots, celery, hot sauce, and bacon and cook med-high till the corn starts to pop.

Immediately add the chicken stock, vermouth, and salt; let mixture reduce by half.

Add cream and chives (or green onions) and bring to boil for approximately 1 minute.

Add oysters and reserved liquor, let it boil for another minute then remove from heat. Serve when ready!

In recipe Tags oyster stew, seafood, soup, recipe, Bobby Huber, oysters
Comment

The recipe calls for 1 lb of lamb, but we eat a lot of this stuff so 2 lbs it is!

Beefteki!

February 2, 2018

Shelby and I left Virginia when we were young. I was 18, she was 19, and we had a baby. It's hard to remember but I'm pretty sure I thought I knew everything at that age. It was when we were on our own I started to play around with recipes from a Betty Crocker cook book my grandparents sent us. My grandfather was an employee of General Mills a long time ago and the plant he worked at closed down. The cool thing though, is that he received gift boxes from the company for years and years afterwards because of the closure. The cook book being of those things he received and my grandmother sent us when we were young and making our way into the world. It's something I cherish.

What's that have to do with beefteki? I guess not a whole lot but when I think about this recipe, I think about our young family starting out and learning we didn't know everything. We ended up in Germany while I was in the army, we say it was the best three years of our lives. We loved the culture, being centrally located in "The Continent", and Greek food! Yeah, we ended up eating a lot of Greek food and stuff similar to it. There were a lot of Greeks and Turks living in Germany and our time there allowed to enjoy things like beefteki, donner kebabs, etc... Ah, the memories of drinking downtown and grabbing a "gyros" (that's what we called the donner kebab over there for some reason) and having garlic, death breath makes me warm and fuzzy inside.

Shelby picking poppies. Bavaria, Germany, 1994.

The Beefteki though, that was something Shelby fell in love with! We would always go to a gasthaus next to the Bahnhof in a small town called Parsberg. I'm pretty sure it is this place called Taverne Korfu, it's where Shelby discovered the Beefteki! The owner at the gasthaus was very kind, I always remember him smoking a cigarette near the bar. It was cozy, a place where you could nurse a beer all day and no one say a word about it. Our kids were still babies and he would give them treats. Sometimes he would take one of them into the kitchen for a piece of candy. I wish I knew his name...his daughter (I assume) worked as the runner and behind the bar. Sometimes other families would see the kids and then invite them to sit with them and buy them ice cream. It was our first experience with communal seating too. Here in the U.S. we're used to getting our own table, keeping separated from the other diners. We liked being part of the "economy" as it was called. One thing I learned is no matter where you go in the world, if you're cool, they'll be cool. Oh, one thing the taverna owner would do is correct my German. I remember once time having to say "81" (the menu item number I ordered a lot) in German what seemed like a million times before he would take my order.

Me: "Einundachtzig!
Him: "Nochmal"
Me: "Einundachtzig!
Him: "Nochmal"
Me: "Einundachtzig!
Him: (Laughing)

I still wonder if they're still there, I'd love to find out one day...

After coming back to the States in the 1990s we couldn't find a restaurant that served anything like the Beefteki we had in Germany. Searching online back then didn't net any hits, the huge boom in food sites hadn't arrived yet. I did manage to find enough Greek recipes that I was able to put together a basic recipe to build on. So over the years I tweaked my original recipe to what it is here. I originally started using a mixture of veal and lamb, then eventually phasing the veal and using just lamb. I mention that because beefteki is normally made from beef (I guess the name makes that obvious.) I think you can find a bunch of them now but there's no need for that. You have my once secret recipe to make and enjoy at home!

You need to serve this with my Tzatziki recipe linked here. Yes I said "need"! Let's start cooking, this is what you'll need.

Ingredients:

  • 1 lb Ground Lamb
  • 1 Small Onion, finely minced
  • 4-8 oz. of Goat or Feta Cheese
  • 1 Tbsp Lemon Juice
  • 1 Tbsp Mint
  • 1 Tsp Dried Oregano
  • 1 Tsp Dried Parsley
  • 1 Tsp Minced Garlic 
  • 1/2 Tsp Dried Thyme
  • 1/4 Tsp Cumin
  • 1/4 Tsp Nutmeg
  • Salt and Pepper to taste

Dress Beefteki with:

  • 1 Lemon sliced in wedges
  • Olive Oil

Before You Start:

  • I always grill these. I guess you can try these in a skillet to get a nice crust on them, but the smoke and grill marks are part of the deal here.

    I don't need to tell you to heat the grill up first before using it right?
     
  • I listed 4-8 ounces of goat or feta cheese, add as much as you like! I prefer soft goat cheese but feta is just as good.
  • This recipe doubles-up well too, make a ton of it. I get about four beefteki per pound of lamb. You'll be happy you did.
  • Some times the heat makes the cheese ooze out a bit, this is OK! It's kinda sexy actually...

Directions:

  1. Add all the ingredients - except for the cheese - into a large bowl and mix it well to incorporate all the spices and herbs.
  2. Once mixed make a football shaped portion in your hand and then push your thumb int the center to create a space for the cheese.
  3. Add a tablespoon or two of cheese to the center of the beefteki then fold or pinch it closed. Ensure it sealed so the cheese doesn't cook out.
  4. Brush with olive oil before placing on the grill.
  5. Cook for several minutes on each side till desired doneness.

I hope you enjoy my famous (famous in these parts at least) Beefteki recipe! It's something I never thought I'd share but it's something the world needs.

We usually have a Greek salad when grill Beeteki

In recipe, Life Tags Beefteki, Beeftiki, minted lamb, lamb, goat cheese, feta cheese, grilling, recipe, Parsberg, Taverne Korfu, Germany
Comment

Hashi Food Truck Savory Bread Pudding

November 19, 2016

Check out Hashi Food Truck's Ross Riddle put together one of his favorite sides. You can do it too, watch how it's done.

Go to Visit Virginia Beach's blog for the whole story. Love Ross and Hashi!

In recipe Tags visitvabeach, Hashi Food Truck, Ross Riddle, iheartfoodvb, iheartfood, cooking, recipe
Comment

Baba Ganoush

August 7, 2016

Everyone has their garden game going on! I'm sure a lot of you that have tons of stuff you planted thinking, "Heck yeah! That'll be cool to have!", then end up with buckets of said item. Cucumbers is one, they grow like crazy and even if you love them you'll have to admit you can't use them all. How about eggplants? I mean you can only eat so much Eggplant Parm right?

I got another another idea - Baba Ganoush!

If you don't know what Baba Ganoush is, it's basically hummus made with eggplant instead of chickpeas. Yeah, yeah, I know that's super simplifying it but you get the idea. Speaking of simple, I'm going to tell you how to make it quickly and use up all those eggplants you have stacked up in the corner.

Here's what you'll need.

Ingredients:

  • 3 Medium Eggplants
  • 3-4 Cloves Garlic
  • 3 Tablespoons Olive Oil
  • Juice of 1 Lemon
  • 3 Tablespoons of Tahini
  • 1/4 Cup of Parsley
  • Salt and Pepper to taste

There is a little bit a prep you'll have to do before you end up with the finished product. The eggplant needs to be roasted or grilled. I roasted mine the last time I did it for convenience. I do prefer grilling them though, adds a slight smoky flavor to the dish.

You'll notice in the photo above I'm sweating out the eggplant with salt. Adding salt will draw out bitterness and moisture from the eggplant, it takes about an hour. Is it totally necessary?

No.

So if you're in a pinch for time you don't have to sweat it (haha, get it?) Eggplants these days aren't that bitter so you can skip this step.

Before You Start:

If you want to sweat the eggplant thickly slice and then heavily salt both sides. Do not cut the eggplant too thin. If the the slices are too thin they'll be hard to work with and they will dry out quickly Place on a tray or rack and let sit for about 30-45 minutes. You'll see moisture bead up on the surface of the eggplant. When done, rinse the eggplant under cold water and thoroughly pat dry with paper towels. Place them loosely in a roasting pan.

When using the food processor, pulse for as long as needed to get the baba ganoush to the desired consistency. The shorter in the processor, the more chunky. The longer, the smoother it will be.

Directions:

  1. Move an oven rack up to the top notch and then pre-heat the oven to broil.
  2. Place eggplant on top rack and roast about 15 minutes then flip and roast another 15 minutes. When the eggplant feels soft, they're done.
  3. While the eggplant is in the oven, put all the other ingredients except the parsley in a food processor.
  4. When the eggplant is done, take it out of the oven and let it cool down.
  5. Add the eggplant to the food processor and run it through until it hits the desired smoothness.
  6. Add the parsley and pulse until it is chopped and distributed evenly.
  7. Scoop into a bowl, garnish with some olive oil and a little more parsley.
  8. Eat.
In cooking, recipe Tags eggplant, baba ganoush, cooking, recipe, iheartfood, iheartfoodvb
Comment

Tom Kha Talay

Tom Kha

January 20, 2016

Tom Kha is something I've been around my whole life - that's not the same thing as saying I've been eating it my whole life mind you. If you keep up with me and have read stuff I've written in the past, I wasn't into Thai food much when I was a kid. I do remember how the house would smell when my mother, who is Thai, was using the mortar and pestle to crush Thai Chilis, garlic, and lemongrass.

Delicious!

Those peppers though...the heat could kill you! Seriously. My mom would grow them by the acre and you better believe she was using them too. My first experience eating her beautiful food made me gun shy for years. Then before you know it, Shelby and I were married and off on our own. Boxes of Potato Au Gratin, cheap cuts and that nice Army E-4 pay had us on a affordable diet for years. I'm not knocking it, seriously. I go to Ollie's and pass the rows of boxed spuds, pasta, and Hamburger Helper and think about the good ole lean years. I wouldn't trade a minute of them.

I was talking about soup right?

Anyway...Tom Kha is good. You'll like it and I'm going to show you how to do it. The photo up top has seafood in it obviously. You can do that if you like, the seafood version of this dish is called Tom Kha Talay. Tom Kha is usually made with chicken though, that version (below) is called Tom Kha Gai.

Tom Kha Gai

The recipe I put together isn't so much different than most you'll find out there. It's primary components consist of this: Galangal, Kaffir Lime Leaves, Lemongrass and Coconut Milk.

Galangalangawhat?

Galangal has nothing to do with that M.I.A. song, it is a root known as the Thai ginger. You might see it sold in the stores as "Baby Thai Ginger" but please don't confuse it with ginger. Galangal and ginger taste totally different and if you make this soup without galangal it's not really Tom Kha (which translates into "galangal soup" basically.) That being said, you can make it with the ginger we're familiar with if you're in pinch, it just won't taste exactly as it should. It'll be still be good, but different. Galangal can be bought fresh or frozen in your local Asian market. Ask the someone behind the counter to help you out if you're having a hard time finding it.

Galangal

Let's make some soup! Here's what you need to make Tom Kha at home.

Ingredients:

  • 1 Can of Coconut Milk
  • 3 large Kaffir lime leaves
  • 1 Lemongrass, large stalk, trimmed
  • 2 Thai Chilis
  • 1 Tsp Sugar
  • 1/4 Yellow Onion, minced
  • 1 Package of mushrooms shiitake/oyster preferred, approx 8 oz., chopped
  • 2 Tbsp Galangal, slivered 
  • 1 Lime, large
  • 3 Tbsp Fish Sauce
  • 3 Cups of Chicken Stock
  • Cilantro to Garnish
  • Optional: Thai Chili Powder

Before You Start:

  • Important! Do not boil the coconut milk. If you boil the coconut milk at a high temperature, it will not remain emulsified and the fat will separate from the liquid. Just like what happens to butter when it is heated at high temperatures.
  • You can use chicken or seafood (shrimp, mussels, squid, etc...) with this recipe. Eat what you like!
  • Chop up everything you need to put in the soup. I like to cut my galangal up in small, thin slivers. I do this so it can stay in the soup and not be strained out. Most recipes will have you remove or strain the galangal after the first phase of their recipes, I like to keep it in the soup. Getting a little bite of the root, almost crunchy, almost nutty, is great. If you prefer not to have it in, just slice it in larger pieces then strain before you add your chicken or seafood.
  • Trim the lemongrass taking off any rough or brown bits. It a lot of recipes you would only use the white, fleshy part of the lemongrass. The reason is because it it easier to eat, we're not eating the lemongrass it's being steeped in the broth essentially. I'll admit to finely cutting up some lemon grass and leaving it in the soup when the mood hits me.
  • Crush the lemongrass, Kaffir lime leaves, and Thai chilis. Use your pestle, a muddler or back of a heavy spoon to open up them up to release flavor. Remove chili seeds if you don't want it too hot.
  • I do not remove all of the aromatics from the stock pot before I add the meat, but I do before I add the coconut milk.
  • Chili powder can be added for more flavor, this is optional.

Directions:

  1. Add the chicken stock, sugar, onion, Kaffir lime leaves, Thai chilis, lemongrass and galangal to a medium sized stock pot. Bring to a rolling boil for about 10 minutes.
  2. Add mushrooms, continue to boil for about 8-10 minutes to cook mushrooms.
  3. At this time if you wish to remove large pieces of aromatics (Kaffir lime leaves, lemon grass, chili, galangal) do so after the mushrooms are done.
  4. Add your chicken or seafood now, cook for about 10 minutes in the boiling broth. Remove any foam that might float to the top of the broth.
  5. After the meat is cooked through, pour in the coconut milk, fish sauce and lime juice, lower heat to a light simmer for 10 minutes.
  6. Serve with cilantro and lime wedges and maybe have a little more fish sauce on hand.

This is pretty easy to make and after a couple of tries it'll be a breeze. We use leftover chicken sometimes, if we do it doesn't need boiling as long. Just lower the heat to a simmer, cook for the same amount of time as you would the raw. Continue to follow the directions.

Enjoy!

In cooking, recipe Tags Tom Kha, Tom Kha Gai, Tom Kha Talay, Thai, coconut, soup, lemongrass, galangal, spicy, chicken, seafood, recipe, cooking, I Heart Food
Comment

Brussels Sprouts with Bacon

November 25, 2015

I never ate Brussels sprouts until I started dating Shelby. Her mother would make them when we had dinner at her house and I grew to like them and then love them. They've become a staple in our special dinners. My daughter asked me the other day if I had my recipe available for the Brussels sprouts I make at home and I discovered I didn't. I'm writing it down now.

Note: Don't throw out the bacon grease or clean the skillet you fried it in, you'll need it for this recipe. Get a pot of boiling water ready too, we'll be blanching the Brussels sprouts. We don't want to blanch or leave the sprouts in the pan too long. If they're mushy, they're ruined.

Enjoy!

Preparations

  • 1 pot of boiling water
  • ice bath for blanched Brussels sprouts
  • Saved grease from cooked bacon

Ingredients

  • 1 package or approx. or 1 1/2 lbs of Brussels Sprouts (cleaned and trimmed)
  • 1/2 lb of Bacon
  • 2 tbsp of Bacon Grease
  • 3-4 cloves of Garlic, minced
  • 1/2 Red Onion, chopped
  • Salt and Pepper to taste

Directions

  1. Start a pot of boiling water, enough to handle the Brussels sprouts.
  2. Fry the bacon. We like ours a little chewy, but cook it your preferred doneness. 
  3. Remove bacon from the pan but leave the bits and pieces.
  4. Put the Brussels sprouts into the boiling water, blanch for approximately 5 minutes.
  5. Scoop sprouts out of boiling water and place in ice bath. Take them out when cooled and place in a strainer to dry.
  6. Once cooled, cut Brussels sprouts in half, lengthwise.
  7. Heat up skillet to about medium heat.
  8. Add bacon grease.
  9. Toss in the garlic and onions, cook for 1 minute.
  10. Add Brussels sprouts, salt and pepper.
  11. Cook to desired doneness and browned on the outside.
  12. Remove from heat, toss in bowl with chopped bacon then serve.
In cooking, recipe, produce Tags Brussels sprouts, sides, bacon, bacon grease, garlic, onion, recipe, cooking, blanch, ice bath
Comment
Image courtesy of Need Supply Co.

Image courtesy of Need Supply Co.

Palourdes au beurre (thanks Need Supply Co.)

May 22, 2015

The title is the fancy name Need Supply Co. gave my clams recipe they posted on their site. My daughter, who is a graphic designer at Need, asked if I would be interested in cooking something for her to document on their blog.

(Edit: It is now also featured on Food & Wine too!!!)

Sure!

I'm was going to be cooking a lot that weekend anyways since it was Mother's Day and she said the clams would be good. The day before Mother's Day I went out to pick up all the groceries I would need for the clams dish and what I was making for Mother's Day - which was Beefteki if you wanted to know. So good! Anyways...

I want to mention that apparently clams are hard to come by these days, especially in the evening...when you really need them. I ran to four different stores before I found a standard, 50 count bag. It was at Whole Foods Virginia Beach and the bag was ripped open. The woman behind the counter was super nice and patient while I poured out the clams so I could count them. She re-bagged them for me and charged me by weight, excluding the iffy ones that had cracked open shells. She let me keep those too, I don't throw out clams with cracked shells if they're still alive.

How do I know if they're alive still? 

Easy, gently poke the clam in the shell through the crack or missing piece. If it's alive, it will move. I sniff everything too, you'll know if it's dead doing that.

Shelby came out to check on us, Marleigh scared her away with the camera.

By the time I collected everything I needed to make the dish it was starting to get dark. We put off cooking till the next day so we would have have natural light for the photos. In the morning I got everything in order (mise en place!) and we took everything outside to cook (I cook outside on the grill side burner a lot.) While I cooked Marleigh took photos. I explained how they were made and went through the instructions with her. After they were done I made the Mother's Day meal and put everything out on the table. The secret bonus clams were a hit, they're always good and they're easy to make!

The next weekend Marleigh told me the post was up on Need Supply Co.'s page so I followed it and linked it on my social media blast. It's exciting to see the feedback and I wish I could see how it went for anyone who decided to try the recipe themselves. I always enjoy it when people send me a snap of their finished dish after using one of my recipes.

The recipe seemed popular on Instagram too, I have my own little thing going on here so seeing the number of "likes" there, more than I get on my feed at @ihearfoodvb.

Oh, thanks for the new name for my recipe too: Palourdes au beurre. I think I'll steal that.

The recipe was featured on Need's Instagram too!

The recipe was featured on Need's Instagram too!

In Life, seafood, recipe Tags clams, recipe, Need Supply Co., Marmite, Palourdes au beurre, butter sauce
2 Comments

Beer BBQ Sauce

May 20, 2015

One of the first recipes I ever used to make something was BBQ sauce. It was from a Betty Crocker cookbook my grandparents gave us in a care package while we were stationed in Ft. Bliss, TX. Being a young, enlisted couple we didn't get out much at all. Getting a box full of dry goods and a cookbook was great. My grandparents were once a young army family and they knew what would be useful for us, they were very practical. Oh, I gotta write about the time I was trying to use the book to make biscuits but I read the recipe wrong. We didn't eat biscuits that night.

Fast-forward to the present time and we're still cooking! It's actually been a while since I made BBQ sauce but it's the first that popped into my head when I was asked to submit a recipe to the latest HR Growler. The theme was "Summertime", grilling! Who doesn't love to cookout over the summer. Fire-up the grill, open a good beer and take in the experience.

I wanted my sauce to have a little heat and, of course, beer! I made four different recipes before settling on a delicious, balanced sauce that goes great with chicken and pork. Just about any beer will work, I liked the Blue Mountain Brewery A Hopwork Orange and the Enjoy By 4.20 by Stone Brewing Co., stouts would work well too. Try it out, mix it up, add or remove what you like.

Go to HR Growler for the recipe, here's the link.

In beer, recipe Tags BBQ, sauce, recipe, HR Growler, iheartfood
Comment

Tuna and Spicy Couscous

February 28, 2015

I will usually make couscous with basil shrimp at home but it works well with the Genova tuna I was sent. The cool, refreshing tuna atop of the warm, paprika spiced couscous will be a crowd pleaser. We love Mediterranean and Anatolian food, give this a shot and you will not be disappointed. It's easy too! You'll need a few pots and two oiled ramekins to make what you see above. Do not overly oil the ramekins or else the couscous will stick! Approximately 2 servings.

Tuna

  • 1 can Genova Tonno tuna
  • ½ teaspoon fresh chopped Dill
  • 1 tablespoon finely chopped Red Onion
  • 1 tablespoon finely chopped Cucumber
  • 1 tablespoon finely chopped Red Bell Pepper
  • 1 tablespoon chopped Green Onion
  • 1 tablespoon Extra Virgin Olive Oil
  • Juice of 1 lemon
  • Salt and Pepper to taste

Couscous

  • 2 tbsp Olive Oil
  • 1 tbsp Pine Nuts
  • 2 large clove Garlic
  • 2 tablespoons of finely chopped Red Onion
  • 1 teaspoon Cumin
  • 1 teaspoon Turmeric
  • 1 teaspoon Brown Sugar
  • ½ teaspoon Pepper
  • 1 teaspoon Paprika
  • 1 cup Couscous
  • 1 ½ cups Chicken Stock (heat in microwave before adding to couscous)
  • Juice from 1 Lemon
  • Grated rind of a Lemon
  • 1 tablespoon minced Parsley
  • Salt to taste

Garnish

  • Single parsley leaf and chopped tomato

Preparation

  1. Prepare the tuna mixture and let sit in the refrigerator for an hour.
  2. Heat olive oil in pot at medium heat for couscous.
  3. Put pine nuts into oil and let toast for about 2 minutes, stir constantly to prevent burning.
  4. Add garlic and red onion, sauté for 1 minutes till clear.
  5. Pour in cumin, turmeric, brown sugar, pepper, paprika and toast seasoning for no more than 1 minute. Add a little salt to taste.
  6. Add couscous and toast for 2 minutes.
  7. Pour in lemon juice and let reduce. This will happen quickly.
  8. Pour in chicken stock and cover pot. Remove from heat and let sit for 15-20 minutes.
  9. After stock has been absorbed by couscous, fluff with fork.
  10. Remove tuna from fridge and press half of the tuna into an lightly oiled ramekin.
  11. Fill the rest of the ramekin with couscous, press firmly.
  12. Flip ramekin onto plate and tap top until you hear a hollow sound. Gently remove ramekin.

Go back to Genova Tonno!

In recipe Tags Genova, tuna, tonno, couscous, spicy, recipe
1 Comment

Tonno alla Arancini

February 28, 2015

Arancini is Italian street food and consists of breaded, balled risotto that is fried to perfection. I'm a sucker for anything fried and this is no exception! I mixed it up a little bit and added some extra cheese and seasoning to the risotto that is then wrapped around a chunk of Genova tuna fish before it's panned fried. Everyone loves these things, I've made a bunch of them and shared them with friends and co-workers. This recipe is tested and true. You're going to need parchment paper on hand to pour the risotto on after it's done. 20-30 arancini, depending on the size you form.

Tonno alla Arancini

  • 1 can of Genova Tonno tuna
  • 1½ cups arborio rice
  • 6 cups chicken stock
  • ½ cup white wine
  • 1 medium shallot or ½ small onion, chopped (about ½ cup)
  • 2 cloves of Garlic (finely minced)
  • 4 Tbsp unsalted butter
  • ¼ cup grated Parmesan cheese
  • ¼ cup grated Mozzarella cheese
  • 1 Tbsp chopped Italian parsley
  • ¾ cup bread crumbs
  • Kosher salt, to taste
  • 1 inch of vegetable oil in a frying pan

If you haven't made risotto before you'll realize the process is a little involved. It's high maintenance, but worth it in the end. Seriously, you'll see.

Risotto

  1. Pour the chicken stock into a saucepan and place on low heat. This needs to be hot when added to the rice.
  2. Melt 2 tablespoons of butter in a large pot then sauté the shallot and garlic. Approximately 2 minutes till clear.
  3. Pour the arborio rice in the pot and stir briskly for about 1 minute. Do not brown the rice.
  4. Add the wine and stir till reduced, you'll smell it and it'll smell good.
  5. Start adding the stock to the pot a ladleful at a time. Constantly stir the rice and stock until the stock has been absorbed into the rice. Keep doing this until the stock is gone, the starch and mixing will create a nice creamy texture to the risotto.
  6. When al dente remove risotto from heat.
  7. Add cheese and mix in thoroughly. 
  8. Pour risotto onto parchment paper and spread out as a thin a layer.
  9. Let cool.
  10. When cool, measure out squares of risotto, approximately 20-30.
  11. Make sure the risotto easily separates from the parchment, if not, use a oiled spatula to separate from the risotto from the paper before adding the tuna.
  12. Place a square of risotto in our palm with a piece of tuna in the center.
  13. Fold the corners over the tuna and ball into your palm, roll till round.
  14. Complete process till all the risotto or tuna is gone.
  15. Rolled risotto balls into bread crumbs till lightly coated.
  16. Heat frying pan with oil on medium heat and brown arancini, place on paper towels to remove excess oil.
  17. Serve and enjoy!

Go back to Genova Tonno!

In recipe Tags recipe, Genova, tonno, tuna, arancini, risotto, cheese, fried
2 Comments

Blood Orange Salad with Tuna

February 28, 2015

A traditional Sicilian winter dish is the Blood Orange Salad. The fruit primarily grown in Italy but is also grown in Spain and the United States among other places in the world. The blood orange has a dark red pulp that is sweet and has many health benefits. Blood orange salad is usually made with shaved fennel bulb but I went with ground fennel seed that is bright and highly compliments the tuna and citrus. Start with the tuna first and let the flavors blend, the orange salad is ready to go as soon as it is plated. Plating consists of arugula that has been used in Italy since the ancient times. This makes approximately two servings.

Tuna

  • 1 can of Genova Tonno tuna
  • 1/8 ground Fennel Seed
  • 1 teaspoon Lemon Zest
  • 1 ½ tablespoons finely minced Red Onion
  • Pepper to taste

Orange Salad

  • 4 Blood Oranges
  • 2 Oranges
  • 1 can of Solid Tuna in Olive Oil
  • 1 small Red Onion, thinly sliced
  • 2 tablespoons Parsley, finely chopped
  • 3 tablespoons of Extra Virgin Olive Oil
  • Kosher Salt to taste
  • Freshly Course Black Pepper
  • Arugula and/or leafy spring vegetables

Garnish

  • 3-4 Kalamata Olives sliced or chopped
  • ¼ teaspoon Capers
  • 1 tablespoon of olive oil

Preparation

  1. The tuna is lightly seasoned so it doesn't get lost in the mix. Use a fork to toss the tuna with the listed ingredients, wrap then let it sit in the refrigerator for an hour while you prep the oranges.
  2. Place a layer or arugula on your serving plate. The rest of the ingredients will rest on top of the green.
  3. You'll need a sharp knife to cut the skins and pith off the blood oranges then cut them in slices as seen in the photos. The regular oranges you'll slice the pulp out of the skins after skinning them them. You'll want to ensure the seeds are removed from both types of oranges before plating.
  4. Lay down a layer of blood orange then a thin layer of red onion.
  5. Place the regular orange on top of the blood orange and red onion, space evenly to allow room for the tuna.
  6. Spoon the tuna mixture between the oranges and then garnish with olives and capers.
  7. Drizzle with olive oil.

Serve chilled to room temperature. This would be good with a vinaigrette too!

Go back to Genova Tonno!

In recipe, seafood Tags tuna, Genova, tonno, recipe, blood orange, orange, fennel
Comment
IMG_8830.jpg

Spicy Thai Basil Fried Rice

January 8, 2015

I love Thai style fried rice, Thai food in general. People would assume it's because my mother is Thai but that's not it. I grew up in Virginia, I ate a lot of fried chicken, pork chops and hamburger gravy (sounds gross but it's so good!) My mom would make the foods she thought we should eat since we were in the U.S. When she ate though, she liked to make the foods she grew up eating.

I remember watching my mother prepare Thai food. She would sit in the middle of the kitchen floor with a wooden mortar and pestle she brought over from Thailand. It was worn down in some spots from her pounding and mashing Thai chilies, garlic and any number of ingredients in it. Years of use had seasoned it so that when she brought it out you could smell the delicious aromas pouring from its smooth center. It smelled great and that seasoning would be infused anything crushed in it.

My mother's food was hot. Very hot. When I was very young, I tried to eat some of a meat salad she made (Yum Nua) because it looked delicious. As soon as I put it in my mouth it started to burn and I became very cautious about eating the food she made for herself. That didn't mean I wouldn't eat any Thai food, fried rice and the whole fish she made was something I enjoyed a lot. If I could see chopped or whole Thai chilies though...I was wary. It was years later, when my palate matured, I could properly appreciate Thai food. We eat it frequently now.

Being familiar with what I grew up with and eating out at countless Thai restaurants I came up with my own recipe for Thai Basil Fried Rice, known as Khao Pad Kraprow. If you search for it you'll see it is spelled many different ways. I've seen simpler recipes and I've seen more complex ones, this is how I like it. Give it a shot at home, start by reading the pointers I listed.

A few tips before you get started:

  • Cook the rice the day before. Day old rice is better suited for fried rice. It's less sticky so it sholdn't attach itself to the wok. Fresh, moist rice tends to fall apart a bit too while its being tossed and scraped in the wok.

  • Do not salt! Fish sauce is very salty, if you're familar with it you know this already.

  • I prefer pork when I make this, I think it picks up the flavors the best but anything can be used (chicken, beef, tofu, people etc...)

  • Most people cook with vegetable oil, I like sesame seed oil. It has a nice nutty flavor but it's a little more expensive

  • Whisk the sauces and sugar together before you start. This will give the sugar a chance to disolve a little and you'll be using it as you go along.

  • You can make this a vegetarian dish easily by substituting the meat for a viable options. If you're vegan the fish and oyster sauce can be substituted with a vegatarian "fish sauce" found at most Asian markets.

I've also included a photo walk-through at the bottom of the page. Click through each step for tips on how to cook this!

Ingredients:

  • 1 pound of protein of your choice (I prefer pork)
  • 4-6 Garlic cloves, crushed or minced finely
  • 2-4 Red chilies, Thai, crushed/ground
  • 1-2 teaspoons White Sugar (to taste) 
  • 1/2 to 1 large bunch Thai Basil, whole, chopped, julienne, however you want it, more is better!
  • Several dashes of Golden Mountain sauce
  • Several dashes of Fish sauce (maybe one or two extra)
  • Several dashes of Oyster sauce
  • Pepper to taste
  • 2 cups jasmine rice (measured uncooked)
  • 1 Red onion, chopped
  • 1/2 large Green bell pepper
  • 1/2 large Red bell pepper  (mainly for color, but they're a little sweeter than the green too)
  • 2 handfuls - Green beans, trimmed
  • 4 Green/Spring onion, chopped


Prep the vegetables and meat, this cooks fast, so you won't have time to chop up stuff once you start cooking. Cut it all to whatever size you like, personally I like the vegetables to be a little chunky and the meat sliced thin. I use a wok and I usually cook out back on my grill's side burner to reduce smoke in the house. One time I made this at a relatives house and when I started cooking the chili in the pan it was like a low level crowd control gas canister started leaking. I started hearing coughing in the next room.

  1. Heat the wok up, once it's hot pour some of the oil in. I like to make sure the bottom is coated. When the oil starts to smoke, toss in the half of the garlic and red chili you prepped, remove from heat and swish it around the wok. You'll coat the sides of the wok when doing this.
     
  2. When you can smell the garlic and pepper put it back on the heat and throw in the meat. (If the pepper hits your nose and it makes your eyes water, that's a good thing)

    Note: I just wanted to mention if you leave the garlic and chilies on the burner/heat after you can smell it, chances are good that you're going to burn it.
     
  3. Add some of the seasoning mixture you prepped earlier, about 1/3. I also season it with some pepper and let it brown a little before tossing it, brown the other side.
     
  4. Add about 1/3 of the basil.
     
  5. Keep in wok until all of it is cooked. Obviously, the pork needs to be cooked all the way through. If you use shrimp or beef, the cooking time is a lot less.
     
  6. A lot of recipes don't do this, but I like to remove the meat from the wok and place it aside. You'll add it back in again (juices and all) after you get the vegetables and rice cooked.
     
  7. Add some more oil to the wok, then work the garlic and chili again, same drill as before.
     
  8. Toss in the all the vegetables except the green onion, that tends to gets soggy pretty fast. I like a little char on some of the vegetables before I toss them but they should be firm and not over-cooked.
     
  9. While the veggies are cooking, toss in 1/3 of the basil, sugar. Pepper and add sauce mixture.
     
  10. Keep vegetables in the wok, add the rice and the rest of the ingredients that are left. Add the green onion at this time too.
     
  11. When you start to mix the rice add the meat and drippings in. Add the remainder of the sauce mixture; salt and pepper to taste and let it brown.
     
  12. Optional - You can squeeze a little lime on it once you're done cooking it if you have any sitting around.

Seems a little involved, but it's really easy when you get the hang of it.

If you don't have a wok or Golden Mountain Sauce, go to the local Asian market. A good wok is about $12-20. You'll want to clean off all that funky stuff that's coated all over it from shipping. Scrub it real good, wash it, and then season it with some oil, burn it into it. I don't scrub my wok after I start seasoning it, it has a nice carbonized, black coating on it now. Nothing sticks to it.

As for the spices and ingredients, you can add or remove as much as you like. A lot of the time I'll use whatever I have in the fridge, it's great when I have a little bit of everything in the crisper. I don't use soy sauce in this dish. Thai basil and fish sauce are needed to make this the right way. Thai basil is in any Asian or international market you might have in your area (well, probably not the Russian one.) If you've never bought Thai basil, the leaves are smaller and the stalks are purple. It has a slight licorice flavor too, you'll be able to smell it through the packaging.

Good luck and send me feedback with your own experiences making this. I have my Mom's seal of approval with this stuff so it's gotta be alright.

Garlic, always have garlic on hand
Garlic breakdown
Garlic breakdown

Use whatever method you like to peel it.

Shake it
Shake it

I used that garlic peeling method that was all the rage the other year. It works better for my wife than it does for me.

Ready for the knife
Ready for the knife
Thai Chilies
Thai Chilies

Carefully slice lengthwise and scrape the seeds out.

Seeds = Heat
Seeds = Heat

Removing seeds is optional.

Bell Pepper
Bell Pepper

This is how I remove the stems from my bell peppers most of the time. A quick push on the stem inward...

Bell Pepper
Bell Pepper

...and the seedy core and steam come right out. Might take a little practice.

Vegetables ready for the wok
Meat
Meat

I buy the cheapest cuts I can get. Most of the time this means I'm deboning it, no problem.

Slice thinly to cook fast
Heat up the wok
Heat up the wok

Make sure everything you are cooking has been prepped before you heat up the wok. It'll be very hot and you won't have time to chop up anything before the oil burns.

Cook the meat
Cook the meat

You'll be adding a little garlic and red chili in the wok before you toss in the meat and vegetables. I add the sauce mix in about halfway through the fry of whatever is in the wok. Add a little towards the end for flavor.

Browned and done
Browned and done

I like to try to get a the meat on the hottest parts of the wok to get a little char on it. I believe it adds to the flavor.

Thai Basil
Thai Basil

You can taste a little licorice in Thai basil. You need to use Thai basil if you want this dish to taste right. Chop it or pull it apart, I like my pieces to be a little big bigger and rough.

Stir fry the vegetables

Don't overcook! You don't want the vegetables to get soft. About 5 minutes max, season the same way you did the meat.

Rice time!
Rice time!

Again, I like to try to get a little char on the rice when I put it in the wok. Use your utensil to break down large clumps of rice. Season as we did earlier with the meat and vegetables.

Color
Color

When you have it in the wok and all the herbs and seasoning has been added, you'll start seeing color.

All in
All in

When the rice is about done, toss the meat and vegetables back in. Mix thoroughly, make sure to scrape the bottom of the wok to get any rice that might be sticking to it. Mix for about 8 minutes.

Eat!
Eat!

Garnish with cilantro, green onion and lime.

Garlic, always have garlic on hand Garlic breakdown Shake it Ready for the knife Thai Chilies Seeds = Heat Bell Pepper Bell Pepper Vegetables ready for the wok Meat Slice thinly to cook fast Heat up the wok Cook the meat Browned and done Thai Basil Stir fry the vegetables Rice time! Color All in Eat!
In cooking, recipe Tags Thai, walk-through, fried rice, stir fry, basil, recipe, wok
2 Comments

Clams in Butter & Wine Sauce

December 17, 2014

After having something similar in an area restaurant I wanted to try my hand at a butter/wine sauce for clams. It came out great and the sauce is delicious with crusty bread. Here's what you need:

  • 1 stick of Butter
  • 1 cup of white wine
  • 1 cup clam stock
  • 1 cup chicken stock
  • 2 cloves of garlic, minced
  • 1/2 cup of cream
  • 3 tablespoons chopped Parsley
  • 1 small Lemon
  • Zest from the lemon
  • 1/2 an medium onion
  • 1/2 lb Bacon, cooked soft, roughly chopped
  • 3-5 lbs of Little Neck Clams

Pepper to taste (the clam liquor will be salty enough)

To get the cup of clam liquor you need for this, you'll get from the clams you cook. It's easy:

  1. Fill a stock pot with about half an inch of wine and then place the steamer and clams in. Turn to high and cover, steam for 15 minutes. You'll know they're done when they open. Discard any clams still closed after steaming.
  2. You should have a couple of cups of clam stock in the bottom of the pot. Don't throw it out! Freeze what you don't use in the recipe for later.

To make the sauce:

  1. Heat a large sauce pan to medium-high, place butter in pan.
  2. Add garlic and onion and saute till translucent, about 4 minutes.
  3. Add chicken stock, wine and clam stock. Switch heat to High until boiling, then reduce to medium. Simmer and reduce for approximately 20 minutes or until reduced to close half volume. (At this point you can serve it at whatever consistency you like, add a tiny bit of flour if you want it thicker.)
  4. After reducing liquid add heavy cream, lemon zest and lemon juice. Simmer for 15 minutes, stir regularly.
  5. Add parsley, stir and remove from heat.
  6. Place clams in large bowl and sprinkle the bacon on top. Then pour the sauce all over the clams.
  7. Serve and eat with bread!

Tip: To cut back on salt, use a bacon or ham that isn't as salty.

IMG_7593.JPG
IMG_7598.JPG
IMG_7600.JPG
IMG_7602.JPG
IMG_7604.JPG
IMG_7605.JPG
IMG_7609.JPG
IMG_7614.JPG
IMG_7620.JPG
IMG_7623.JPG
IMG_7624.JPG
IMG_7626.jpg
IMG_7593.JPG IMG_7598.JPG IMG_7600.JPG IMG_7602.JPG IMG_7604.JPG IMG_7605.JPG IMG_7609.JPG IMG_7614.JPG IMG_7620.JPG IMG_7623.JPG IMG_7624.JPG IMG_7626.jpg
In cooking, recipe, seafood Tags clams, wine, butter, garlic, sauce, recipe
1 Comment
IMG_1617.JPG

Blanching Tomatoes

August 15, 2014

We planted our garden boxes later than we should each year and then we cross our fingers and hope for a huge bounty. We plan on canning and jarring enough homegrown goodness to last us a lifetime!

This hasn't happened yet, but we're working on it. <promise!>

This year we have been picking some decent Roma tomatoes and small cucumbers from the garden. We figured we could clean and blanch the tomatoes and put them in the freezer to make sauce later. The cucumbers were made into refrigerator pickles. Shelby made some last season and they turned out great. She used a different recipe this time and they should be about ready.

I was checking out the tomatoes from our own garden when my mother called and said she had some a customer brought into her barber shop. She'll trade produce, seafood, venison, etc... all kinds of stuff if someone wants a haircut. She dropped off a box of of huge, ripe tomatoes with some other vegetables! I picked out a few that were too "ripe" and washed them off. The rest I put aside till we decided what we were going to do with them.

IMG_1616.JPG

After a day or two we decided to go ahead and blanch, then freeze the tomatoes. Shelby likes to make her own tomato sauce at home, she'll put them in a pot all to stew and it makes the whole house smell great. We had a bunch of tomatoes so I blanched them in a couple of batches. Here's all you'll need:

  • 1 Large Pot
  • Salt
  • 1 Large Bowl with ice water

That's it--of course water and tomatoes but I really don't need to say that right?

Fill the pot enough to cover the tomatoes with about 2 inches of water and for every cup of water put about 1/2 teaspoon of salt. Put the tomatoes in the boiling water for about 30 seconds then removed them from the pot and immediately places them in the ice bath. This will stop the cooking process and keep the tomatoes firm.

After they sit in the ice bath for approximately 45 seconds remove them from the ice bath and remove the skins. You'll notice that the skin has started to peel by itself, it will easily separate from the flesh. Pick off stem or other parts you don't want to save from the outside.

IMG_1620.JPG

What I do afterwards is cut the tomato in half and then gently squeeze it to remove the seeds from the inside chambers. That's it. I ended up with about 4 1/2 pounds of prepared tomatoes that were put in the freezer for later use. Easy!

In dinner, preserves, recipe, produce Tags tomatoes, blanch, prep, cooking, recipe
Comment

Easy Banana/Fruit Smoothie

June 27, 2014

Easy Banana Smoothie Recipe:

This delicious, pretty healthy recipe can be customized to please pretty much everyone’s individual taste. It’s versatile in that you can make the smoothies with the freshest in-season fruits or enjoy the convenience of using frozen fruit if you wouldn’t use all the fresh fruit before it goes bad. I do prefer to use fresh bananas in my recipe but they can also be sliced and frozen. The ingredients are pretty simple and can be adjusted for sweetness by using less sugar or if you like a slushy smoothie, like I do, add more ice - which also cuts the sweetness a bit. The banana makes for a pretty creamy smoothie so I don’t add milk or yogurt to mine. After you’ve used the recipe a few times, experimenting with your favorite fruits, you’re sure to find a winner. We made three today, Banana Berry & Pineapple, Banana Mango Peachy Pineapple, and my favorite Banana Berry Blend. Each batch makes 2 servings and you can freeze one for later, it’ll defrost in about 2 hours at room temperature.

Banana Berry & Pineapple:
1 Whole Medium Banana
1 Cup Strawberry
1 Cup Pineapple
2 Tbsp Turbinado sugar
1/3 Cup Orange juice
8 Ice cubes (or more if you want a slushier smoothie)

Break up the banana, or slice if you must and drop into the blender. Wash your fruit and slice if necessary, not such a big deal with the berries but a must for the pineapple. My pineapple had directions on the back of the label for the correct way to slice it up. Drop your sliced fruit into the blender. Add the sugar, though I have to say, if I am saving my sugar intake for dessert later - I forgo the extra sugar. A lot of fruit is ripe enough to sweeten the smoothie anyway. Add the orange juice, and here, I think a little pulp adds more flavor. Finally, add the ice and blend it up until it’s smooth!

Banana Mango Peachy Pineapple:
1 Whole Medium Banana
1 Cup Mango
1/2 Cup Peach (I removed the skin when I sliced it)
1/2 Cup Pineapple
2 Tbsp Turbinado sugar
1/3 Cup Orange juice
8 Ice cubes (or more if you want a slushier smoothie)

Banana Berry Blend:
1 Half Medium Banana
1 Cup Strawberry
1 Cup Blueberries
2 Tbsp Turbinado sugar
1/3 Cup Orange juice
8 Ice cubes (or more if you want a slushier smoothie)

Adjustments that can be made to this recipe include:
It’s basically a 1 Banana: 2 Cups Fruit recipe - so try what you like, the possibilities are endless!
Try eliminating the extra sugar, the riper the fruit, the sweeter the smoothie.
Use another fruit juice or add a splash of water instead (necessary for the blender blades to move freely)
Add more ice, an easy way to sneak more water into your day and stay hydrated!

IMG_9319.jpg
In recipe Tags smoothies, fruit, bananas, pineapple, peach, blueberries, mango, Dole, Peel the Love, Shun, trubinado, recipe
Comment
Turkey Stock

Turkey Stock

Stock and Broth

November 26, 2013

With Thanksgiving coming up I've been telling myself to get stuff ready before the big day arrives.

Gravy, stuffing…all kinds of things need stock and I'd usually bust out a box of store bought chicken stock. This year is going to be different though—I'm making my own stock!

Plenty of people out there have their own way of making a stock and broth. Technically what I'm going to spell out here is a broth. Stocks are made primarily from bones and some scrap—that's it! Broths will have more meat and seasoning in the pot. For my Thanksgiving stock (I'm just going to call it stock for the sake of simplicity) I won't add a lot of salt; a little goes a long way. I make a lot of soup stocks too. This is about the same, save for some seasonings I've omitted.

A couple of things to note before you begin:

Turkey necks are pretty cheap but are very meaty. The Herbes de Provence is something Shelby put together from herbs I clipped from our garden and dried in the kitchen. I used just a pinch to flavor. Careful with the salt and pepper; when I say add a little bit, I just mean a shake or two.

We're cooking here. We need a pot. Go grab a large stock pot, a 6-quart should do.

Ingredients:

  • 2 packages of turkey necks
  • 2 tbs olive oil
  • 2 medium onions
  • 2 ribs of celery
  • 2 medium carrots
  • salt and pepper to taste
  • 3 medium Bay leaves
  • Approx. 6 parsley stems, leaves on if you like
  • 5 quarts of water, heated (stovetop, microwave, even hot from the tap)
  • Optional: Herbes de Provence

Preparation:

1.  Chop up the turkey necks into chunks, about 2 inches.

Turkey Neck

Turkey Neck

2.  Heat the oil a little over medium, we're going to brown the vegetables and turkey.

3.  Brown the vegetables first, in batches if you have to. Add a little salt and pepper. I like cooking the vegetables first because any residual browned bits in the pot will mix with the turkey when it goes in. When the onions look a little translucent, you're good. Place the browned vegetables to the side.

IMG_5272.JPG

4.  Add the turkey pieces, brown in batches. Salt and pepper a little bit with each batch. They don't have to be browned all the way, I just heated up and a little done on the outside. 

IMG_5276.JPG

5.  When the last batch is done, add the bay leaves, parsley and any other seasonings you're tossing in there. Put the vegetables back in the pot.

6.  Add the water and bring to a boil, then reduce the heat to about medium-low. Skim the foam off the top of the stock.

IMG_5278.JPG

7.  Simmer for approximately 5 hours, stir occasionally. Scrape the sides of the pot when you do this. Get the dried bits inside the pot into the stock.

8.  You’ll know it's done when the liquid has reduced to about half of the original volume. I ended up with a little more than 2 1/2 quarts.

9.  Strain out the turkey and vegetables. Keep this stuff, put it to the side.

IMG_5280.JPG

10.  Refrigerate the stock.

What I like to do after it has been in the fridge overnight is skim the fat off the top. It’ll be easy to scrape the hardened fat off and toss it away. I don’t use the fat for anything, but some people say if you want to keep your stock in the refrigerator the hard fat on the top will help extend its life.

You can see the fat has hardened on top of the stock

You can see the fat has hardened on top of the stock

Scrape away at it till you get most of the fat off

Scrape away at it till you get most of the fat off

The neck bones, meat and vegetables can be used to flavor dishes or as a thickening agent. You could just throw them away but that seems like a waste. Enjoy and good luck. Leave a note here with any questions or comments.


In recipe, dinner, event Tags stock, broth, turkey, Thanksgiving, dinner, cooking, recipe
1 Comment

Chicken Piccata with Mushrooms

May 17, 2013


Chayce and I were out for a little bit last night and when we came back Shelby was finishing up something new in the house: Chicken Piccata. She recently discovered Cuisinart’s “Cook & Shoot" page after we bought a new Cuisinart blender. Basically, you look through the recipes customers have submitted over the years and if there isn’t a photo accompanying it, you cook the meal, shoot it and submit your photo. Each photo you send in puts you in a weekly drawing for a Cuisinart product. Neat.

It’s a good excuse to try out new recipes too. Shelby kicked it off here, so I guess it’s my turn next :)

Shelby’s recipe is an adapted version of one she found on Cuisinart’s page and William-Sonoma’s. She also added mushrooms because mushrooms are good with anything! The sauce was great, and I wish there was a gallon of it.

Chicken Piccata with Mushrooms

Ingedients

2 Chicken breasts, de-boned, skinless if preferred
Flour for dredging (salt, pepper, paprika)
2 tbsp Olive Oil
8 oz Mushrooms (sliced or whole)
2 tbsp capers
1/2 medium Onion, finely diced
1-2 Lemons, juiced
1/2 cup White Wine
1/2 cup Chicken Stock
2 tbsp butter
1-2 tbsp fresh chopped parsley
Salt and Pepper to taste


Instructions

You don’t have to, but most piccata recipes pound the chicken breasts to flatten and tenderize the meat.

Dredge the chicken breasts the flour mixture, then place in pan with heated olive oil. Cook both sides until browned and cooked through.

Place chicken to the side in a container wrapped with foil to keep warm.

Add a little more oil and brown your mushrooms; salt and pepper

Add the rest of the oil and toss in the pan your onion, capers, lemon juice, and wine, and broth. Bring to a low boil, stir and scrap pan to get the bits into your sauce.

Reduce heat to simmer and add butter, stir until melted. Add salt and pepper if desired. Garnish sauce with  parsley and stir.

Slice chicken (or keep pieces whole), plate and dress with sauce.


In recipe, Shelby Tags chicken piccata, recipe, Cuisinart, mushrooms, Virginia Beach, HRVA, I Heart Food
Comment
Beef Bourguignon

Beef Bourguignon

Beef Bourguignon Walk-Through

March 11, 2013

Something I love to make is Beef Bourguignon, it’s one of those comfort dishes that makes the whole house smell terrific and everyone loves to eat. I put the walk-through together when I was looking for recipes and tried some out for the first time. It was a little tricky for a first timer but not too bad. I based my recipe off of Laura Calder’s you can find here. Take a look at the recipe and the prep comments then jump in!

Prep:

  • Gather up all the ingredients, since this is a walk-through I’ll describe what I do at each step. I would probably be good to give the process a quick read before actually turning the oven on. This will allow you to get an idea what what to expect when you move along the with the recipe.

  • Basically cutting up anything you that needs cutting, do it first. You won’t really have the time, I guess this would all fall under mise en place (something I’m terrible at.)

  • It takes about 3 hours to cook this in the Dutch Oven.

  • You’ll see I said venison can be used, you should try it. The venison looses it’s gaminess and becomes very tender. Great way to cook lean meat.

Ingredients:

  • 3-4 pounds Beef or Venison

  • 3 Medium Carrots, roughly chopped

  • 2 Large Onions, quartered

  • 4-6 Cloves Garlic, just crushed

  • 1/4 Cup Flour

  • 1 Bottle Red Wine (buy an extra bottle for you to drink while you’re cooking)

  • 1 Box of Beef Stock (4 cups)

  • 1 Bouquet Garni (Thyme, Parsley, and Bay Leaf)

  • Bacon Fat or Olive Oil for cooking

  • Salt and Pepper

Garnish:

  • 1 Package of Bacon, thick cut (cook this first if you need bacon fat)

  • 2 12 oz Bags Pearled Onions (I use frozen)

  • 16 oz mushrooms (I add about 20 oz

Let's Go!

The meat was trimmed of excess fat and I let it sit until it was at room temperature. Next step, browning the meat. Go ahead and warm up the oven. I set mine to 350 and I will be using a Dutch oven for the Bourguignon.

Bacon fat. Everyone has some sitting around the house right? You should if you don't. This is what I use to brown the meat.

IMG_8233.JPG

I use the Dutch oven to brown the beef. All the bits and juices stay in the pot when it goes into the oven. Don't cook the meat all the way through, sear the outside to keep the juices in. Browning adds a ton of flavor to anything you braise. Salt and pepper to taste you go.

Ta-da! Browning is done, onto the braising vegetables.

After the beef has been removed, there is still enough bacon fat to brown the vegetables (add more or use olive oil.) I add about two onions, 2-3 medium sized carrots here, and 4-5 cloves of crushed garlic cloves. Cook a couple of minutes then add one bottle of red wine (I used the cheapest bottle of red I could find, $3) and a box of beef broth.

After I've stirred and scraped the bottom of the pot, I add the bouquet garni (garnished bouquet.) This is made up of thyme, parsley, and bay leaf. I had curly leaf on hand so that's what I used. I bind mine in cooking twine and toss it in. If you don’t have twine, wrap it in cheesecloth or just place it all in the pot loosely.

While prepping the vegetables the beef has rested, providing a delicious juice that should be added to the Dutch oven. Put the beef back into the Dutch oven, on top of the bouquet garni. Cover and place in the oven; set the timer for 3 hours.

I bought these potatoes at the local Asian market. $.99 a pound, great deal. They're going to be served with the Bourguignon. Slice them however you like. Since they're so pretty I'll leave the skin on.
I cut a little rosemary from the garden to season the potatoes. Pull off the leaf and chop.

I use a baking dish and mist with olive oil. Sprinkle a little salt in the dish and add the potatoes. Mist the tops of the potatoes with oil, salt and pepper, then add the chopped rosemary. Place in the oven with the Bourguignon.

Making the Bourguignon garnish. Heat up a skillet and let's get started.

Cut-up the whole package in 1-inch pieces and cook. Of course, save the bacon fat for browning the rest of the garnish.

I'm going to use about 20 ounces of mushrooms for the dish. We love mushrooms and I like to keep the pieces large and meaty. Brown in small batches, if you put too many in the pan they will sweat and steam instead of brown.

Once they're browned remove and we'll move on to the pearl onion.

Pearl onions can be pricey but I buy bags of frozen, store brand pearl onions. $1.00 a bag. I used 2 bags for this. I'll admit, I like fresh but these were on hand and much cheaper.

It's been about an hour, while the onions were browning I turned the potatoes. Mist the other side with oil, a little more salt a pepper. Back in the oven.

Back at the garnish station…I added about a cup of wine to deglaze the pan. You want all the bits and pieces from the pan as they add more flavor to what we're cooking. This is poured in with the bacon and onions previously cooked.

The finished garnish. We'll be adding to the Bourguignon towards the end of the process.

After about 3 hours the Beef Bourguignon is done with the oven. Remove the beef from the braising broth. I put the beef in with the garnish made earlier.

The beef should pull apart easily now.

Strain everything out of the broth.

I'll squeeze the vegetables out to get as much of the broth as possible. Add the broth back into the Dutch oven and bring to a boil on a burner. I'll add a little roux to thicken it up quickly.

The potatoes are done.

If needed, place the broth on the stove to about medium to medium-high heat to thicken. Make sure to stir so it doesn’t burn and thickens evenly. Once the broth has thickened, add the beef and garnish back into the pot. Let simmer for a several minutes, then remove from heat.


Plate and done!

Hope I was able to give you some useful pointers and you enjoy the the dish!

In cooking, recipe Tags Beef Bourguignon, diy, dinner, cooking, HRVA, Virginia Beach, recipe, braise, Dutch oven
Comment
Tzatziki!Ingredients:- 1 small container of Greek Yogurt (about 7-8oz)- 2-3 Garlic cloves, large, pressed- 2 dashes of Dill- ½ English cucumber, grated and strained- ½-1 Lemon, squeezed- 6 Mint leaves, finely minced- Salt and Pepper to tasteThe reci…

Tzatziki!

Ingredients:

- 1 small container of Greek Yogurt (about 7-8oz)
- 2-3 Garlic cloves, large, pressed
- 2 dashes of Dill
- ½ English cucumber, grated and strained
- ½-1 Lemon, squeezed
- 6 Mint leaves, finely minced
- Salt and Pepper to taste

The recipe is very simple. The cucumber needs to have the moisture squeezed out of it, I usually use cheesecloth if I have some on-hand; you could use a paper towel, just squeeze slowly so it doesn’t tear. Add all the ingredients to a bowl, mix and chill.

Great with bread, lamb, anything really. If you like a little more bite, add more garlic.

Photo reply or send comments to george@i-heart-food.com

Tzatziki

April 25, 2011
In recipe Tags tzatziki, Greek, i-heart-food, appetizer, yogurt, recipe
Comment

Instafood

Follow I Heart Food on Instagram @iheartfoodvb

Gallery Block
This is an example. To display your Instagram posts, double-click here to add an account or select an existing connected account. Learn more
Etiam Ultricies
Vulputate Commodo Ligula
Elit Condimentum
Aenean eu leo Quam
Cursus Amet
Pellentesque Risus Ridiculus
Porta
Etiam Ultricies
Vulputate Commodo Ligula
Elit Condimentum
Aenean eu leo Quam
Cursus Amet

Fresh Tweets

  • Just posted a photo @ Aloha Snacks VB https://t.co/CJpZSk7OLS
    Feb 10, 2023, 5:12 PM
  • Just posted a photo @ Bonchon https://t.co/DlaVe9ytk2
    Feb 9, 2023, 2:12 PM
  • @_thanksforlistening Grand Opening, Jan 2023. Catch them tonight at @backbarvb 2/2/2023. @ Thank You Gallery https://t.co/c1a8YAJdZZ
    Feb 2, 2023, 1:37 PM
  • Just posted a photo @ The Dirty Buffalo - Grassfield Chesapeake https://t.co/FfCsddikct
    Jan 25, 2023, 2:00 PM
  • The Surf & Turf Burrito at @pelonsbajagrill…amazing! @hearthandhunt suggested extra Baja sauce too 👌🏽 @ Pelon's Baj… https://t.co/73h5ClCFJE
    Jan 22, 2023, 5:10 PM
  • Shots from last week’s Smash Burger Night at @hearthon17th with my buddy @rawsy78! @ Hearth Wood Fired Cuisine & Cr… https://t.co/ELvkBxPttA
    Jan 18, 2023, 12:20 PM
  • Just posted a photo https://t.co/QV97vhzTcm
    Jan 13, 2023, 4:10 PM
  • Have you all checked out @hotpot757 yet? I enjoy getting the Korean BBQ and Hot Pot and I always eat too much 🤣 @ H… https://t.co/t60Z40KbJc
    Jan 11, 2023, 10:31 AM
  • NYE Dinner at @thepinkdinghy was amazing! Thank you @aqua_lamb and crew for squeezing us in. Hope everyone had a gr… https://t.co/VcNtPwEy2T
    Jan 6, 2023, 8:06 PM
  • Steak Frites from @hearthon17th. Craving this right now! #hearthon17th #steak #frites #dinner #virginiabeach https://t.co/f8idp0pQ29
    Dec 11, 2022, 1:47 PM

That Looked Fun!

Hartwood
IMG_4606.jpg
about 5 years ago
IMG_4608.jpg
about 5 years ago
IMG_4609.jpg
about 5 years ago
IMG_4610.jpg
about 5 years ago
IMG_4611.jpg
about 5 years ago
IMG_4613.jpg
about 5 years ago
IMG_4614.jpg
about 5 years ago
IMG_4615.jpg
about 5 years ago
IMG_4616.jpg
about 5 years ago
IMG_4617.jpg
about 5 years ago